


EK-series
Video wall
www.gpodisplay.com
EK-series Video wall
18
OSD Menu
Most menus consist of three levels to set up the options, but some require greater depth for the variety of settings. If you press the
MENU
button, up to the third level of the menu system will appear on the monitor screen. The fourth level can be displayed by
pressing the
OK
button
To show and remove the Menu:
Press the
MENU
button on the Remote Control to display the menu. A second press of the
MENU
button or a press of the
EXIT
button will take you back to monitor viewing.
To go to the next level:
Press
OK
(or
Right arrow
button) on the Remote Control.
To go back to the previous level:
Press
MENU
(or Left arrow button) on the Remote Control.
To go to the next menu:
Press
Down arrow
button on the Remote Control.
To go to the previous menu:
Press
Up arrow
button on the Remote Control
Source: Display Port, HDMI (HD-SDI: Optional)
Source → Input Source
To use, press the
SOURCE
key and then arrow keys to select desired video
source. Press the
OK
button to go to desired video source
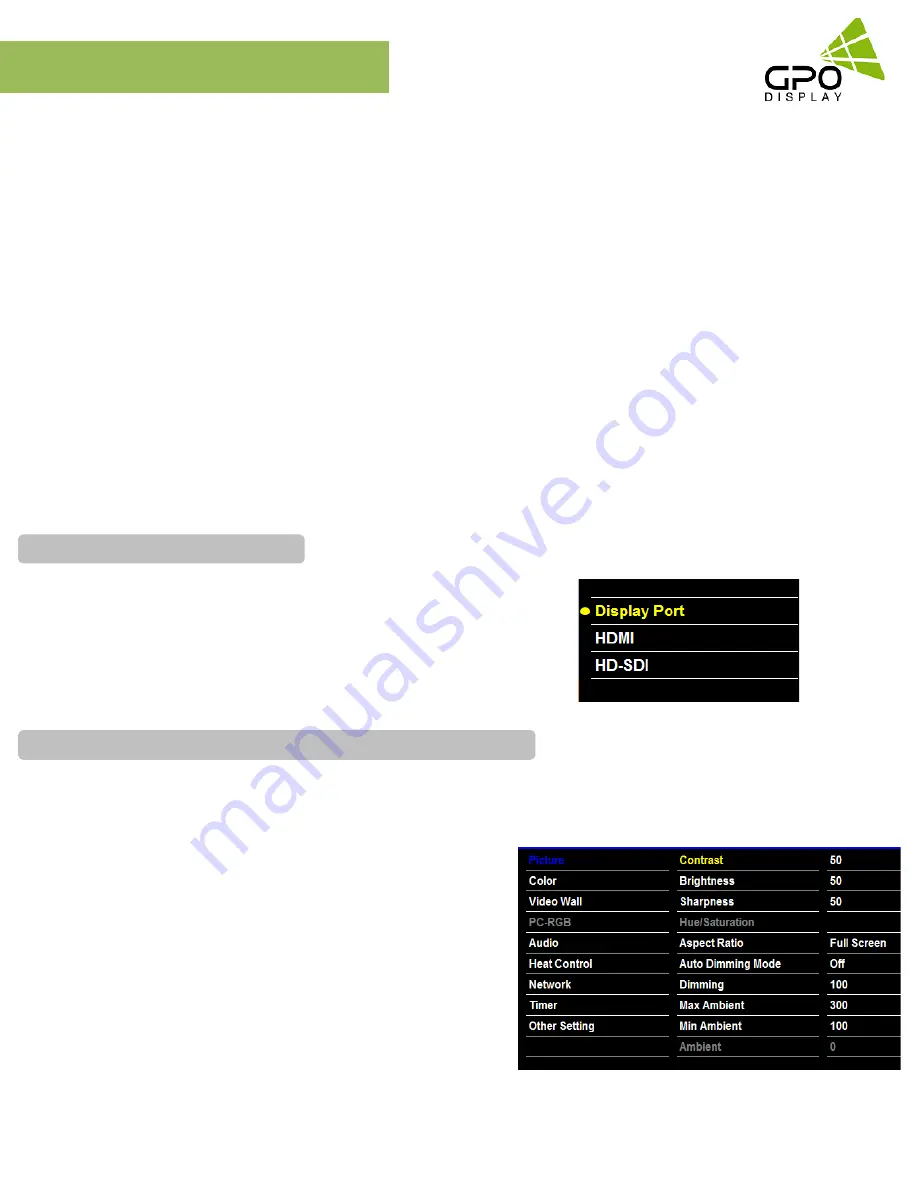
Adjust the picture appearance to suit your preference and viewing situations.
Picture → Contrast Brightness or Sharpness → Adjustment
Press the MENU button to select the PICTURE mode
Press the OK button or arrow key to select Contrast menu.
Press the OK key or arrow key to select Adjustment menu.
Press the arrow key to make desired adjustments.
Press MENU key or arrow key to return to the previous menu.
Or, in order to exit the menu at any time, press the EXIT key.
•
Brightness: adjusts the overall brightness of the screen
•
Contrast: adjusts the difference between the light and dark
areas of the picture.
•
Sharpness: adjusts the sharpness of the edges of objects
To set Input Source
To fine-tune the picture mode Contrast / Brightness /Sharpness


