OM-04386
GMS SERIES
PAGE F - 9
SEAL APPENDIX
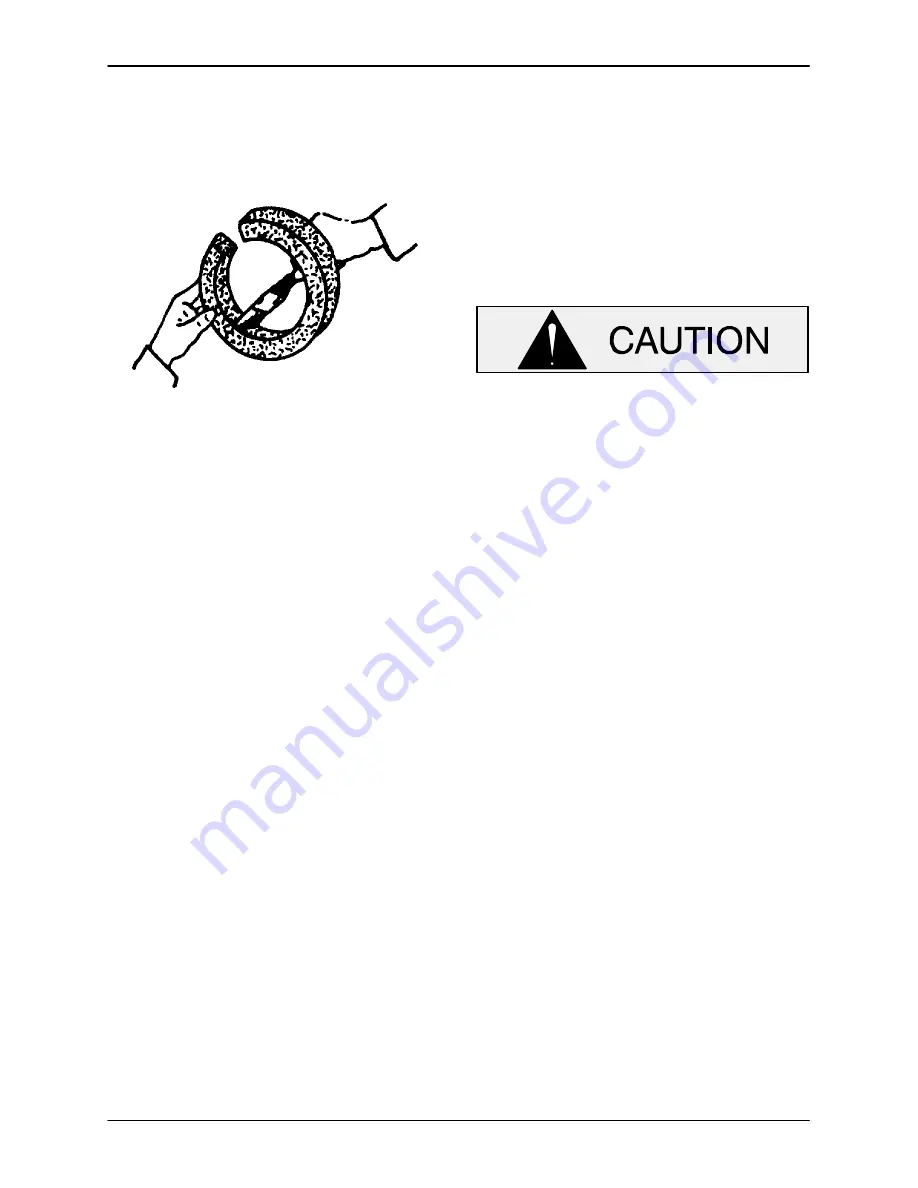
Some channel‐type packing with a lead core may
require a slight gap between packing rings to allow
for expansion. Consult the packing manufacturer's
installation instructions and follow the recommen
dations.
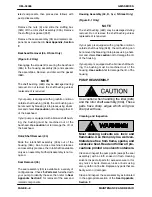
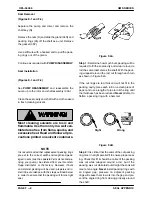
Figure F‐4C.
Step 3:
Lubricate all metallic packings (foil type,
lead core, etc.) with the lubricant recommended by
the manufacturer. Generally swabbing the I.D. of
the packing with SAE No. 30 non‐detergent oil pro
vides sufficient lubrication.
Lubricate the new packing rings with non‐deterg
ent oil before installation. For best performance, do
not stretch or separate packing braids.
Position a dowel the same diameter as the shaft in
the center of the gland bore. Wrap the packing
rings around the dowel so the ends of each ring are
180
opposite each other and press them into the
lubricated gland bore.
Install a new gasket (05P) over the shoulder on the
back of the housing (04A).
Remove the dowel from the gland bore. Carefully
slide the assembled gland and packing rings onto
the shaft until the packing rings seat against the
back shoulder on the housing (04A).
Install the nuts (D) and tighten them alternately un
til the gland begins to compress the packing rings.
Do not over‐tighten the gland nuts. They should be
tight enough to hold the packing in place and still
allow the shaft to turn freely.
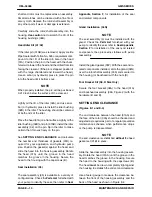
Do not overtighten the gland nuts. If the
packing rings are compressed too tightly,
they may cause the shaft to overheat and
damage the pump.
Reinstall the shaft key (N) and reconnect the driver.
Final Packing Adjustment
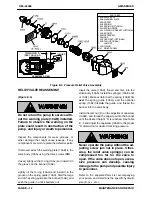
Start the pump and tighten the gland nuts evenly
while the pump is operating. A slight flow of liquid
should flow through the packing (8-10 drops per
minute). Do not over‐tighten the gland nuts and cut
off this flow. After the gland has been adjusted,
stop the pump. The shaft should rotate freely. If it
does not, the gland is too tight.
Replace the packing if the flow of liquid through the
packing cannot be controlled by adjusting the
gland.

