SECULOGIC T 320
5
Installation and assembly
3
Installation and assembly
WARNING!
Danger of electric shock.
X
X
Installation may only be carried out by an expert authorised by GEZE.
X
X
Check that the cables are disconnected before installation.
3.1 Requirements
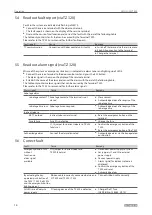
à
Cable routing is in accordance with GEZE cable diagram
à
Automatic circuit breakers as primary disconnection on the mains-side
à
Compliance with the VDE 0100 and VDE 0815 standards for the cable routing
à
Sabotage secured cable routing according to VDE 0833 (on-wall cables in the steel tube)
à
For in-wall plug socket variant installed near the door (depth 62.5 mm) with an installation height top of floor
of 850 mm to a maximum of 1200 mm for the emergency button
3.2 Install the terminal
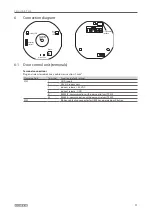
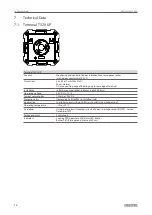
Installation of the T 320 terminal is identical to installation for the door control unit TZ 320. Consult the
installation instructions from the Installation and Commissioning Instructions No. 131537 or the Brief Instructions
No. 139926. When using a T 320 terminal a TZ 320 is always required. The TZ 320 assumes control of the system.
4
Commissioning
4.1 Requirement
Before the first commissioning of doors with electric locking mechanisms in the escape routes, correlation with
verification of suitability is to be confirmed by means of a certificate issued by the manufacturer. An expert must
also ensure that the electric locking mechanism is installed properly and operational (see checklist for
commissioning in the TZ 320 instructions or in the inspection book).
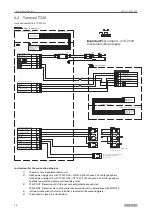
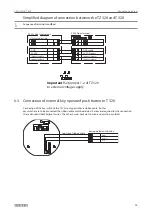
The door control unit TZ 320 must be in operation, and the connection between the door control unit and
terminal must be set up according to the connection diagram (page 12). All settings for the terminal are
implemented via the door control unit TZ 320.
4.2 Service mode
The service mode must be activated at the door control unit TZ 320 in order to set parameters on the terminal.
4.2.1 Switch on the service mode
Requirement:
à
There is no alarm.
à
The burglar alarm system is disabled.
X
X
Turn the key left and hold for approximately ten seconds.
à
The right LED lights up green, the left and lower LEDs are off.
4.2.2 Switch off the service mode
X
X
Do not make adjustments or select 'end of service mode' in the service menu for three minutes.
à
The door control unit and terminal are in normal state again.


