www.gantner.com
HB_GT7-2x00-3x00--EN_12
1
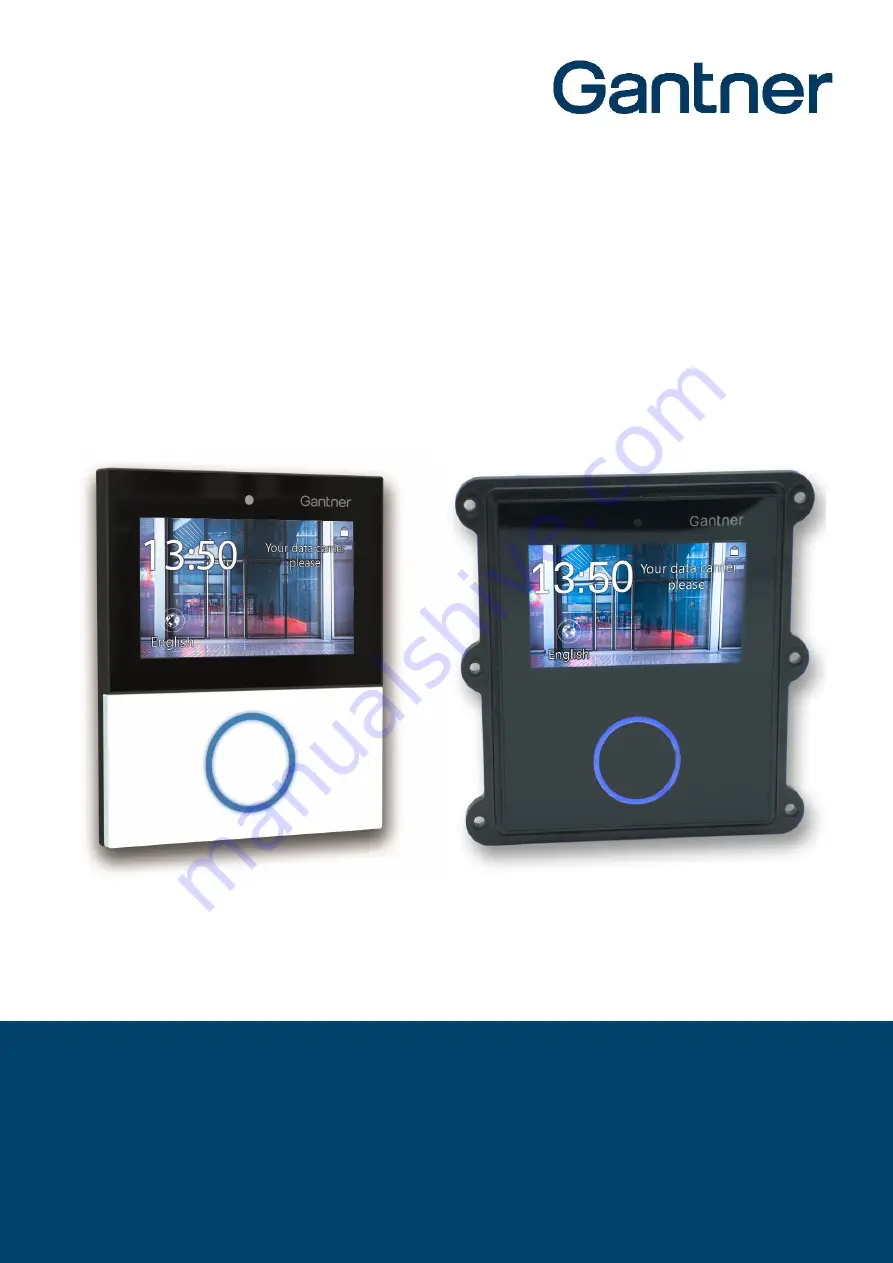
GT7.2x00 / GT7.3x00 / GT7.3x01
Multifunctional RFID Terminal
Installation & Configuration Document Version 1.2
Page 1: ...www gantner com HB_GT7 2x00 3x00 EN_12 1 GT7 2x00 GT7 3x00 GT7 3x01 Multifunctional RFID Terminal Installation Configuration Document Version 1 2...
Page 2: ...al shall depend exclusively on the conditions of the guarantee Any further reaching claims are excluded and in particular the manufacturer accepts no liability for the completeness or accuracy of the...
Page 3: ...inform the user about potentially hazardous situations or important information for the safe and proper use of the described product s The safety messages also include directives on how to avoid hazar...
Page 4: ...ndicates a hazardous situation that if not avoided may result in minor or moderate injury Indicates information considered important but not hazard related e g messages relating to property damage 4 D...
Page 5: ...ct must be carried out in accordance with the technical conditions of operation as described in the corresponding documentation Therefore it is essential to read the corresponding chapter of this manu...
Page 6: ...n radiate radio frequency energy and if not installed and used in accordance with the instruction manual may cause harmful interference to radio communications Operation of this equipment in a residen...
Page 7: ...ense texts for more details WRITTEN OFFER The software contained in this device contains copyrighted software whose license requires source code disclosure A copy of this license is included in the in...
Page 8: ...GT7 Terminal 8 HB_GT7 2x00 3x00 EN_12 www gantner com...
Page 9: ...7 3 1 Target Group 17 3 2 Installation Guidelines 17 3 3 Installing the Rear Part 18 3 4 Attaching the Front Part 20 3 5 Opening the Housing 22 4 ELECTRICAL CONNECTIONS 23 4 1 Target Group 23 4 2 Netw...
Page 10: ...6 13 Barcode Interface 54 5 6 14 Sub Controller 55 5 6 15 App Configuration 57 5 6 16 Installed Apps 58 5 6 17 Cloud Pairing 60 5 6 18 Licensing 63 5 6 19 Certificate Management 64 5 6 20 Device Main...
Page 11: ...s e g mounting brackets are also described in separate documentation 1 2 Chapter Overview In chapter 2 GENERAL INFORMATION a functional description and an overview of the GT7 terminal system as well a...
Page 12: ...l Information The following formatting with example text is used in this manual to display important safety critical information that must be read and followed NOTE Following on from this signal word...
Page 13: ...and power plates G7 Countdown App The central reader in a networked locker system G7 Central Locker App The acquisition and display of personnel time and attendance information G7 Time Attendance App...
Page 14: ...the GT7 terminal The configuration of the terminal can be completed on the device itself with limited settings or the full range of settings are available via a web browser web interface or via the GA...
Page 15: ...interface that allows the device and app settings to be easily viewed and configured User Person In this manual these terms refer to the end user who is operating the GT7 terminal in order to complet...
Page 16: ...Port Number Incoming Outgoing Function TCP 80 http or 443 https secure connection outgoing For G7 Connect 80 http or 443 https incoming For the web interface 80 ws or 443 wss incoming For communicatio...
Page 17: ...in this chapter carefully before installing the GT7 terminal Installation and service tasks may only be performed by appropriately trained and certified personnel Carefully observe the measurement dia...
Page 18: ...l from the back of the wall gasket Attach the wall gasket onto the back of the rear part as shown in Figure 3 1 Ensure that the gasket sits flat between the domes of the housing 1 GT7 rear part 2 Wall...
Page 19: ...h mounted box measurements in mm 3 Semi flush mounting approx 110 x 136 mm cutout and 4 holes Figure 3 4 Semi flush mounting measurements in mm Align the rear part with the mounting holes while guidin...
Page 20: ...AUTION Electrical shock The electrical connections must be made in a de energized state NOTE Ensure that the electronics and printed circuit board of the GT7 terminal are not damaged or scratched duri...
Page 21: ...NOTE Through this process the front part is electrically connected to the rear part via the central connector 4 The front part must sit flush with the rear part and be securely attached Screw the fixi...
Page 22: ...der cover using a flat blade screwdriver on the 2 side tabs and remove the cover Figure 3 9 Opening the housing Step 1 Unscrew the fixing screw from the front part Figure 3 10 Opening the housing Step...
Page 23: ...result in injury due to electrical shock Always disconnect the power supply before working on the device or installation deinstallation The applicable safety and accident prevention regulations must b...
Page 24: ...crew terminals of the GT7 terminal Depending on the Ethernet standard being used terminate the wire colors as follows Terminal Signal Wire Color TIA 568A Wire Color TIA 568B RX Receive signal RX green...
Page 25: ...00 terminals have two The desired function such as unlock door deny access or block external device must be selected in the configuration of the GT7 terminal in the App configuration section see 5 6 1...
Page 26: ...n in Figure 4 3 Plug the power supply 11 into the power outlet 2 See 12 Via Power over Ethernet PoE Consider the following requirements for PoE switches when operating a GT7 terminal with PoE Must com...
Page 27: ...the Ethernet cable to the ETHERNET PoE screw terminals 12 as follows Terminal Signal Wire Color TIA 568A Wire Color TIA 568B DC PoE supply blue white blue white DC PoE supply blue blue DC PoE supply...
Page 28: ...GT7 Terminal Electrical Connections 28 HB_GT7 2x00 3x00 EN_12 www gantner com...
Page 29: ...onnect manual is available that describes the operation of this software in detail 5 2 Requirements for Use Min firmware version 2 1 must be installed in the GT7 terminal NOTE The firmware can be inst...
Page 30: ...y Enter the PIN code 0815 and then press OK ATTENTION For security reasons change the default PIN code to a secret code This can be done via the Device Settings see 5 6 11 Device of the web interface...
Page 31: ...irmware The firmware version running on the device License points The number of device licenses points that have loaded to the device Each app requires a certain number of points to operate see chapte...
Page 32: ...ation Cloud status When connected is shown here the connection to G7 Connect is functioning Host SW status When connected is shown here the connection to the host software e g Relaxx locker management...
Page 33: ...ion 5 4 2 Installed Apps On the Installed Apps page all apps that have been installed in the GT7 terminal are displayed Information such as which app version is installed and the required license poin...
Page 34: ...TE Settings that require the input of characters must be defined via the web interface or G7 Connect Once you have defined the settings on a page press the Disc icon to save the settings LAN Settings...
Page 35: ...ect Secure communication Enable or disable secure communication between the GT7 terminal and G7 Connect Time setting of the GT7 Terminal Figure 5 14 Device configuration Page 4 Date The date can be ma...
Page 36: ...assigned for wireless communication When not enabled a static IP address must be defined for wireless communication WLAN Static IP Settings Figure 5 16 Device configuration Page 6 Address The static I...
Page 37: ...tion To exit the configuration menu press the exit icon Select Start active App to start the last active app o The active app is loaded and after a few seconds the app s home screen is displayed Alter...
Page 38: ...he configuration of a GT7 terminal using G7 Connect is analogous to the direct configuration via web interface which is described in chapter 5 6 Configuration via Web Interface To begin using G7 Conne...
Page 39: ...the IP address of the GT7 terminal into the address bar The IP address of the GT7 terminal is displayed on the screen in the first row eth0 during startup i e when the supply voltage is applied The I...
Page 40: ...allows you to show or hide the settings menu to the left 2 Settings menu Available here is the menu that you can use to access the respective settings pages of the GT7 terminal 3 Firmware version Ver...
Page 41: ...app version and the required license points are displayed here Network The network addresses of the GT7 terminal are displayed here System status Here the functions that are activated or in use are di...
Page 42: ...of the GT7 terminal is automatically assigned by a DHCP server If you do not want to or cannot use a DHCP server deactivate this option and enter the network settings into the Static IPv4 configuratio...
Page 43: ...ion Select the type of protocol to use for inner authentication from the menu Username Enter the username to be used for authentication Password Enter the password to be used for authentication Tunnel...
Page 44: ...ration Select this option if you want to use the configuration set via G7 Connect for the GT7 terminal G7 Connect Address Enter the address of G7 Connect here default gantner cloud Enable secure commu...
Page 45: ...ect this option if a web server is to be used for communication After selection the following settings are visible Server address IP address of the web server IPv4 format Enable secure communication W...
Page 46: ...utgoing connections over this web proxy server Enable web proxy Select this option if a web proxy is to be used for communication After selection the following settings are displayed Server address IP...
Page 47: ...LAN With this option WLAN can be activated or deactivated DHCP assigned IP address How the IP address is set is defined here Select the option to obtain the address automatically from a DHCP server If...
Page 48: ...bsocket API is used for example by the management software Relaxx Activate account With this option you can activate the respective user If the option is disabled the user has no access rights Usernam...
Page 49: ...GT7 terminal Date format dd MM yyyy The time is displayed in the international standard format i e day month year example for 15th September 15 09 2020 MM dd yyyy The time is displayed in US format i...
Page 50: ...y backlight when the screensaver see below is enabled Slideshow after Time in seconds of terminal inactivity after which an image slideshow i e different pictures from the theme is displayed For more...
Page 51: ...ata carriers can be used Multiple data carrier types can be configured Add Data Carrier To configure a new data carrier type click here and select the desired type from the list Delete Data Carrier Yo...
Page 52: ...iguration menu This code opens the configuration menu on the display of the GT7 terminal To enter the code write an M on the display For more information see 5 4 Configuration via the GT7 Terminal Log...
Page 53: ...ve weaker fingerprints than others If many users are having difficulty reading their fingerprint it may help to lower this value Level at verification This value determines the accuracy of the fingerp...
Page 54: ...Default General undefined barcode reader ATR110 ATR200 Signals from reader controlled Setting for the ATR 110 and ATR 200 barcode readers from GANTNER With this setting the signaling on the barcode re...
Page 55: ...l Emergency mode These settings determine how the sub controllers behave with the lockers when the connection between the GT7 terminal and the host software e g Relaxx is disconnected Disabled All loc...
Page 56: ...to allow lockers with USB charging functionality GAT NET Lock 7020 USB to be used Lock manipulation detection For the GAT NET Lock system only This setting prevents the locker from being locked when m...
Page 57: ...ly one app can be active at a time If another app is to be run you can activate and start it in the Installed app menu item See 5 6 16 Installed Apps Figure 5 36 GT7 terminal web interface App configu...
Page 58: ...configurable countdown timer e g 5 mins to show the user when the use of a time limited device such as a shower or power plate will expire 0 G7 Info App For the display of customer information after...
Page 59: ...active app is automatically stopped In the upper Drop App here field additional apps can be loaded into the GT7 terminal To do this the app file is needed An app can also be assigned a theme Design T...
Page 60: ...ment of clients projects and systems that contain G7 Generation devices To add a GT7 terminal to a project in G7 Connect the GT7 terminal must first be paired with G7 Connect once This requires a pair...
Page 61: ...3x00 EN_12 61 o Your available projects are displayed Figure 5 40 Cloud pairing List of available projects Click on the project where the GT7 terminal is to be added Click on Device pairing Figure 5 4...
Page 62: ...or This requires the GT7 terminal to be powered on and online i e it must have an outgoing connection to the Internet G7 Connect Check the connections and firewall settings if pairing is unsuccessful...
Page 63: ...s license points are required These can be purchased from GANTNER The available license points are displayed here Addon bus devices Maximum number of devices controller reader etc that can be connecte...
Page 64: ...ternet or network which can prevent unauthorized access and manipulation Click on Show certificates at the top o The following menu is displayed Figure 5 46 GT7 terminal Show certificates menu With th...
Page 65: ...cate If the GT7 terminal is acting as a web server e g when using Relaxx software which acts as a client to establish the connection to the server GT7 terminal a certificate for the server i e on the...
Page 66: ...he device are deleted during the reset process o After resetting to the default settings the device is in same functional state it was upon delivery Date and Time Device time The current time in the G...
Page 67: ...P server in the network Set PC time The current time of the PC is set in the GT7 terminal Set time You can manually enter a time and date into the input fields After clicking on the Set time button th...
Page 68: ...the firmware currently installed in the GT7 terminal is displayed To install new firmware drag the firmware file to the Drop Firmware here field Click on Update Firmware o The new firmware is loaded...
Page 69: ...s connected to a sub controller can be displayed by clicking on the desired sub controller Clicking again closes the list To install new firmware for the devices drag the firmware file to the Drop Fir...
Page 70: ...the occurring events live To load the log files from the GT7 terminal click on Download log files o A file window opens where you must specify the storage location o The log files from the last 8 days...
Page 71: ...they are inactive To the right of hardware state is the screenshot function for the GT7 terminal To take a screenshot of the screen currently displayed on the terminal press the refresh button Below...
Page 72: ...com 5 6 25 Legal Information Figure 5 52 GT7 terminal web interface Legal Info Displayed here is the license information for the third party software included with the GT7 terminal For example the GNU...
Page 73: ...n 3 Authorize the users Adding a GT7 Terminal to Relaxx NOTE Before adding the GT7 terminal it is important that the terminal already has the desired app enabled e g Central Locker Info Access and tha...
Page 74: ...GT7 Terminal Configuration 74 HB_GT7 2x00 3x00 EN_12 www gantner com...
Page 75: ...l clock Time saved 1 hour Reader type GT7 x300 LEGIC advant and Proxy 125 kHz reader GT7 x500 MIFARE Classic 1k and 4k Ultralight DESFire EV1 and EV2 ISO 15693 GANTNER Connect GT7 x700 LEGIC advant Pr...
Page 76: ...max 54 W 27 VA Host interface Ethernet 10 100 Mbps IPv4 and IPv6 WLAN IEEE 802 11b g n Reader interfaces RS 232 barcode RS 485 GANTNER expansion bus Wiegand Connection Screw terminals 0 5 1 5 mm Soft...
Page 77: ...G7 Terminal Technical Data www gantner com HB_GT7 2x00 3x00 EN_12 77 _ _ NOTE This manual is valid as of 9th July 2021 It is subject to change Amendments can be made without prior notice at any time...
Page 78: ...fo gantner com info gantner nl info aus gantner com London United Kingdom Bochum Germany Los Angeles USA info uk gantner com info de gantner com info us gantner com Ypern Belgium Dubai UAE Ahmedabad I...