Once installed, your GV-Camera Reader is accessible on a network. Make
sure your PC has good network connection, and meet this system
requirement:
The camera reader has a default IP address of 192.168.0.10, but when it
connects to LAN with a DHCP server, a dynamic IP address will be
assigned instead of 192.168.0.10. If no DHCP server exists, the default IP
address will be applied and you can follow the steps below to assign a
static IP address.
1. Open your web browser, and type the default IP address:
http://192.168.0.10
. The computer must be under the same network
as the camera reader.
2. In both Login and Password fields, type the default value
admin
. Click
Apply
.
3. In the left menu, select
Network
and then
LAN
to begin the network
settings.
6
Establishing Network Connection
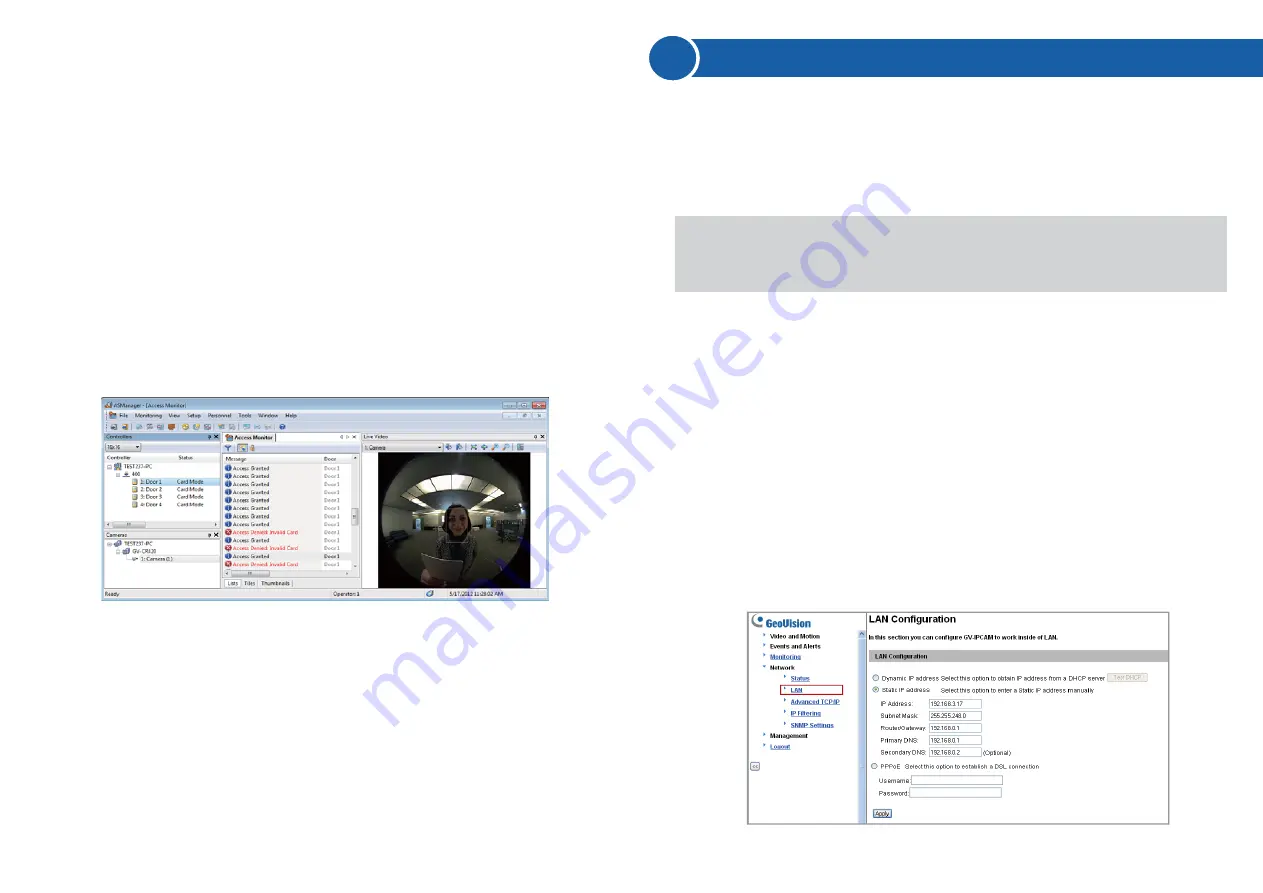
You can watch live view from the Camera Reader and monitor the access
activities of the door at the same time. When a compatible but not enrolled
card is swiped, you can right-click the “Access Denied: Invalid Card”
message and select
New/Edit Card
to enroll the card. For details on
enrolling cards, refer to the
Setting Cards
section in the
GV-ASManager
User’s Manual
.
●
Microsoft Internet Explorer 7.x or later
Note:
Additional settings are required for Microsoft Internet Explorer
8.0 or later. Please refer to
Settings for Internet Explorer 8
, Appendix
A,
GV- Camera Reader User Manual
.
4. Expand the Host folder listed in the DVR List, select a camera reader
and click
OK
.
5. To map a second camera reader to the door, click the second
Arrow
button and repeat the steps above
6. Click
OK
and return to the main screen.


