Revision A
Transport Pro
8-7
2012659-042
Disassembly: FRU Replacement
FRU Replacement
Display Subassembly
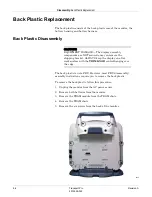
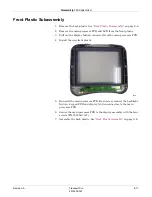
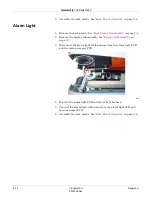
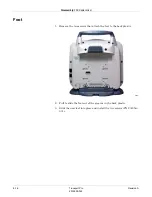
1. Remove the back plastic. See
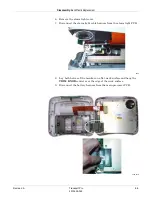
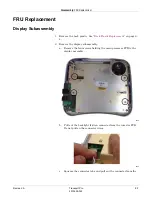
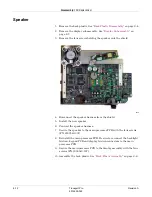
2. Remove the display subassembly.
a. Remove the four screws holding the main processor PCB to the
display assembly.
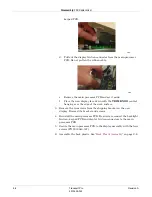
b. Pull out the backlight friction connector from the inverter PCB.
Do not pull on the connector wires.
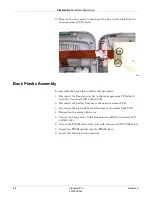
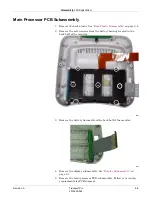
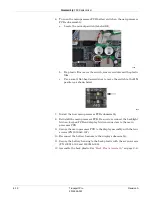
c. Squeeze the connector tabs and pull out the connector from the
629A
630A
Summary of Contents for Transport Pro
Page 1: ...Transport Pro Patient Monitor Service Manual Software Version 2 2024579 018 Revision A ...
Page 9: ...Revision A Transport Pro 1 1 2012659 042 1 Introduction ...
Page 12: ...1 4 Transport Pro Revision A 2012659 042 Introduction Safety Message Definitions ...
Page 13: ...Revision A Transport Pro 2 1 2012659 042 2 Equipment Overview ...
Page 28: ...2 16 Transport Pro Revision A 2012659 042 Equipment Overview Theory of Operation ...
Page 29: ...Revision A Transport Pro 3 1 2012659 042 3 Installation ...
Page 33: ...Revision A Transport Pro 4 1 2012659 042 4 Configuration ...
Page 38: ...4 6 Transport Pro Revision A 2012659 042 Configuration Monitor Settings ...
Page 39: ...Revision A Transport Pro 5 1 2012659 042 5 Maintenance ...
Page 47: ...Revision A Transport Pro 6 1 2012659 042 6 Troubleshooting ...
Page 57: ...Revision A Transport Pro 7 1 2012659 042 7 Ordering Parts ...
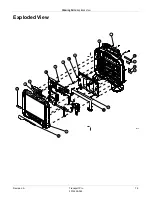
Page 59: ...Revision A Transport Pro 7 3 2012659 042 Ordering Parts Exploded View Exploded View 622A ...
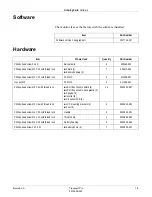
Page 62: ...7 6 Transport Pro Revision A 2012659 042 Ordering Parts Hardware ...
Page 63: ...Revision A Transport Pro 8 1 2012659 042 8 Disassembly ...
Page 83: ...Revision A Transport Pro 9 1 2012659 042 9 Checkout ...
Page 97: ...Revision A Transport Pro A 1 2012659 042 A Technical Specifications ...
Page 100: ...A 4 Transport Pro Revision A 2012659 042 Technical Specifications External Power Supply ...
Page 101: ...Revision A Transport Pro B 1 2012659 042 B Electromagnetic Compatibility ...
Page 109: ......


