26
3-3 Installing the radio as an AP (Access Point)
Before installing, you should make sure that Ethernet network is working perfectly. You will be
connecting the radio to the Ethernet network so that computers with 10/100 Fast
Ethernet adapters will communicate with other computers on the Ethernet.
1. SET UP THE AP:
Before mounting the radio in a high location, first set up and test the radio to verify wired
network connectivity at ground level or indoors.
a.
Prepare a computer with an Ethernet adapter. If this computer is already part of
your network, record its TCP/IP configuration settings.
b.
Configure the computer with a static IP address of 192.168.1.x (x cannot be 1)
and 255.255.255.0 for the Subnet Mask.
c.
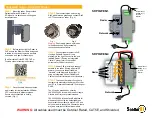
Connect a Cat.5 SFTP cable from the radio to the POE.
d.
Connect a Cat.5 UTP cable from the POE to computer
e.
Turn on your computer, connect the power adapter to the AP and verify the following:
– The power light of the POE goes on.
– The LAN light of the Ethernet port on computer goes on too. (or the LAN status which
showed on the windows linked)
2. To CONFIGURE LAN AND WIRELESS ACCESS
a. Configure the AP Ethernet port for LAN access
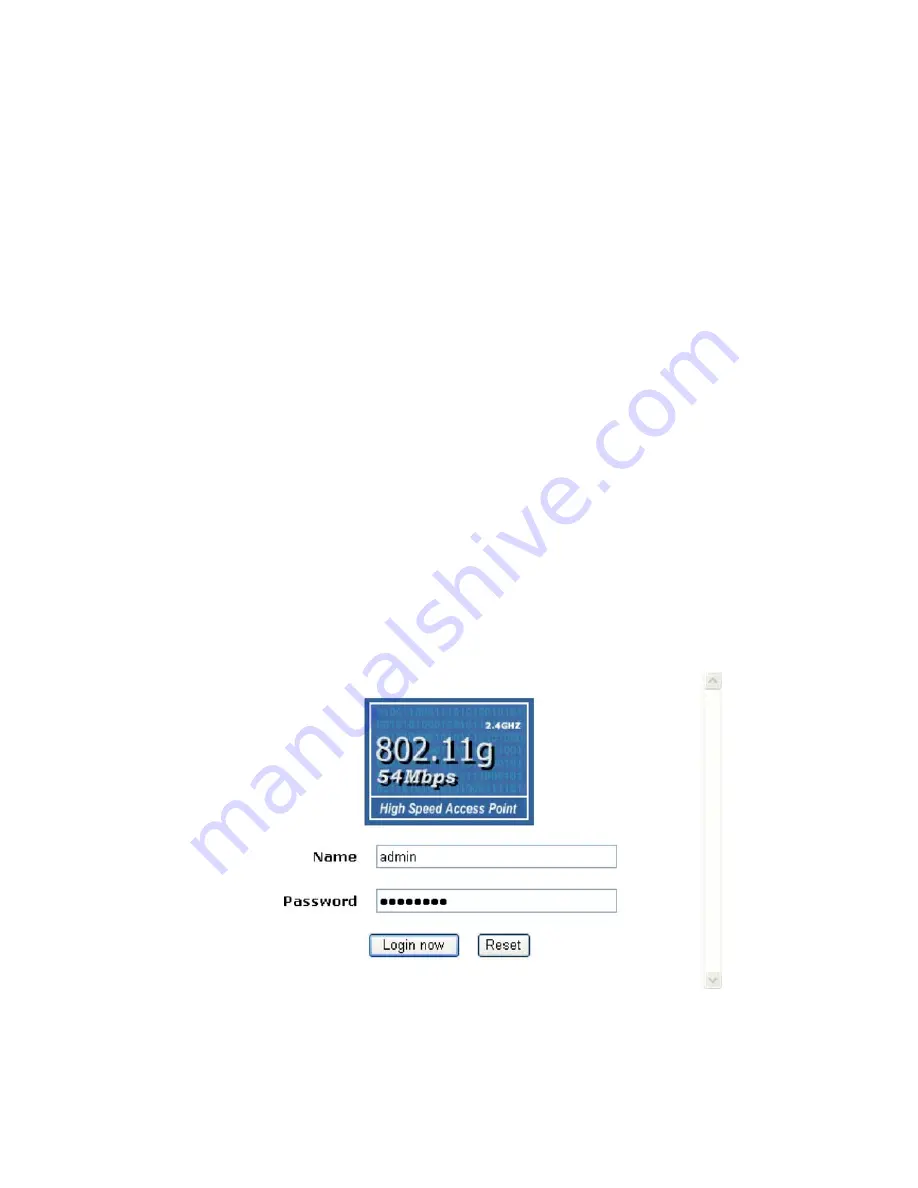
• Connect to the AP by opening your browser and entering http://192.168.1.1 in the
address field. A login window like the one shown below opens:
Figure: 3-1 AP log in window
When prompted, please enter
admin
for Name and
password
for password, both in
low cases.


