System Components 59
2.
Write down the CMOS values from the Main Setup utility screen so
you can reenter them after you replace the battery. (For more
information about the setup program, see “Using the BIOS setup
utility” on page 66.)
3.
Turn off the system and disconnect the power cord.
4.
Open the case, observing the “Static electricity precautions” on
page 2.
5.
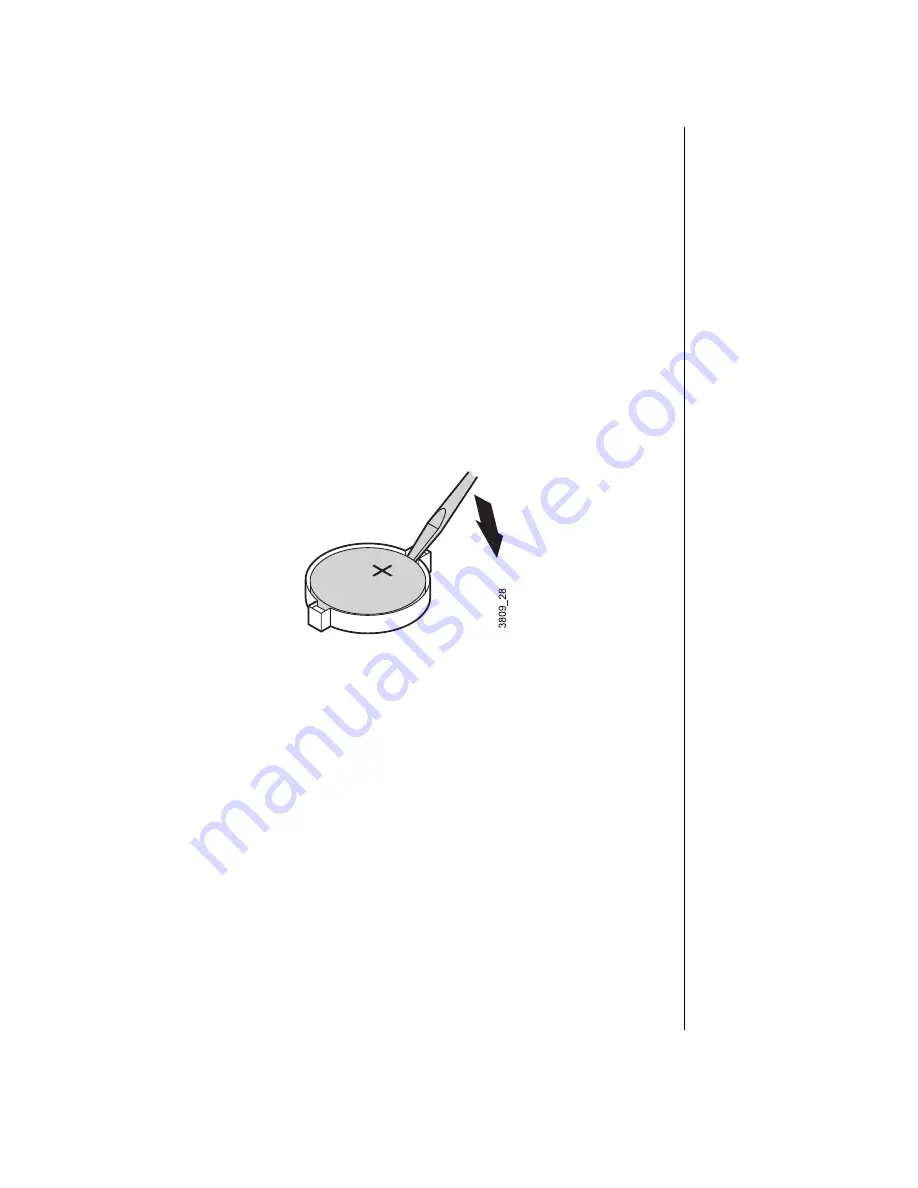
Locate the battery on the system board (see “System board” on
page 17). The battery is circular and has the positive pole mark (+) on
the top.
6.
Using a flat-bladed screwdriver, carefully remove the battery from its
socket on the system board.
7.
Press the new battery in the socket with the positive pole up. Be sure
you have pressed the battery down far enough for it to contact the base
of the socket.
8.
Close the case, as described in Chapter 1.
9.
Reconnect the power cord and turn on the system.
10.
Enter the setup program and verify that the system configuration is
correct using the data you recorded in Step 2.
If the CMOS data is not correct, change the information in the setup
screens as necessary.
Summary of Contents for E-420
Page 1: ...Maintaining and Troubleshooting Your E 4200 System ...
Page 11: ...viii Maintaining and Troubleshooting Your E 4200 System ...
Page 76: ...3 Chapter 3 BIOS Setup About the BIOS setup utility 66 Updating the BIOS 67 ...
Page 98: ...A Appendix Specifications 88 Regulatory Compliance Statements 90 ...
Page 103: ...92 Maintaining and Troubleshooting Your E 4200 System ...
Page 107: ...96 Maintaining and Troubleshooting Your E 4200 System ...
Page 108: ......


