Saving a New Preset
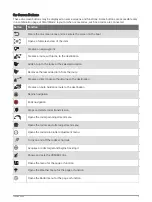
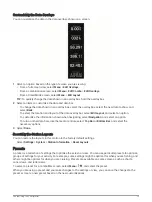
After you have customized the settings and view of a screen, you can save the customization as a new preset.
1 From a compatible screen, change the settings and view.
2 Select Menu >
> Save > New.
3 Enter a name, and select Done.
4 Select an item, and select Include to include or exclude the item from the preset.
Managing Presets
You can customize the pre-loaded presets and edit presets you created.
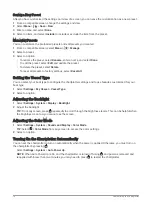
1 From a compatible screen, select Menu >
> Manage.
2 Select a preset.
3 Select an option:
• To rename the preset, select Rename, enter a name, and select Done.
• To edit the preset, select Edit, and update the preset.
• To delete the preset, select Delete.
• To reset all presets to factory settings, select Reset All.
Setting the Vessel Type
You can select your boat type to configure the chartplotter settings and to use features customized for your
boat type.
1 Select Settings > My Vessel > Vessel Type.
2 Select an option.
Adjusting the Backlight
1 Select Settings > System > Display > Backlight.
2 Adjust the backlight.
TIP: From any screen, press repeatedly to scroll through the brightness levels. This can be helpful when
the brightness is so low you cannot see the screen.
Adjusting the Color Mode
1 Select Settings > System > Sounds and Display > Color Mode.
TIP: Select > Color Mode from any screen to access the color settings.
2 Select an option.
Turning On the Chartplotter Automatically
You can set the chartplotter to turn on automatically when the power is applied. Otherwise, you must turn on
the chartplotter by pressing .
Select Settings > System > Auto Power Up.
NOTE: When Auto Power Up is On, and the chartplotter is turned off using , and power is removed and
reapplied within less than two minutes, you may need to press to restart the chartplotter.
16
Customizing the Chartplotter


