21
Getting Started
Reference
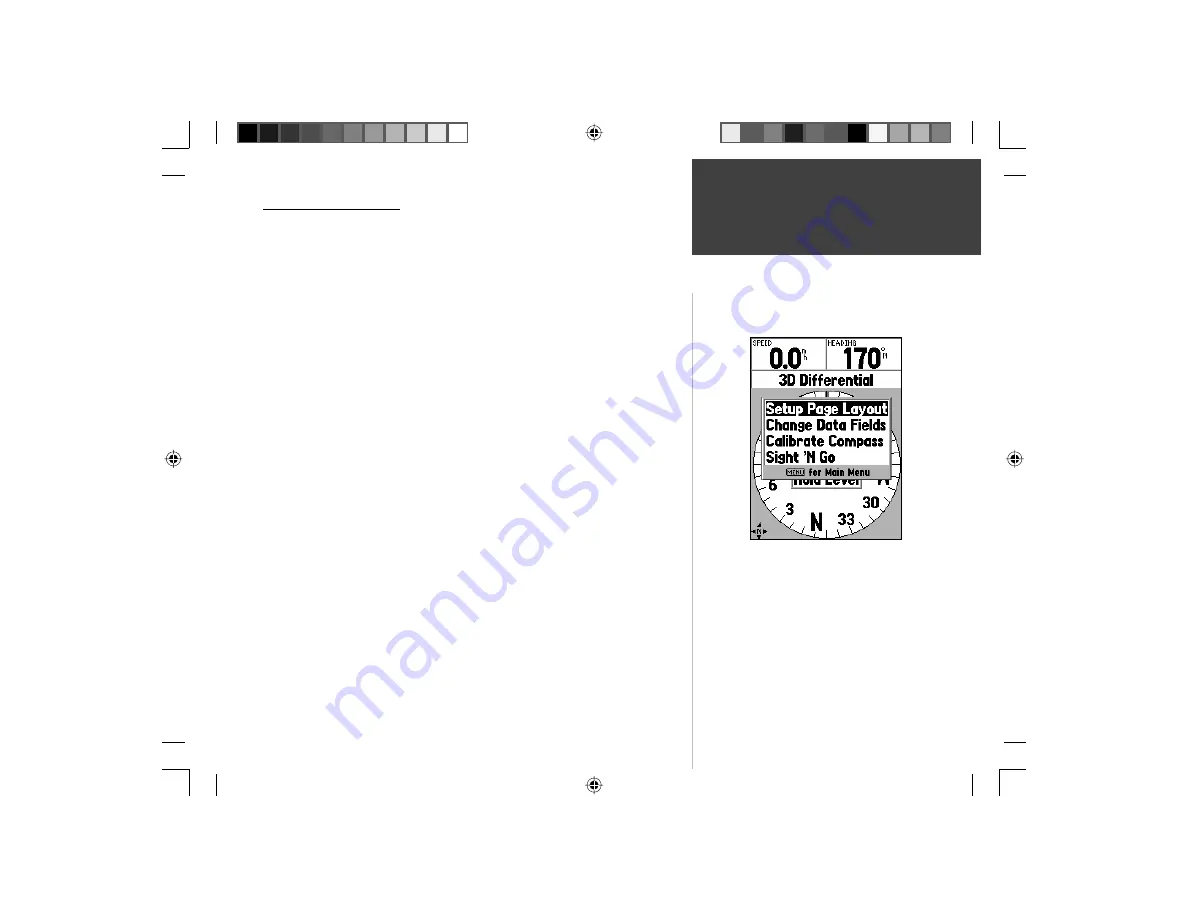
Compass Page Options
To access the Compass Page Options, with the Compass Page displayed press
the
MENU
Key.
Setup Page Layout —
This option allows you to select the number of data
fi eld rows and the size of text used in the fi elds. You have the option of
displaying, None, Small (1 Row), Small (2 Rows), Small (3 Rows), Medium
(1 Row), Medium (2 Rows), Medium (3 Rows), Large (1 Row), or Large
(2 Rows). To select an option, highlight the desired selection then press
ENTER
. The new confi guration will be displayed on the map. Press
QUIT
to
exit the option.
Change Data Fields —
This option allows you to select the type of data you
want displayed in the data fi elds. To change a data type, place the highlight
over the desired data fi eld, then press
ENTER
. Using the
ROCKER
, scroll
through the available selections. With a data type highlighted, press
ENTER
to accept the selection. For a list of available data fi elds, see appendix ?.
Calibrate Compass —
The Electronic Compass will need to be calibrated
the fi rst time batteries are installed and whenever batteries are changed. To
calibrate the compass, with ‘Start’ on the Calibrate Compass Page highlighted
press
ENTER
. With the unit held level, slowly turn the unit through at
least two revolutions in the same direction. There will be a prompt indicat-
ing if you are turning the unit ‘Too Fast’, ‘Just Right’, or ‘Too Slowly’. When
fi nished, the unit will display a message indicating if the calibration was suc-
cessful of failed. If the calibration was successful, press
ENTER
to continue, if
the calibration failed, press
ENTER
to try the calibration again.
Sight ‘N Go —
This feature allows the user to visually locate a landmark and
lock in a magnetic heading to it. Once a heading is locked, the unit will begin
navigation along that heading.
Compass Page Options
Compass Page Options
190-00249-00_0C.indd 21
5/7/2003, 9:54:42 AM


