9
Getting Started
Main Page Sequence
9
Getting Started
Basic Navigation
Map Pointer
1. Press the
SOFT KEY
located below the ‘Set Up Map’ tag located at the bottom of the display.
The Map Setup Page Menu will be displayed. The Map Setup Page will be discussed in detail in the
Reference Section of this manual. Now let’s return to the Map Page.
To Return to the Map Page:
1. Press the
QUIT
key.
Remember that
SOFT KEYS
are used to quickly access options or functions for the Main Page that
is displayed. The options or functions assigned to a
SOFT KEY
may be different for every page that is
displayed.
Basic Navigation
The main use of a GPS is to be able to navigate to a known position. We have already created a
waypoint using the
ENTER/MARK
key. Let’s create another waypoint using the Map Pointer and then
begin navigation to that point.
Press the
PAGE
key until the Map Page is displayed. Press the
IN
key several times until the Map Scale
located at the bottom right of the display reads “2 nm”. This will “Zoom In” on the map showing a smaller
area in more detail.
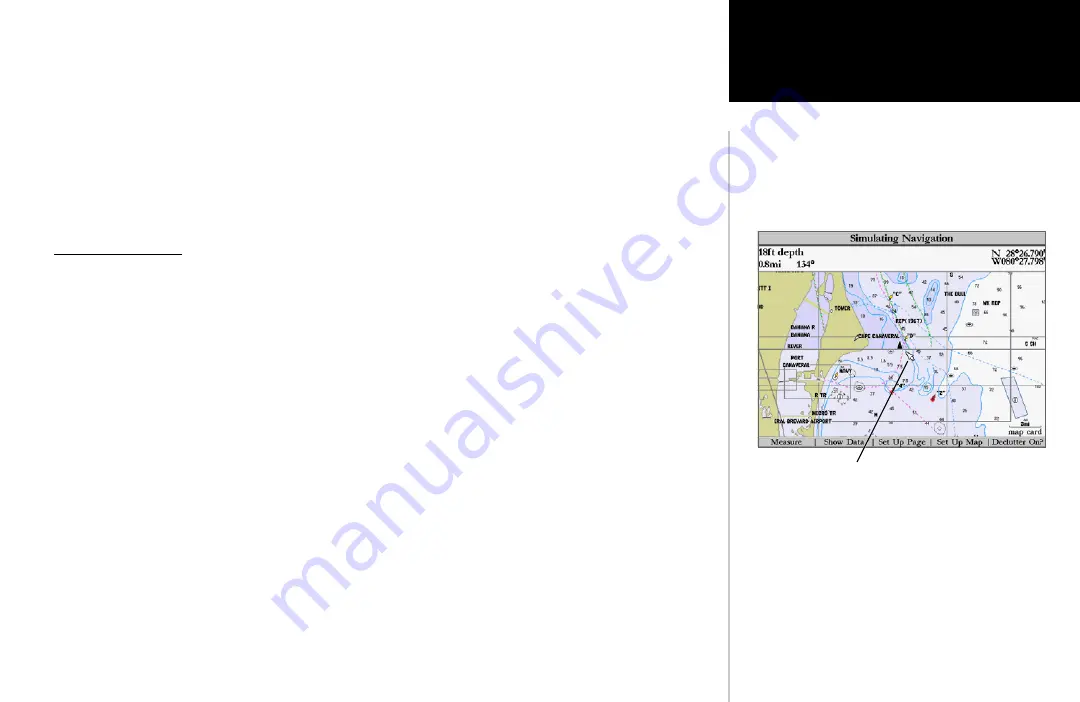
The
ARROW KEYPAD
controls the Map Pointer. The Map Pointer originates from the current GPS
location, represented by the triangle in the middle of the display.
To Display the Map Pointer:
1. Press the
ARROW KEYPAD
in any direction.
Using the
ARROW KEYPAD
you can move the Map Pointer around the map. As you move the Map
Pointer around the map, the direction and distance of the Map Pointer from the current GPS location is
displayed in the information bar along the top of the display. Move the Map Pointer until it is approxi-
mately two miles from the current GPS location.
To Create a Waypoint Using the Map Pointer:
1. With the Map Pointer at the desired location (not on a road or map feature), quickly press and release the
ENTER/MARK
key. (Holding the ENTER/MARK key for more than one second will mark your present loca-


