


You’ll now have a clearer picture of the route you are navigating. Keep in mind that whenever you
do exceed the usable range of the built-in database or the optional MapSource or BlueChart data in use,
the range field displays ‘OVERZOOM’ to indicate that you should exercise extreme caution using the
map data. Press the
IN
key to zoom into the 2 nm scale. Now that you’ve zoomed in a little closer to
your route, you can pan ahead of your vessel with the cursor to review map items and create on-screen
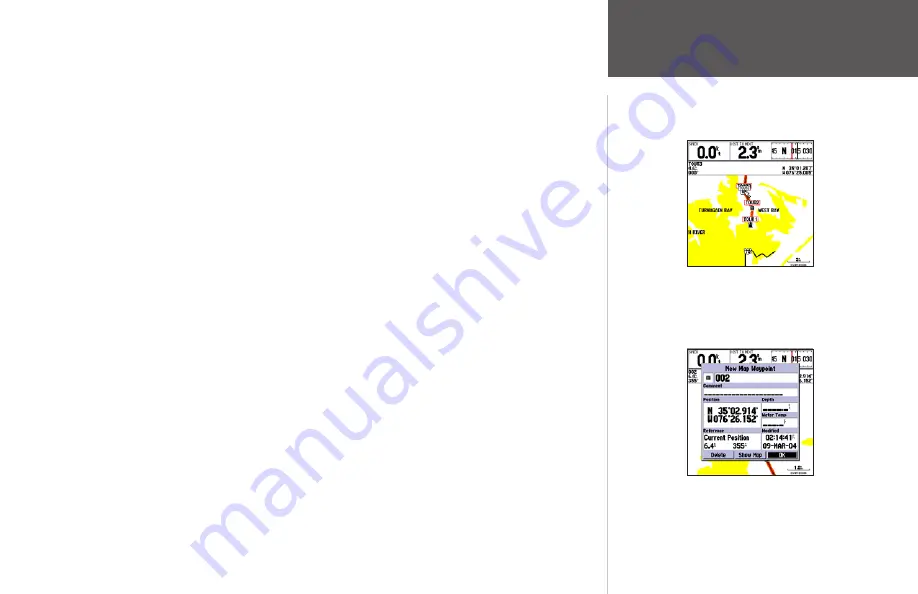
waypoints. Try moving the cursor to highlight the ‘TOUR3’ waypoint— just use the
ARROW KEYPAD
to move the cursor as close as possible to the waypoint. (To move the cursor in small increments, try a
series of short key presses.)
Once the cursor is over the TOUR3 waypoint, you’ll notice that the waypoint symbol and name
becomes highlighted. The data field at the top of the map displays the waypoint name, the range and
bearing from your present position, and the coordinates for the waypoint.
To review the waypoint page for a selected waypoint:
1. With the waypoint highlighted, press the
ENTER
key.
2. To return to the Map Page, press
ENTER
again or press
QUIT
.
The cursor can also be used to create new waypoints right from the map display.
To create a new waypoint using the cursor:
1. Use the
ARROW KEYPAD
to move the cursor as close as possible to the following position:
N35º 02.914; W 076º 26.152’ (Use the data window to verify the cursor position.)
2. Press and release the
ENTER
key to capture the cursor position. Do not hold the button down, as
doing so marks your present position, not the map position.
3. Use the
ARROW KEYPAD
to highlight the waypoint symbol field to the left of the waypoint name/
number.
4. Press
ENTER
to access the symbol page.
5. Use the
ARROW KEYPAD
to select the ‘Shipwreck’ symbol and press
ENTER
to confirm.
6. Highlight ‘OK’ at the bottom and press
ENTER
again to finish.
The waypoint ‘highlights’
when the cursor is moved
over it.
Waypoint numbering starts with
001 and continually counts up,
even if the waypoint name has
been deleted.
Getting Started
Reviewing/Creating
Map Waypoints
Summary of Contents for GPSMAP 172
Page 1: ...owner s manual GPSMAP 172 172C chartplotting receiver ...
Page 108: ......
Page 109: ......


