VoIP Telephone.
14
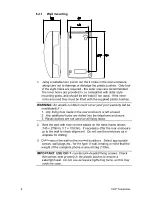
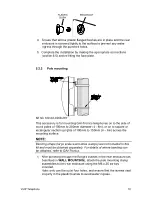
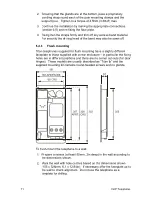
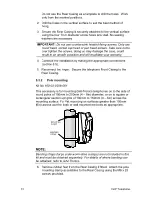
7. Ensuring that the glands are at the bottom, pass a proprietary
banding strap round each of the pole mounting clamps and the
support pole. Tighten to a torque of 4.5Nm (3.3lb-ft) max.
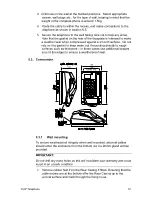
8. Continue the installation by making the appropriate connections
(section 6.5).
9. Reconnect the ringer. Secure the telephone Front Casing to the
Rear Casing.
10. Re-tighten the straps firmly and trim off any excess band material.
For security the driving head of the band may also be sawn off.
5.3.3
Desk mounting / Rake
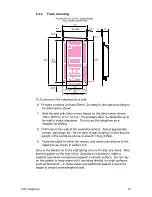
For horizontal surfaces greater than 150 x 280mm (6 x 11in) use the
free-standing desk mounted method below.
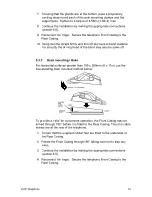
To provide a 'rake' for convenient operation, the Front Casing may be
turned through 180° before it is fitted to the Rear Casing. Thus the cable
entries are at the rear of the telephone.
1. Ensure that the supplied rubber feet are fitted to the underside of
the Rear Casing.
2. Rotate the Front Casing through180° taking care not to trap any
wires.
3. Continue the installation by making the appropriate connections
(section 6.5).
4. Reconnect the ringer. Secure the telephone Front Casing to the
Rear Casing.
Summary of Contents for Titan
Page 29: ...29 VoIP Telephone 9 CE Declaration...
Page 31: ...31 VoIP Telephone...


