VoIP Telephone.
12
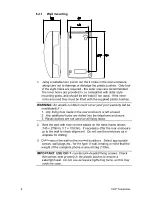
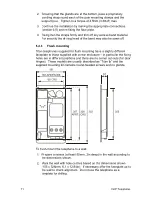
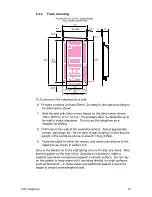
3. Drill holes in the wall at the marked positions. Select appropriate
screws, wall plugs etc., for the type of wall, bearing in mind that the
weight of the complete phone is around 1.5kg.
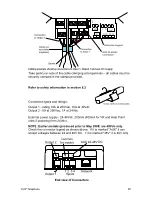
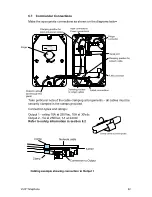
4. Route the cable to within the recess, and make connections to the
telephone as shown in section 6.5.
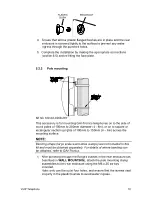
5. Secure the telephone to the wall taking care not to trap any wires.
Note that the gasket on the rear of the faceplate is intended to make
a weather seal when compressed against a smooth surface. Do not
rely on this gasket to keep water out if mounting directly to rough
surfaces such as brickwork – in these cases use additional sealant
around the edges to ensure a weatherproof seal.
5.3. Commander
5.3.1 Wall
mounting
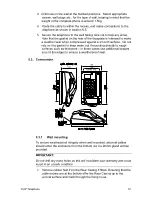
To ensure weatherproof integrity when wall mounted, external cables
should enter the enclosure from the bottom via the 20mm gland entries
provided.
IMPORTANT:
Do not drill any extra holes as this will invalidate your warranty and could
result in an unsafe condition.
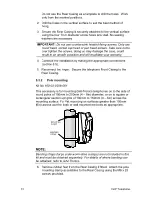
1. Remove rubber feet from the Rear Casing if fitted. Ensuring that the
cable entries are at the bottom offer the Rear Casing up to the
vertical surface and mark through the fixing holes.
Summary of Contents for Titan
Page 29: ...29 VoIP Telephone 9 CE Declaration...
Page 31: ...31 VoIP Telephone...


