EN
24
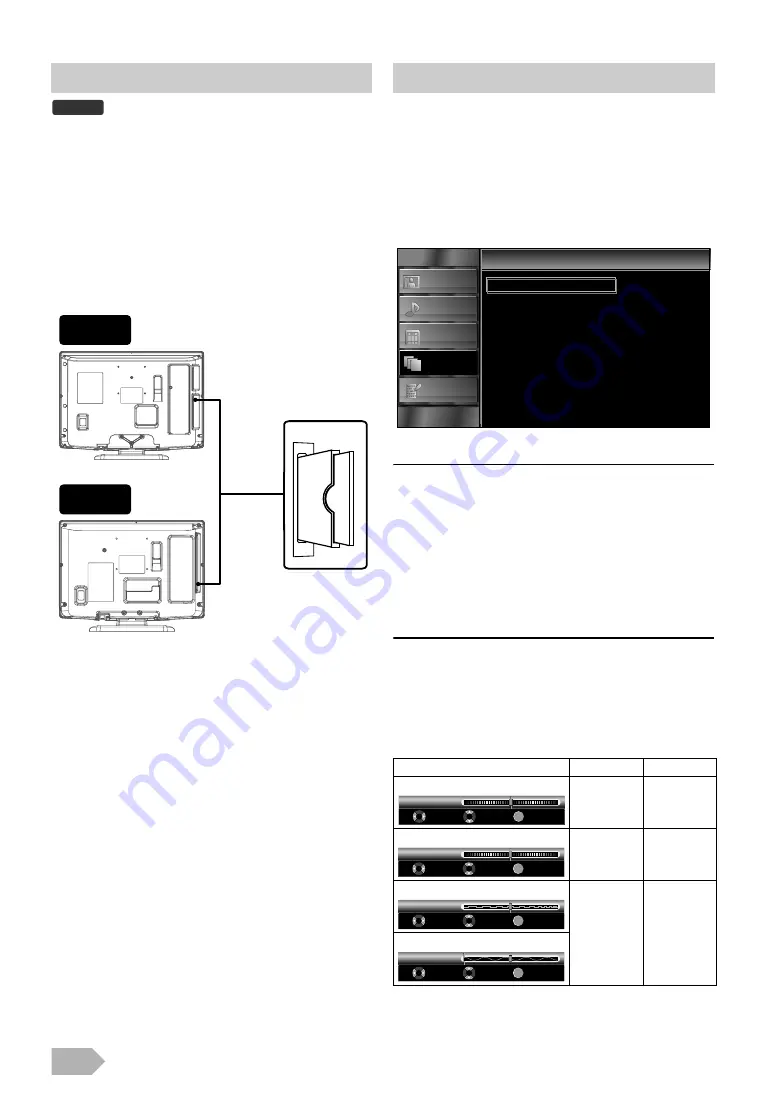
This unit is equipped with a C.I. slot. You can enjoy additional
services with this function, for example Pay TV. The access
restrictions menu will appear on the TV screen when a CI
module is installed.
1
Turn off the unit and unplug from an AC outlet.
2
Insert the CI module straight to the C.I. slot of this unit.
• Some CI modules may be a two-piece design consisting of
a card reader with the viewing card. When using this kind of
card, insert the card reader firmly into the C.I. slot on the
unit first. Then, insert the viewing card into the reader.
3
Plug this unit into an AC outlet and press
Q
to turn on
the unit.
4
Press
5
Press
, then press
6
Press
.
7
Press
, then press
.
8
Follow the instructions on the TV screen.
You can adjust the PC screen position, clock and phase.
Before you begin: You must connect your PC to this unit and
select [PC] at “Switching the Input Mode” (p. 12).
1
Press
to display the menu.
2
Press
to select
, then press
.
3
Press
to select
, then press
4
Press
to select
, then press
• Auto Adjust Confirmation message will appear.
5
Press
to select
, then press
• Each setting will be adjusted automatically.
6
Press
to exit.
Horizontal Position / Vertical Position / Clock / Phase
4
Press
to select the item you want, then press
5
Press
to adjust, then press
6
Press
to exit.
• In case of failure, you need to call your CI service provider.
• Menu operations may vary depending on the viewing card. Refer
to the manual accompanying the viewing card.
DTV
19”
22”
Press
to change the items.
move PC
screen left
move PC
screen right
move PC
screen down
move PC
screen up
decrease
setting value
increase
setting value
0
0
0
0
PC Settings
PICTURE
SOUND
CHANNEL
OTHERS
LANGUAGE
Auto Adjustment
Horizontal Position
Vertical Position
Clock
Phase
PC Settings
OK
0
+
-
Adjust
Move
OK
H.Position
OK
0
+
-
Adjust
Move
OK
V.Position
OK
0
Clock
Adjust
Move
OK
OK
30
Phase
Adjust
Move
OK


