


9
EN
External Input Mode (for VCR Features)
Connect an external device (a decoder, a camcorder, etc.) to
the AV2 (DECODER) jack. Press
0
,
0
,
2
, with the
number
buttons
, so that “AV2” appears on the TV screen.
If you use the front AUDIO/VIDEO input jacks, press
0
,
0
,
3
,
with the
number buttons
, so that “AV3” appears on the TV
screen.
If you use the AV1 (TV) jack for connecting a device, press
0
,
0
,
1
with the
number buttons
, so that “AV1” appears on the
TV screen.
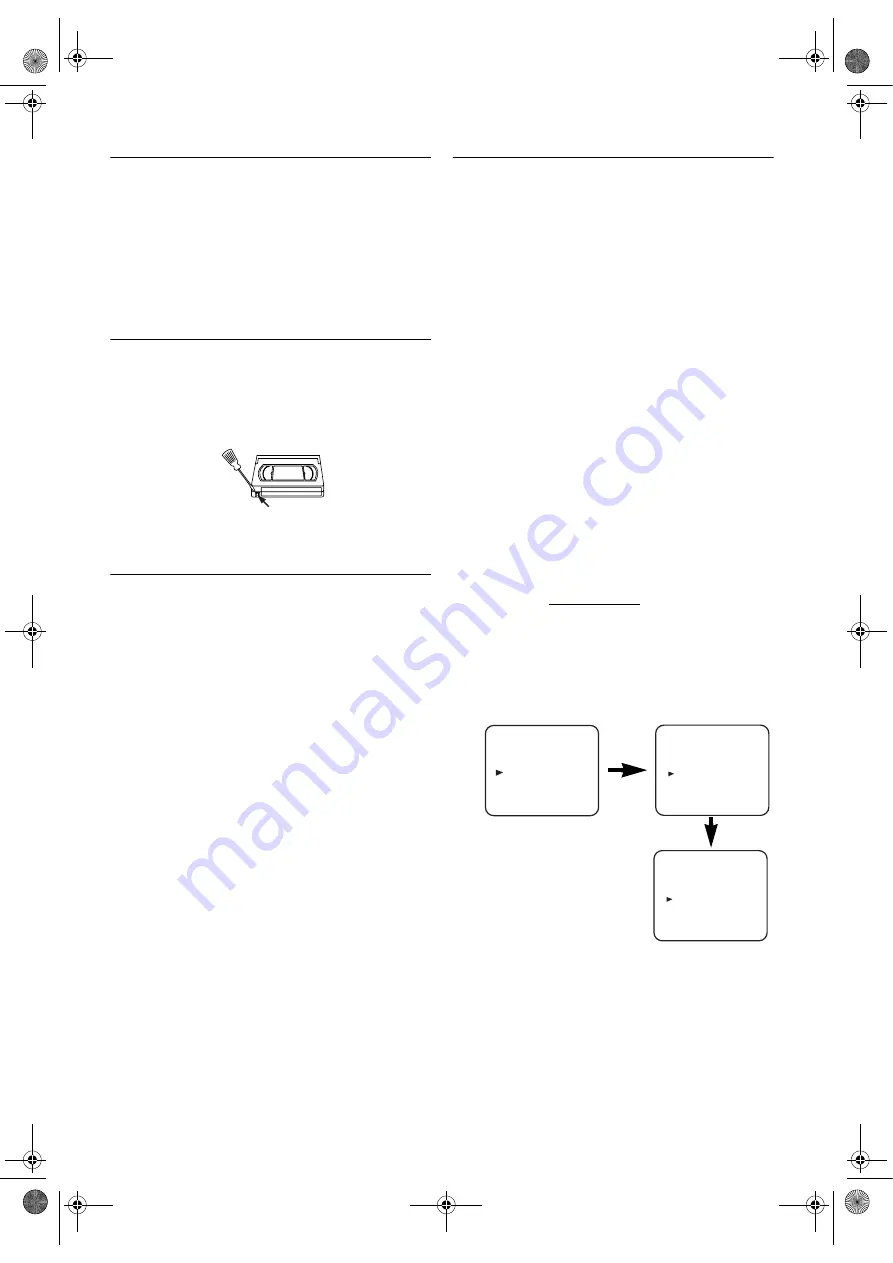
Video Cassette Tape
This DVD/VCR will operate with any cassette that bears the
VHS mark. For best results, we recommend the use of high-
quality tapes. Do not use poor quality or damaged tapes.
• You can prevent accidental erasing of a recording by
breaking off the erase-prevention tab on the back edge of
the cassette.
• If you decide to record on the tape again, cover the hole
with plastic tape.
TV Colour System
Different countries use different television colour systems.
Tapes recorded in the PAL or NTSC system can be played
back on this unit. Usually, the picture on the TV screen will
be in black and white when you play back a tape that is
recorded in a different colour system.
Tapes recorded in the NTSC system can be played back on
this unit and a PAL system TV set. This feature is only
available in the SP mode. When playing back such tapes, the
picture may roll up or down, shrink vertically and black bars
may appear both at the top and bottom of the screen. Adjust
the vertical hold control on your TV, if the TV features this
control.
Video Channel Setting
Video channel setting will be necessary, if your DVD/VCR is
connected to the TV via the coaxial cable.
• Use the remote control for this procedure.
1)
Press
VCR
.
2)
Insert a pre-recorded tape into the DVD/VCR.
The DVD/VCR will start playback automatically.
If playback does not start, press
PLAY
.
3)
Select and adjust your TV to channel 35.
•If the playback picture appears on the TV screen,
continue with step
9)
.
•If channel 35 is set for broadcasting, or interference lines
appear on the picture, the RF converter must be set to a
different channel between CH22 and CH69. Continue
with step
4)
.
4)
Press
MENU
.
5)
Press
K
or
L
repeatedly to select to “INITIAL”. Then,
press
B
.
6)
Press
K
or
L
repeatedly to select to “RF OUT”. Then,
press
B
. The RF OUT CH menu will appear.
7)
Press
K
or
L
to select a channel which is not used for
broadcasted between channel 22 and channel 69 in your
area, then press
B
.
8)
Press
MENU
to exit.
Set the TV channel to the RF OUT CHANNEL which
was selected on the DVD/VCR. A picture from the DVD/
VCR will appear on the TV screen. If a picture does not
appear, repeat steps
4)
to
8)
using a different channel
which is not used for broadcasting.
9)
Press
STOP
to stop the tape.
Note: •
You may also access the RF OUT CH menu by
pressing and holding
MENU
on the remote control for
3 seconds during power off until the RF OUT CH
menu appears.
•
If this unit and your TV are connected using a scart
cable, the RF converter may be switched off to avoid
any possibility of interference. To switch off the RF
converter, follow steps
1)
and
4)
to
6)
above and press
L
repeatedly until “- -” appears next to “RF OUT
CH.” Press
B
, then
MENU
to exit.
Tab
MENU
TIMER
SET UP
INITIAL
RF OUT CH 35
INITIAL
CH TUNING
CLOCK
RF OUT
FUN_ H97L2BD(EN).fm Page 9 Tuesday, July 27, 2004 6:06 PM


