Technical Support is available 8am-5pm PST. Monday - Friday
•
702-802-3103
79
Section VII.
Operations
Positioning Laser Head
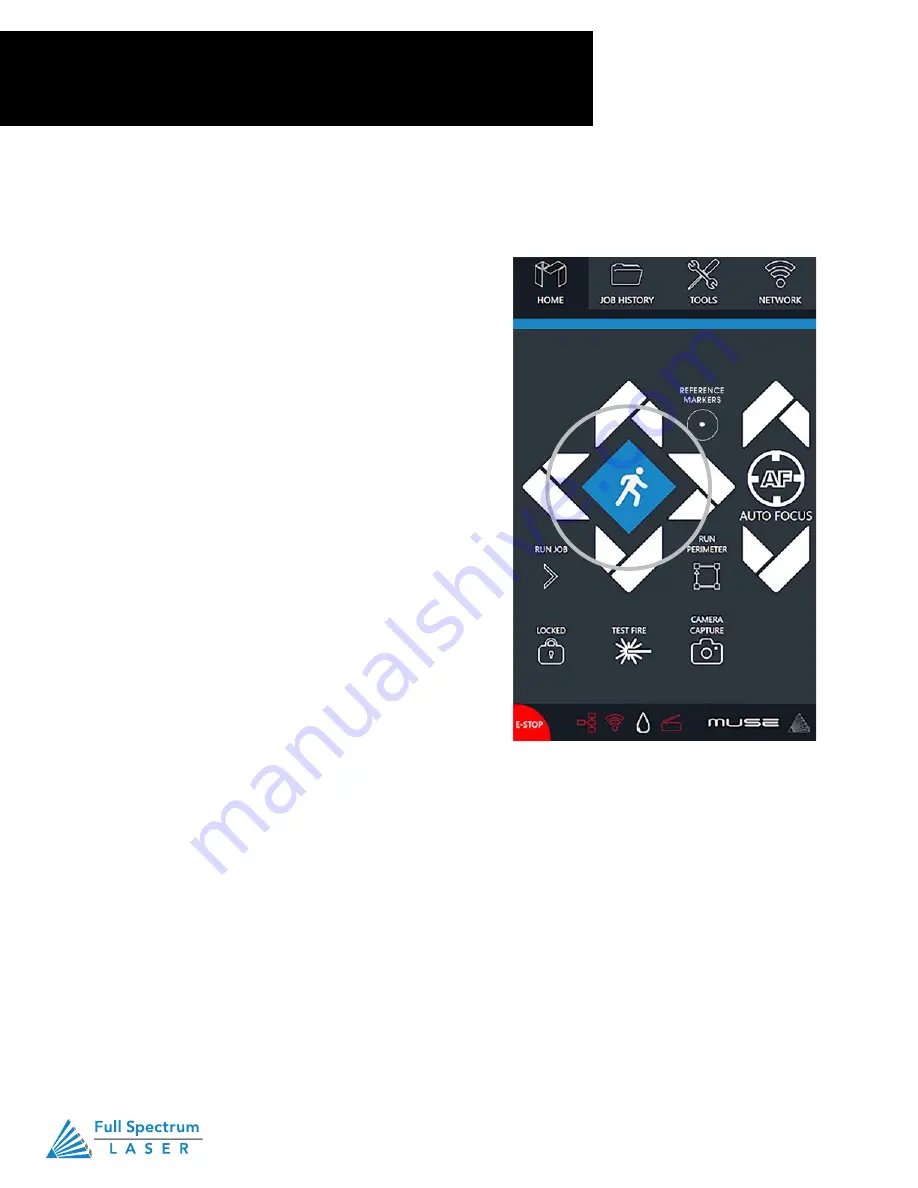
Positioning the Laser Head (Jog)
Operators will want to become accustomed to moving
the laser head, in order to position the laser. This can
be done in one of two methods: manual and jog control.
Manually moving the laser head requires that the laser
head be in the “Unlocked” position. To unlock the
laser head, push the “Lock” icon, on the touch screen,
so that the icon has an open lock icon. The laser
head can now be freely moved to any position in the
workspace by hand.
Jogging is when the operator uses the touch screen
“jog” buttons, or Ctrl + Left Mouse Button within the web
application workspace, to move the laser head. To use
the jog feature, the laser head must be in the “Locked”
position. To lock the laser head, push the “Lock” icon so
that the icon has a closed lock icon.
Positioning Material
Relative positioning is relative to the laser head. The red dot from the laser will be considered the top
left corner of an image. This makes positioning easier without the use of the Muse 3D camera system.
Absolute positioning is the default mode and will directly translate the object’s location on the computer
workspace to the respective location on the laser bed. Absolute positioning is ideal when using the
camera system.
You can switch from Relative Positioning to Absolute Positioning by going to Settings, within the Edit
drop-down options. Click Settings > Device. Next, choose Absolute Positioning or Relative Positioning on
the slide bar across from Laser Positioning. Click Save Changes when you are done.
Summary of Contents for MUSE 3D
Page 1: ......


