23
4. SETUP AND MAINTENANCE
4
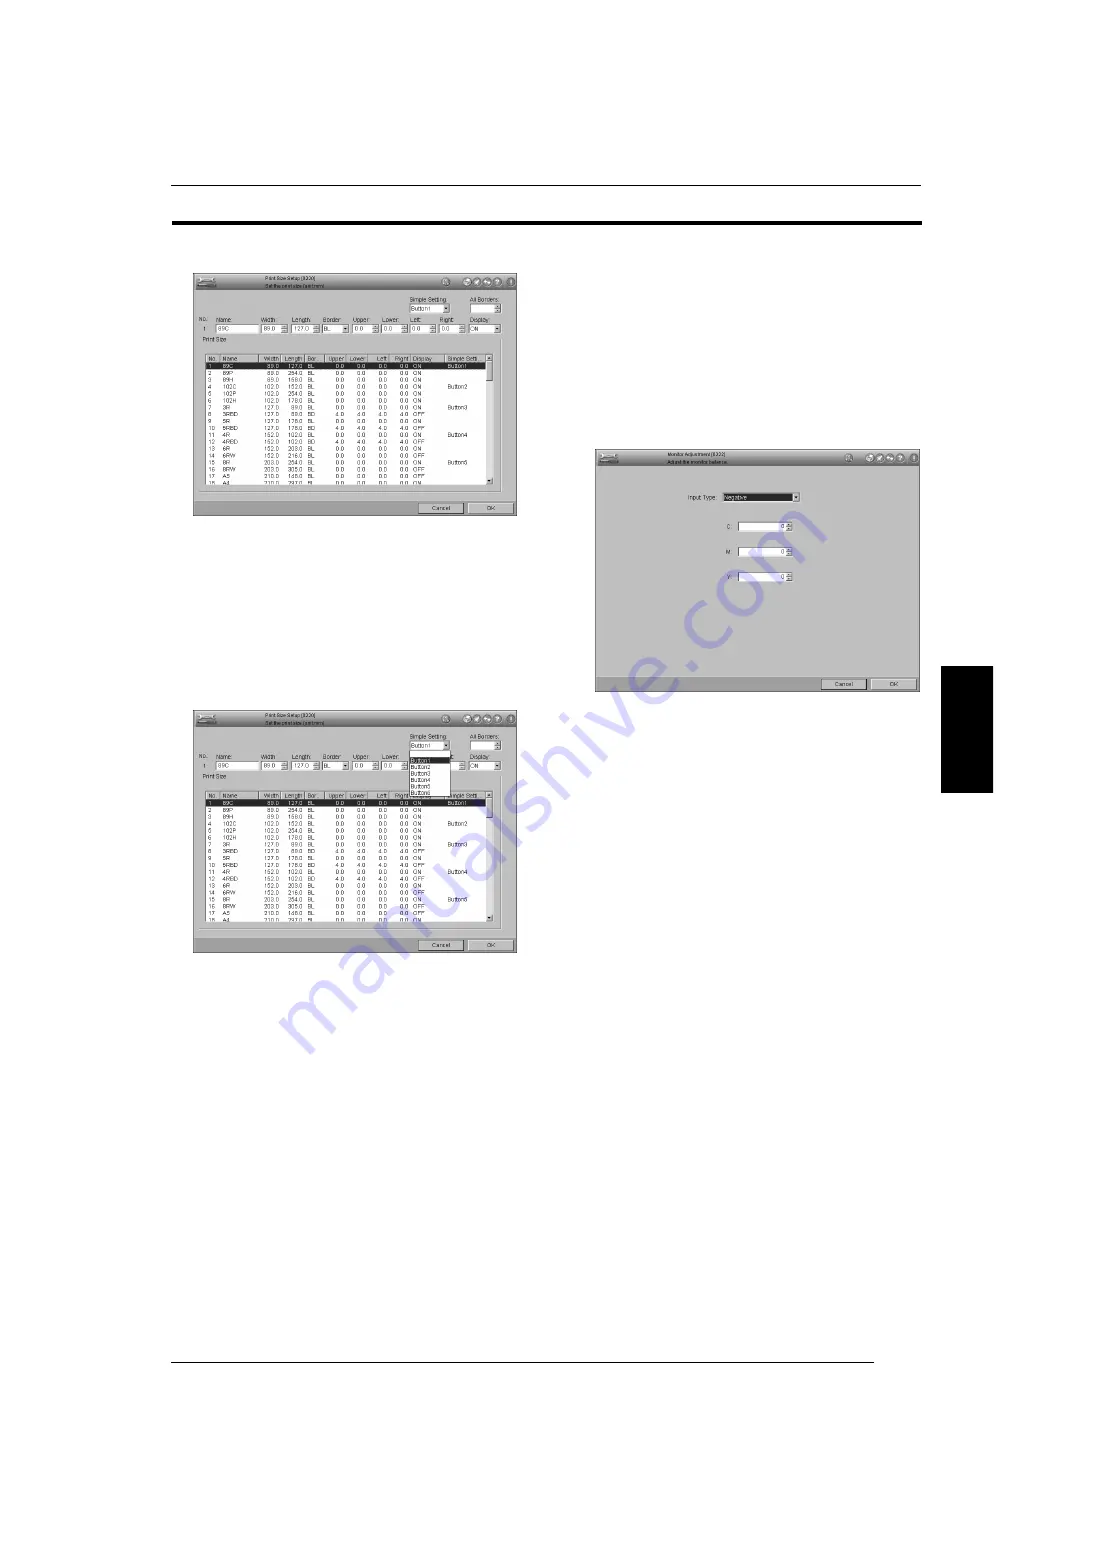
1. Allocate “Button 1” to “Button 6” in the “Simple Setting” box
for the most frequently used six print sizes.
NOTE: To change the simple setting button allocation, follow
the steps below.
1) When newly setting up the simple setting button,
select a print size to be set up and then the
unused simple setting button.
2) To cancel the simple setting button allocation,
select a print size to be canceled and then the
blank in the list of the “Simple Setting” box.
2. Move the cursor to the print size to be used, select “ON” or
“OFF” shown in the “Display”.
• If you select “ON”, the description appears on the list. If you
select “OFF”, nothing appears on the list.
3. To register a new print size, follow the steps below.
1) Move the cursor to an unnecessary print size.
2) Enter the IDno., name, width, length, border/borderless
and four border values and information display ON/OFF.
3) Select “ON” for “Display”.
4. Click the [OK] button.
• Operation returns to the menu screen.
4.3.3 Monitor Adjustment (0222)
[Selection]
[Setup and Maintenance]
→
[02 Print Condition Setup and
Check]
→
[0222 Monitor Adjustment]
[Procedure]
Set the color balance of the monitor for each input film type
(negative, reversal or B/W negative).
1. Make a print without color and density corrections from a
normal film using the master channel of the custom setting.
2. On the view and order screen, select master channel (0) for
custom setting and correct the pre-scanning image with the
C, M and Y keys so that it matches the print.
3. Multiply each of the key correction values by the “Key Step
Width Setup” value of the master channel (0) in Menu 0225
“Custom Setting Regist/Delete”. Then enter the results in the
respective boxes on the screen.
<Example>
“Key Step Width Setup” values of the master channel (0) in
Menu 0225 “Custom Setting Regist/Delete”:
C:
8
M:
8
Y:
8
Correction values in Step 2:
C:
+2
M:
–1
Y:
0
Correction values to be entered:
C:
8
×
2 = 16
M:
8
×
–1 = –8
Y:
8
×
0 = 0
4. Click the [OK] button.
• Operation returns to the menu screen.
4.3.3
SP3000_instruct_E.book 23 ページ 2007年12月11日 火曜日 午後1時6分


