21
4. SETUP AND MAINTENANCE
4
1. Move the cursor to “Device Name” and enter “FE-
FRONTIER” normally.
2. If the IC
3
is connected, move the cursor to “Order Identifier”
and enter “a”.
3. Move the cursor to the “Order Identifier” box and enter “b” for
the second machine if necessary.
4. Click the [OK] button.
• Operation returns to the menu screen.
4.2.5 Timer Waiting Time Setup (0125)
[Selection]
[Setup and Maintenance]
→
[01 System Operation Setup and
Check]
→
[0125 Timer Waiting Time Setup]
[Procedure]
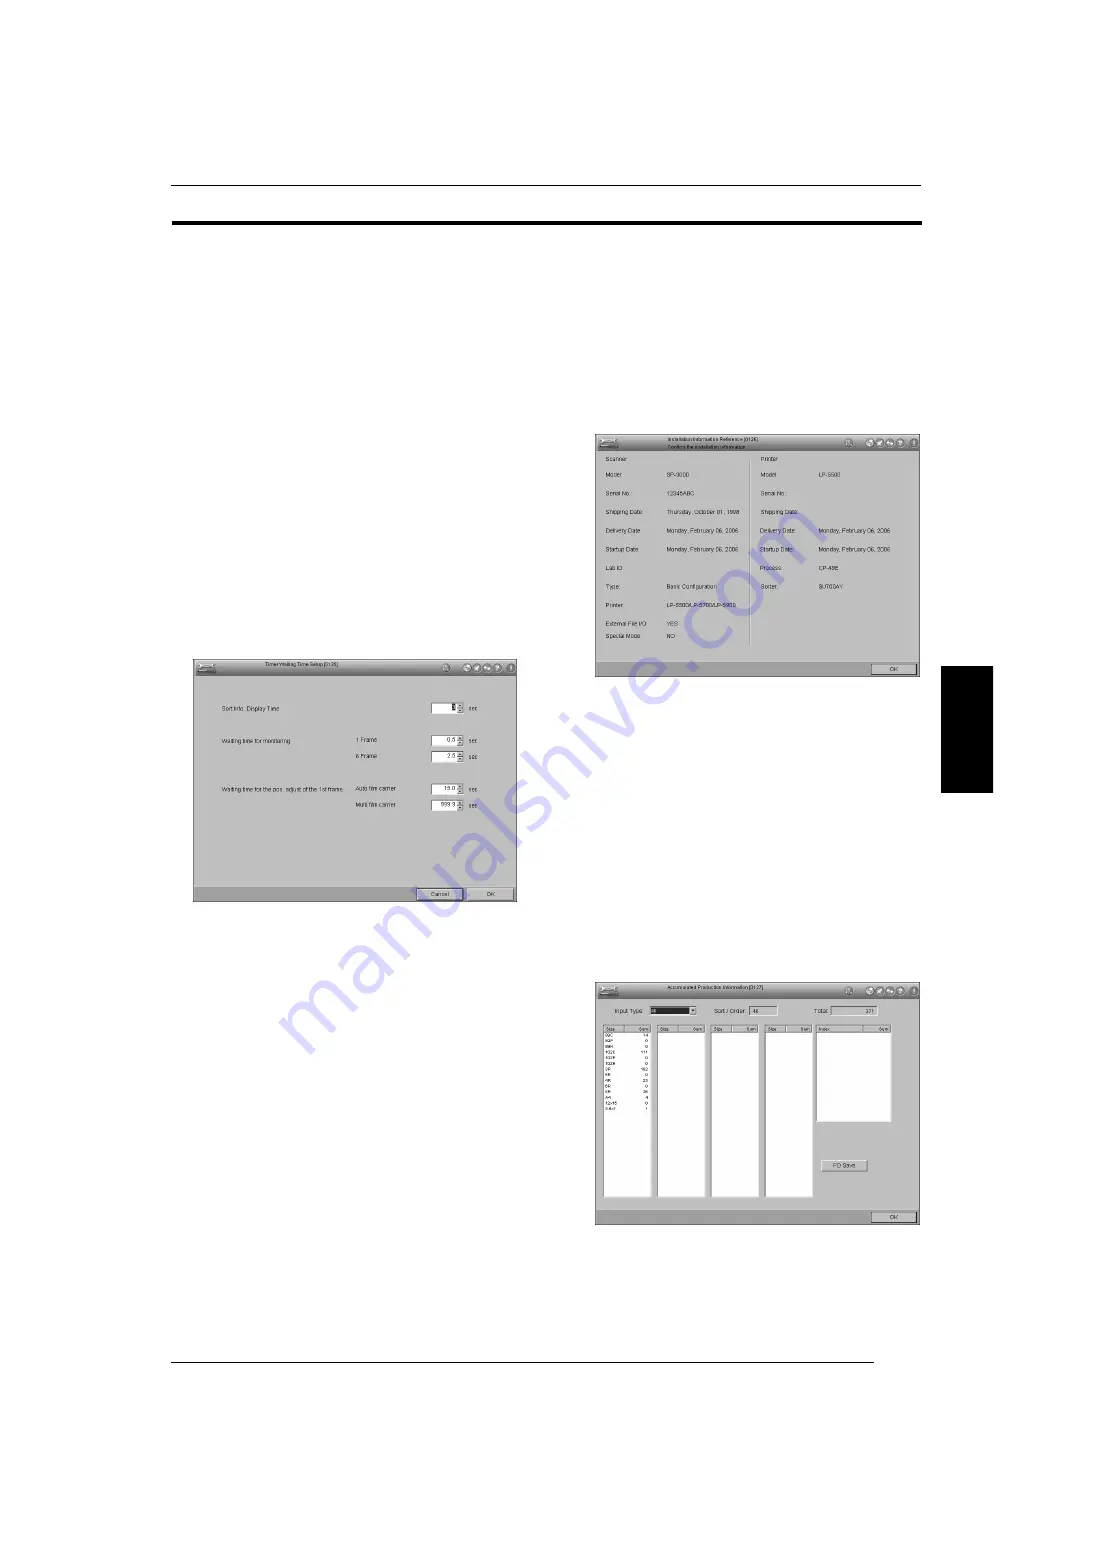
Set the sort information display time, waiting time for monitoring,
and waiting time for the position adjustment of the first frame.
“Sort Info. Display Time”:
Set up the sort data dialog box
display time when pressing the
[Sort] key or automatic sorting.
“Waiting time for monitoring”: Set up the waiting time from 1-
frame/6-frame display to printing
start. This function effects at “Auto”
film feed mode only.
“Waiting time for the pos. adjust of the 1st frame”:
Set up the display time of the black/
white image appears in the view
and order screen.
1. Move the cursor to the time box to be changed.
2. Change the time by clicking the [
▲
] or [
▼
] button.
3. Click the [OK] button.
• Operation returns to the menu screen.
4.2.6 Installation Information Reference (0126)
[Selection]
[Setup and Maintenance]
→
[01 System Operation Setup and
Check]
→
[0126 Installation Information Reference]
[Procedure]
Check the installation information.
1. Confirm the installation information.
2. Click the [OK] button.
• Operation returns to the menu screen.
4.2.7 Accumulated Production Information
(0127)
[Selection]
[Setup and Maintenance]
→
[01 System Operation Setup and
Check]
→
[0127 Accumulated Production Information]
[Procedure]
Confirm the accumulated production information.
NOTE: An asterisk (*) indicates duplicate size.
1. Record the accumulated production information.
2. To save the data into the floppy disk, follow these steps.
4.2.5
4.2.6
4.2.7
SP3000_instruct_E.book 21 ページ 2007年12月11日 火曜日 午後1時6分


