22
4. SETUP AND MAINTENANCE
4
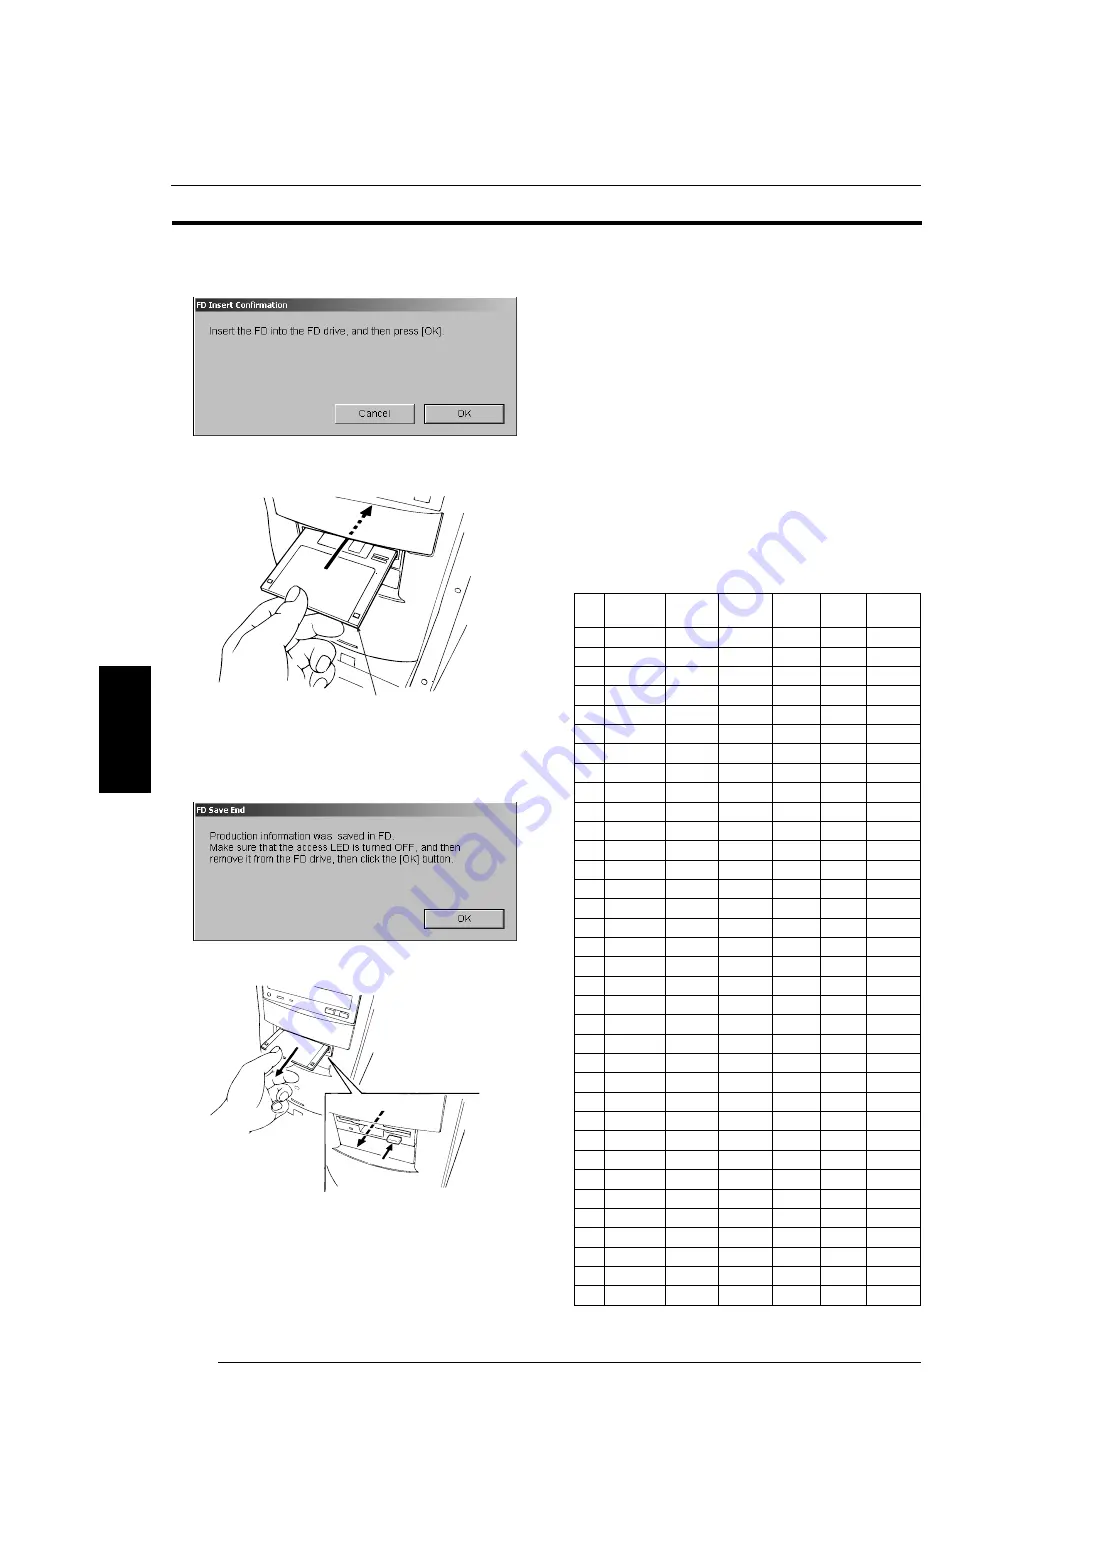
1) Click the [FD Save] button.
2) Insert the formatted floppy disk into the floppy drive of the
main control unit.
Z
2
041
3) Click the [OK] button.
• The data is saved into the floppy disk.
4) Remove the floppy disk from the floppy disk drive.
Z
2
042
5) Click the [OK] button.
• The dialog box disappears.
3. Click the [OK] button.
• Operation returns to the menu screen.
4.3
Print Condition Setup and Check
4.3.1 Paper Condition Setup (0200)
See the “Operating Instructions” manual.
4.3.2 Print Size Setup (0220)
[Selection]
[Setup and Maintenance]
→
[02 Print Condition Setup and
Check]
→
[0220 Print Size Setup]
[Procedure]
Set the print size to be used.
• Normally, the size is registered as shown in the following
table.
Floppy Disk
No.
Print Size
Width
[0.1mm]
Length
[0.1mm]
Display
Border
Simple
Setting
1
89C
89.0
127.0
ON
BL
1
2
89P
89.0
254.0
ON
BL
3
89H
89.0
158.0
ON
BL
4
102C
102.0
152.0
ON
BL
2
5
102P
102.0
254.0
ON
BL
6
102H
102.0
178.0
ON
BL
7
3R
127.0
89.0
ON
BL
3
8
3RBD
127.0
89.0
OFF
BD
9
5R
127.0
178.0
ON
BL
10
5RBD
127.0
178.0
OFF
BD
11
4R
152.0
102.0
ON
BL
4
12
4RBD
152.0
102.0
OFF
BD
13
6R
152.0
203.0
ON
BL
14
6RW
152.0
216.0
OFF
BL
15
8R
203.0
254.0
ON
BL
5
16
8RW
203.0
305.0
OFF
BL
17
A5
210.0
148.0
OFF
BL
18
A4
210.0
297.0
ON
BL
19
8R1
254.0
203.0
OFF
BL
20
10R
254.0
305.0
OFF
BL
21
10RW
254.0
381.0
OFF
BL
22
11
×
14
279.0
356.0
OFF
BL
23
11
×
17
279.0
432.0
OFF
BL
24
12
×
10
305.0
254.0
OFF
BL
25
12
×
15
305.0
381.0
ON
BL
26
12
×
18
305.0
457.0
OFF
BL
27
3DSC
89.0
119.0
OFF
BL
28
3DSCf
89.0
127.0
OFF
BD
29
4DSC
102.0
136.0
OFF
BL
30
4DSCf
102.0
152.0
OFF
BD
31
5DSC
127.0
169.0
OFF
BL
32
5DSCf
127.0
178.0
OFF
BD
33
89lx
89.0
120.0
OFF
BL
34
CDIDX
102.0
120.0
OFF
BL
35
127lx
127.0
120.0
OFF
BL
4.3
4.3.1
4.3.2
SP3000_instruct_E.book 22 ページ 2007年12月11日 火曜日 午後1時6分


