85
84
■
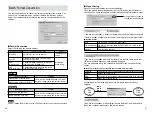
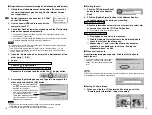
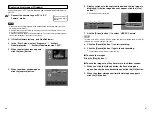
Add text
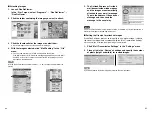
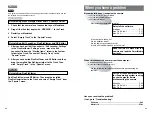
1. Click the [edit movie] button to
switch to the editing window.
2. Click the [text] button and enter the text.
☞
You can use the drag handle to adjust the position.
3. Use the buttons below the image to specify settings such as
the typeface and the time for which the text appears.
■
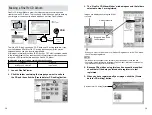
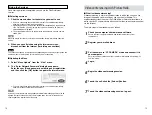
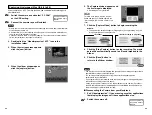
Play back and save the movie
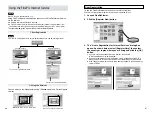
1. Click the [play movie] button to
switch to the playback window.
2. Click the [Play] button and check
the movie.
3. When you click the [save] button, the Save dialog box
appears. Specify the save location, file name, etc. and save
the movie file.
• If you leave the mouse pointer positioned over a button or image for a few seconds,
information about that button or image is displayed.
• In any window, you can access the online help by clicking “?”.
• In addition to “MPEG”, you can choose from a wide range of formats for saved files.
TIP
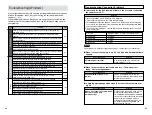
The procedure for capturing live images differs
depending on the operating system you are using.
Windows
/
P.86
Mac OS 8.6 to 9.2
/
P.88
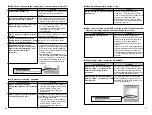
Drop images into here.
Drop sounds
into here.
Making Your Own Movies
<FinePixViewer>
■
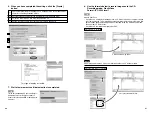
Store the movie in an album
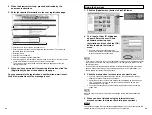
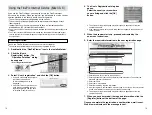
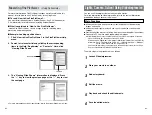
To work with still images, video and sound, you first have to import them into
the album window.
1. Launch VideoImpression.
Windows
In the “Start” menu, click “Programs”
/
“ArcSoft
VideoImpression”
/
“ArcSoft VideoImpression 1.6FP”.
Mac OS 8.6 to 9.2
Double-click the “VideoImpression 1.6FP” icon in the folder
where the software was installed.
2. Click the [new] button to open an album window.
3. Drag the thumbnails from FinePixViewer and drop them into
the album window.
■
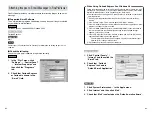
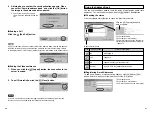
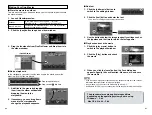
Add a storyboard
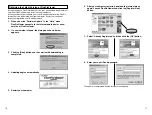
In the storyboard, you select the files to be used in the movie and set the
order in which the files are played.
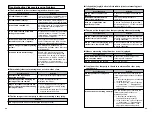
1. Add files to the movie by dragging
them from the album window and
dropping them onto the
storyboard.
2. If necessary, you can drag items
around in the storyboard to
change the playback sequence.

