Introduction
9
Introduction
8
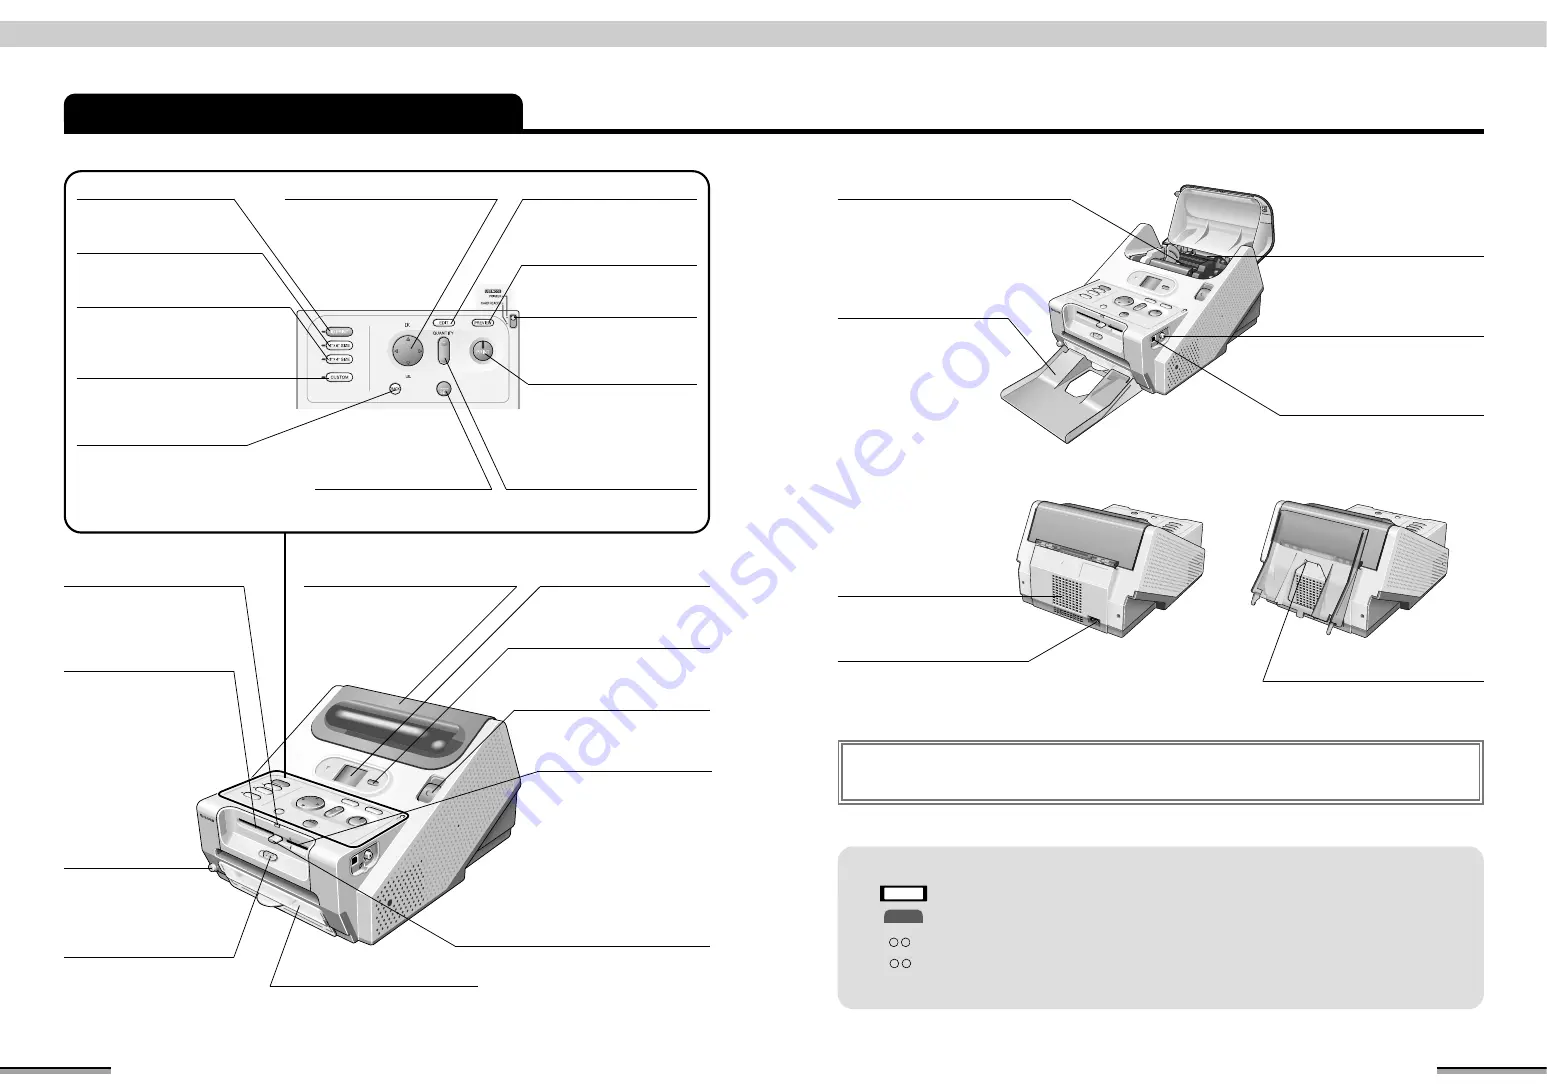
Name and Operation of Each Part
●
Paper compartment cover
Open when loading and
unloading the paper roll.
Make sure to use the
printer with this cover
closed.
●
LCD (Liquid crystal monitor)
Displays the operation menus
and the pictures in the memory
card.
●
[DISPLAY] button
Press to switch the Display of
picture between 1 frame display
and 9 frames display.
●
[4”
×
6” SIZE] button
Press to switch the print size
to [4”
×
6” size].
●
[3”
×
4” SIZE] button
Press to switch the print
size to [3”
×
4” size].
●
[ID PRINT] button
Press to switch print to [ID
print].
●
[CUSTOM] button
Press when specifying the print
mode and when making various
settings.
●
[BACK] button
Press to return to the last
picture and to interrupt
operation.
●
[SET] button
Press to set the setting
contents and picture.
●
[EDIT] button
Press to perform the photo
finish and print quality
functions.
●
[PREVIEW] button
Press to check the print
contents.
●
[PRINT] button
Press to perform printing.
When the picture, quantity
of prints, etc. are set and
printing is possible, the
lamp lights steadily. During
printing, the lamp blinks.
●
[QUANTITY] button : [+] [-]
Use to set the print number (set
number).
●
Direction buttons:
ab d c
Use to select the menu and picture
and to change the picture zoom rate.
●
[OPEN] button
Press to open the paper
compartment cover.
●
Card select lever
Switch this lever when loading
a SmartMedia or PC card into
the printer.
●
[BUSY] lamp
Blinks or lights when the
SmartMedia or PC card is
operating.
●
[EJECT] button
Press to remove the SmartMedia
or PC card.
✽
Press this button until the
SmartMedia or PC card is
completely ejected.
●
PC card slot
A PC card inserts into this slot.
This slot can be used when the
card select lever is in the [PC
CARD] position.
✽
Insert the PC card until it
clicks.
●
SmartMedia slot
A SmartMedia card inserts into
this slot.
This slot can be used when the
card select lever is in the
[SmartMedia] position.
✽
Insert the SmartMedia card
until it clicks.
●
[POWER] button
Press to turn the
printer power on and
off.
●
Trash box
Receives the cuttings while
printing.
●
[USB MODE] switch
Switch according to the
function when the printer is
connected to a PC.
●
Paper tray
Holds the printed paper.
●
USB terminal
(PC connection)
Connects the USB cable
(commercial part) when
connecting the printer to a PC.
●
Ventilation holes
Exhaust the printer heat.
Do not block these holes.
●
Power input terminal
Connects the power cable.
●
Picture output terminal
(video output)
Connects to a television set
using a video cable.
●
Paper alignment position
Use to align the top edge of the
paper when loading the paper.
●
Paper tray hook
●
Paper holder slot
The paper holder fits here.
■
Owner’s Manual symbols
: Precautions to be observed during operation.
: More suitable usage method and operation points.
“ ”
: Represents the name of the menu or window displayed on the LCD monitor.
[ ]
: Represents the name of a printer button.
✽
In this manual, “memory card” refers to both SmartMedia and PC card.
Note
T I P
■
Screen saver :
This function prevents burning of the LCD monitor screen. When the display does
not change within 20 minutes, the monitor enters the screen saver mode. When any
button is pressed, the monitor returns to the original window.


