7.10 Adjusting the Image Transfer Voltage
169
7.10
Adjusting the Image Transfer Voltage
When you have unsatisfactory printing results, such as white spots on the printed image,
having extra toner spilt on the printout, or a bluish printout, adjust the image transfer voltage
to solve these printing problems.
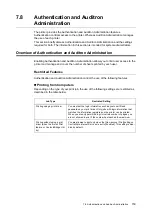
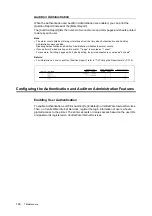
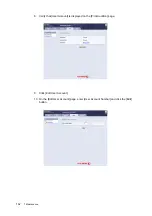
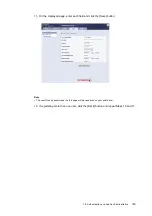
The image transfer voltage can be adjusted within the range of -6 to 6 in increments of 1 for
each paper type. The default is "0".
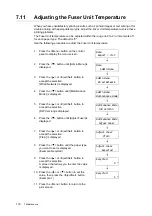
Use the following procedure to adjust the image transfer voltage.
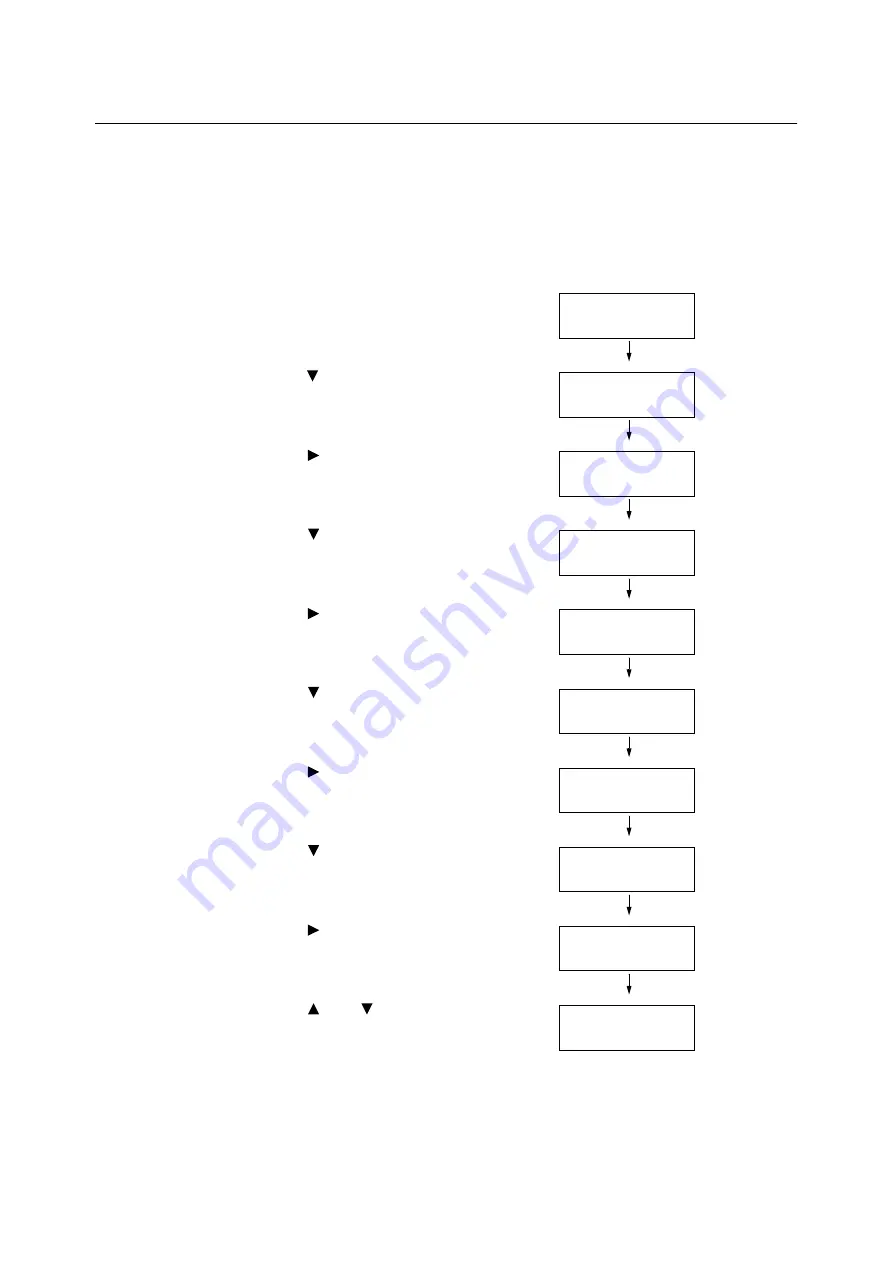
1.
Press the <Menu> button on the control
panel to display the menu screen.
2.
Press the < > button until [Admin Menu] is
displayed.
3.
Press the < > or <Eject/Set> button to
accept the selection.
[Wired Network] is displayed.
4.
Press the < > button until [Maintenance
Mode] is displayed.
5.
Press the < > or <Eject/Set> button to
accept the selection.
[F/W Version] is displayed.
6.
Press the < > button until [Adjust BTR] is
displayed.
7.
Press the < > or <Eject/Set> button to
accept the selection.
[Plain] is displayed.
8.
Press the < > button until the paper type
you want to set is displayed.
(Example: Recycled)
9.
Press the < > or <Eject/Set> button to
accept the selection.
A screen that allows you to enter the value
is displayed.
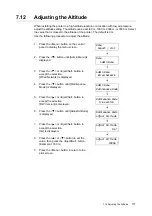
10. Press the < > or < > button to set the
value, then press the <Eject/Set> button.
(Example: 1)
11. Press the <Menu> button to return to the
print screen.
Menu
Report / List
Menu
Admin Menu
Admin Menu
Wired Network
Admin Menu
Maintenance Mode
Maintenance Mode
F/W Version
Maintenance Mode
Adjust BTR
Adjust BTR
Plain
Adjust BTR
Recycled
Recycled
0 *
Recycled
1 *
Summary of Contents for DocuPrint C2120
Page 1: ...1 ...

