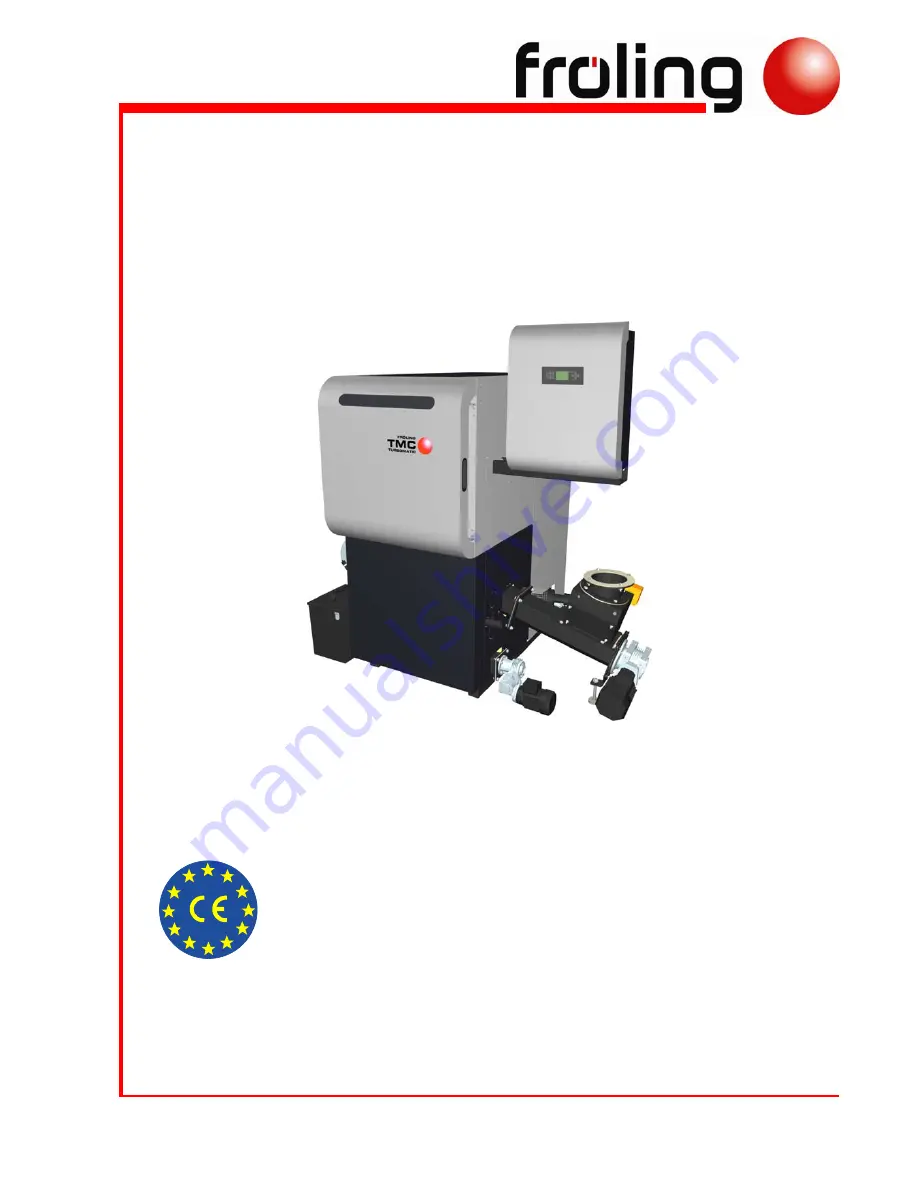
Froling Turbomatic TMC 100 Installation Instructions Manual Download Page 1

Fröling Heizkessel- und Behälterbau Ges.m.b.H, Industriestrasse 12, A-4710 Grieskirchen 

Tel +43 (0) 7248 606-0  Fax +43 (0) 7248 606-600   [email protected]  www.froeling.com 


Installation Instructions 


Turbomatic TMC 70-100 


Be sure to read and comply with the operating instructions and safety 

instructions. 

Subject to technical change. 


Summary of Contents for Turbomatic TMC 100

Page 1: ...e 12 A 4710 Grieskirchen Tel 43 0 7248 606 0 Fax 43 0 7248 606 600 info froeling com www froeling com Installation Instructions Turbomatic TMC 70 100 Be sure to read and comply with the operating inst...

Page 2: ......

Page 3: ...us know Subject to technical change Delivery Certificate Keeping a record that the delivery was received correctly and collecting customer specific data relating to the system allows us to respond qu...

Page 4: ...p in the boiler room 14 3 2 1 Removing the boiler from the pallet 14 3 2 2 Moving the boiler in the boiler room 14 3 2 3 Minimum distances in the boiler room 15 3 2 4 General information for boiler ro...

Page 5: ...3 14 Fitting the noise protection hood and ashcans 32 3 3 15 Fitting switch cabinet and cable ducts 33 3 3 16 Final tests 34 3 4 Electrical connection 35 3 4 1 Laying the cable 35 3 4 2 Install the b...

Page 6: ...eating systems NORM B 8130 Safety devices open water heating systems NORM B 8131 Closed water heating systems safety requirements DIN 4751 Parts 1 4 Heating system safety equipment NORM DIN EN 13384 1...

Page 7: ...the building authorities Austria Inform the civic municipal building authorities Germany Register with an approved chimney sweep the building authorities 1 2 2 Requirements for central heating water...

Page 8: ...ith a storage tank as this allows you to achieve continuous reduction within the ideal performance range of the boiler For the correct dimensions of the storage tank and the line insulation in accorda...

Page 9: ...mney system should be as short as possible The incline of the connection should not exceed 30 45 Insulate the connection The entire flue gas system chimney and connection must be calculated as per NOR...

Page 10: ...ight return connection 450 H5 Height drain 125 H8 Height induced draught fan connection 1540 H15 Height gravity shaft connection 730 H18 Height safety battery connection mm 1200 B Width of boiler 820...

Page 11: ...C 70 85 100 A Flue gas pipe diameter mm 200 B Boiler outfeed connection 2 C Connecting the thermal discharge safety device 1 2 D Boiler return feed connection 2 E Connection for filling emptying cock...

Page 12: ...W 77 1 93 3 108 1 Detailed information on the fuel is included in the operating instructions in the section on Permitted fuels Test data for operation with wood chips Description Unit 70 85 100 Testin...

Page 13: ...of issue 1 1 1 Carbon monoxide CO Rated load Partial load mg MJ 25 09 68 09 17 18 45 18 9 27 22 27 Nitrogen oxide NOx Rated load Partial load mg MJ 74 09 not measured 66 18 not measured 58 27 not mea...

Page 14: ...packaging U Remove boiler from pallet See 3 2 1 Removing the boiler from the pallet 3 1 2 Temporary storage If the system is to be installed at a later date U Store the boiler insulation and control u...

Page 15: ...sures Dimension Description Units 70 100 A Minimum distance from back of boiler to wall 700 B Minimum distance from front of boiler to wall space required for opening insulating door 950 C Minimum dis...

Page 16: ...oles on the chamber opposite the operating side should be closed with M5 hexagonal screws or heat resistant adhesive tape U Remove the chamber from the pallet and position in the boiler The connection...

Page 17: ...48 606 600 info froeling com www froeling com M1020008_en 3 Installing fitted screws U Screw 12 fitted screws to the threaded holes in the chamber provided 3 3 2 Installing the boiler insulation Insta...

Page 18: ...ng the insulating side panels NOTICE The separate parts of the boiler insulation are fitted with a protective film This must always be removed before installation For both rear insulating side panels...

Page 19: ...insulation mat U Put the side panel on at the back on the right by the insulation mounting brackets at the bottom U Push the side panel onto the boiler and screw to the connecting profile with a self...

Page 20: ...e right side panel U Put a spacer washer 44 mm onto the threaded bolts on the boiler U Push the front side panel onto the boiler and put the insulation mounting bracket onto the threaded bolts U Put o...

Page 21: ...side insulation cover plates on the left and right as shown U Measure the diagonal length to align the side panels in parallel position U Fix the position of the aligned side panels by screwing them i...

Page 22: ...ls and push back Ensure that the insulating cover pin engages in the slit of the side panels U Screw the insulating cover to the side insulation cover plates on the left and right U Put on the rear in...

Page 23: ...at the fitted screws engage correctly in the spring shackles U Fit the cover plate at the stoker duct with self tapping screws U Put on the insulation on the grate shaft side Ensure that the fitted sc...

Page 24: ...til about 20 mm of the sensor protrudes from the brass bushing The point of the sensor should be in the middle of the flue gas pipe U Fix the position of the flue gas sensor lightly with a wing nut U...

Page 25: ...lever lies on the buffer stop U Turn the WOS mounting bracket so that the linking plates of the WOS springs do not lie on the heat exchanger pipes U Secure the position using a clamping jaw U Fit the...

Page 26: ...th of 1000 mm for the heat exchanger ash removal unit U Take out the key and remove the shaft circlip U Lubricate the stub shaft of the ash screw U Insert the ash screw at the flange plate and turn un...

Page 27: ...the chamber ash removal unit U Take out the key and remove the shaft circlip U Lubricate the stub shaft of the ash screw U Insert the ash screw at the geared motor U Turn the ash screw until the keywa...

Page 28: ...ition the stoker unit by the chamber and put the ceramic fibre seal over the stoker screw U Secure the stoker unit to the chamber flange 4 hexagonal screws M x mm 4 spacer washers 4 hexagonal nuts M U...

Page 29: ...o the connection at the chamber left next to the stoker connection and fix with a hose clip 3 3 10 Installing the combustion chamber overpressure sensor If combined with a pellet suction system the co...

Page 30: ...uct U Secure the transparent tubing to the hose nozzle with a hose clamp U Install the underpressure sensor cartridge as shown with self tapping screws U Connect transparent tubing with hose clip at M...

Page 31: ...handle in the hole provided U Fasten the door handle in place 1 hexagonal screw M8x30 U After assembly check that the door handle operates smoothly U Position the safety clamp on the door frame U Fix...

Page 32: ...ection hood and ashcans U Put the noise protection hood over the cable duct and fix with a self tapping screw Ensure that the fitted screws engage correctly in the spring shackles Use a self tapping s...

Page 33: ...length of the cables for the individual units are measured for this side U Put 12 mm spacer washers on the threaded bolts U Put the bracket for the switch cabinet on the threaded bolts and fix 4 spac...

Page 34: ...various distances apart Use self tapping screws with broad heads The vertical cable duct below the switch cabinet must be cut out horizontally connection to horizontal duct U Fit the switch cabinet to...

Page 35: ...le ties strain relief U Gather the cables for the boiler sensor door contact switch STL ID fan Lambda probe and WOS drive at the back of the boiler and secure to the insulation with cable ties and cem...

Page 36: ...ot be shut off 1 Thermal discharge safety device sensor 2 Thermal discharge safety device opens at 95 C 3 Safety valve 4 Cleaning valve T piece 5 Check valve 6 Dirt trap 7 Pressure reducing valve Requ...

Page 37: ...r for the first time U Adjust the control unit to the system type The keypad assignment and the steps necessary to modify the control parameters are detailed in the accompanying operating instructions...

Page 38: ...ormed U Commissioning report given to customer U Telephone number for manufacturer s service department indicated U Rating plate attached Following items checked U No defects found U Notice All nation...

Page 39: ...pendix Your notes Fr ling Heizkessel und Beh lterbau Ges m b H Industriestrasse 12 A 4710 Grieskirchen Page 39 Tel 43 0 7248 606 0 Fax 43 0 7248 606 600 info froeling com www froeling com M1020008_en...

Reviews: