20
080410
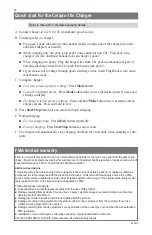
FMA limited warranty
FMA, Inc. warrants this product to be free of manufacturing defects for the term of one year from the date of pur-
chase. Should any defects covered by this warranty occur, the product shall be repaired or replaced with a unit of
equal performance by FMA or an authorized FMA service station.
Limits and exclusions
This warranty may be enforced only by the original purchaser, who uses this product in its original condition as
purchased, in strict accordance with the product’s instructions. Units returned for warranty service to an FMA
service center will be accepted for service when shipped postpaid, with a copy of the original sales receipt or war-
ranty registration form, to the service station designated by FMA.
This warranty does not apply to:
Consequential or incidental losses resulting from the use of this product.
Damage resulting from accident, misuse, abuse, neglect, electrical surges, reversed polarity on connectors,
lightning or other acts of God.
Damage from failure to follow instructions supplied with the product.
Damage occurring during shipment of the product either to the customer or from the customer for service
(claims must be presented to the carrier).
Damage resulting from repair, adjustment, or any alteration of the product by anyone other than an authorized
FMA technician.
Installation or removal charges, or damage caused by improper installation or removal.
Call (301) 668-4280 for more information about service and warranty repairs.
Quick start for the Cellpro 10s Charger
Refer to manual for complete operating details.
A. Connect charger to a 12V to 16V (maximum) power source.
B. Connect pack(s) to charger.
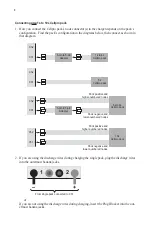
Plug pack’s node connector(s) into channel jack(s) on right side of the charger (use node
connector adapters as needed).
When charging only one pack, plug pack’s node connector into Ch1. Plug pack’s dis-
charge wires into outermost banana jacks on charger’s panel.
When charging two packs: Plug discharge wires from Ch1 pack into banana jack pair #1,
and plug discharge wires from Ch2 pack into banana jack pair #2.
If you choose not to charge through pack’s discharge wires, insert Plug Blocker into outer-
most banana jacks.
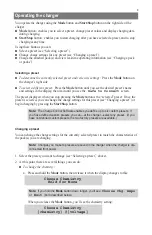
C. Configure charger:
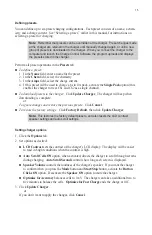
To review selected preset’s settings:
Press
Mode
button.
To select a different preset:
Press
Mode
button until you see the desired preset’s name and
settings in display.
To change selected preset’s settings:
Press and hold
Mode
button to set chemistry and/or
charge current. Press and hold to exit.
D. Press
Start/Stop
button for one second to begin charging.
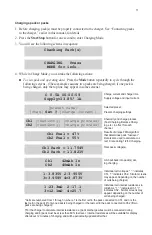
E. During charging:
To view charge data:
Press
Mode
button repeatedly.
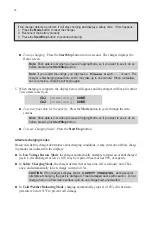
To stop charging:
Press
Start/Stop
button for one second.
F. The charger will automatically stop charging, and beep for 30 seconds, when charging is com-
plete.

