Operation
Web Server Application
31
6
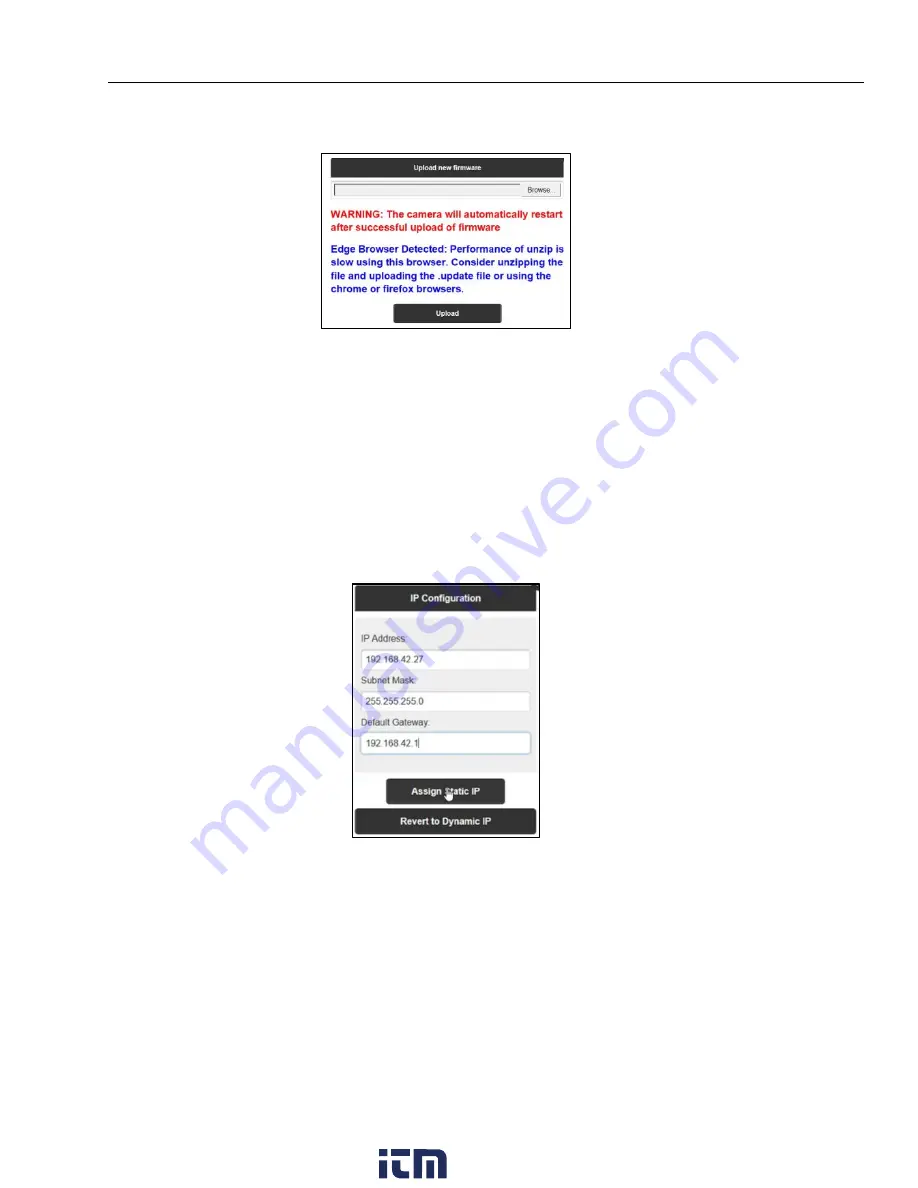
Figure 6-3: Dialog Box for Uploading new Firmware
<Download from Camera>
– opens a file explorer which allows you to download important camera related files
such as the installation file for the ThermoView Software and for the ThermoView Software light as well as the
firmware file.
<Restart Camera>
– forces the camera to reboot. Please note, most of the parameters set by the browser are lost
after a reboot and must be reset (e.g., emissivity).
6.4.4 Network Configuration
The <Static Ethernet IP> menu entry provides information on the current network configuration settings. Clicking
on the <Configure Ethernet IP> button opens the following dialog box:
Figure 6-4: Dialog Box for the Network Configuration
<IP Configuration>
– changes the camera network setting in its parameters <IP address>, <Subnet Mask>, and
<Default Gateway>.
The camera’s <IP address> is not free of choice: It must be unique in the network, meaning that no other device
in the network (including the PC network adapter) may run at the same IP address.
The <Subnet Mask> defines the interpretation of the IP address. A typical setting is 255.255.255.0.
The <Default Gateway> must not be the same as the <IP Address>.
<Assign Static IP>
– clicking on that button forces the camera to quit the <Dynamic IP> mode (DHCP) and to
activate the <Static IP> mode by taking over the parameters given under <IP configuration>. A changed network
setting requires a reboot of the camera.
<Revert to Dynamic IP>
– switches the camera back to the <Dynamic IP> mode (DHCP).
www.
.com
1.800.561.8187


