3-15
FPC 5000 Front Panel Controller • Matrix 12800 Operation
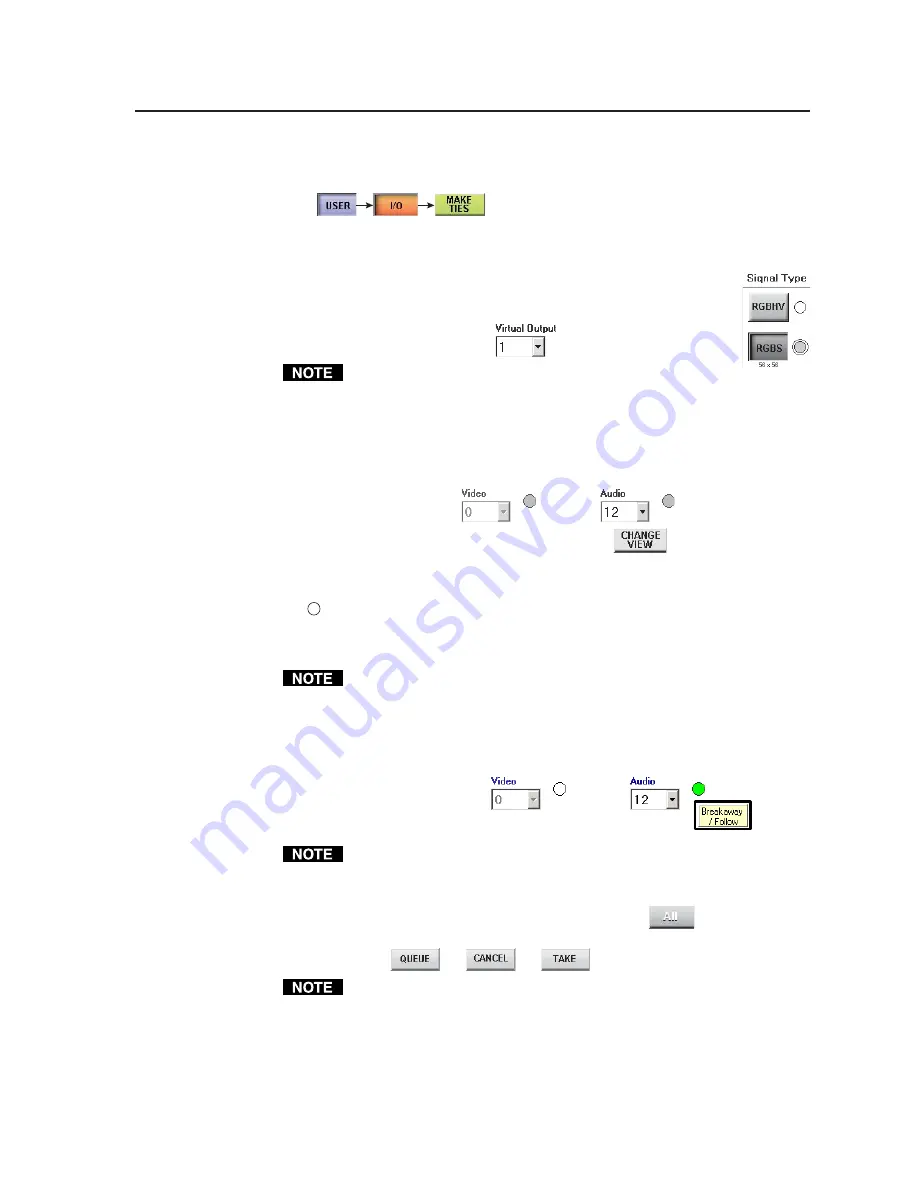
Tie an input to an output as follows:
1
.
Touch the blue
User
> amber
I/O
> green
Make Ties
buttons.
The FPC displays one of the I/O Make Ties screen (figure 3-9). The screen
view that the FPC displays is the last Make Ties screen that was active.
2
.
Select the video and/or audio format(s) to tie by touching the
desired Signal Type button(s). On the dual-keypad screen, the
first virtual output among the selected signal types is displayed
in the Virtual Output field.
Available signal types are indicated by a green circle. Selected
signal types are indicated by a red ring around the green circle.
Video signal types (
RGBHV
,
RGBS
,
RGsB
,
YUV
,
YC
, and
Video
) include the
audio plane (if there is one in your system). The
Audio Only
signal type does
not include any video planes.
If an input is tied to that output, the input is displayed in the Input Video
(and/or Audio) field.
3
.
If desired, touch the green
Change View
button
to toggle between the
Make Ties: dual keypad screen and the Make Ties: alternate view screen.
Creating ties using the Make Ties: dual keypad screen
See
5
on figure 3-8.
1
.
Use the input keypad or scroll through the valid inputs to select an input to
tie.
Leading zeroes are not required.
If you enter a number for a virtual input that does not exist in the
Matrix 12800, the number is displayed in red in the keypad display.
2
.
For systems with both audio and video BMEs, select the video, audio, or both
to tie by touching the yellow
Breakaway/Follow
button, as necessary, to turn the
desired selection(s) green.
The
Breakaway/Follow
button does not appear in video-only or audio-only
systems.
3
.
Use the output keypad or scroll through the valid outputs to select an output
to tie to the selected input, or touch the blue
All
key
to tie one input
to all outputs. The
Queue
,
Cancel
, and
Take
buttons appear on the bottom of
the screen.
Leading zeroes are not required.
If you enter a number for a virtual output that does not exist in the
Matrix 12800, the number is displayed in red in the keypad display.
Changes do not take affect until you press the
Take
button.
4
.
For an immediate tie
, proceed to step
7
.


