ExRobotics B.V.
ExR-2 Robot
Operating Guide
Document No.:
20220412IP1
Version No.: 2
Owner:
Ian Peerless
Date:
2022-04-30
Page 27 of 39
This document is considered an uncontrolled copy when printed. Always ensure that you print and use a current version.
Copyright 2022 ExRobotics B.V.
8.8.
Calibrating gas detectors
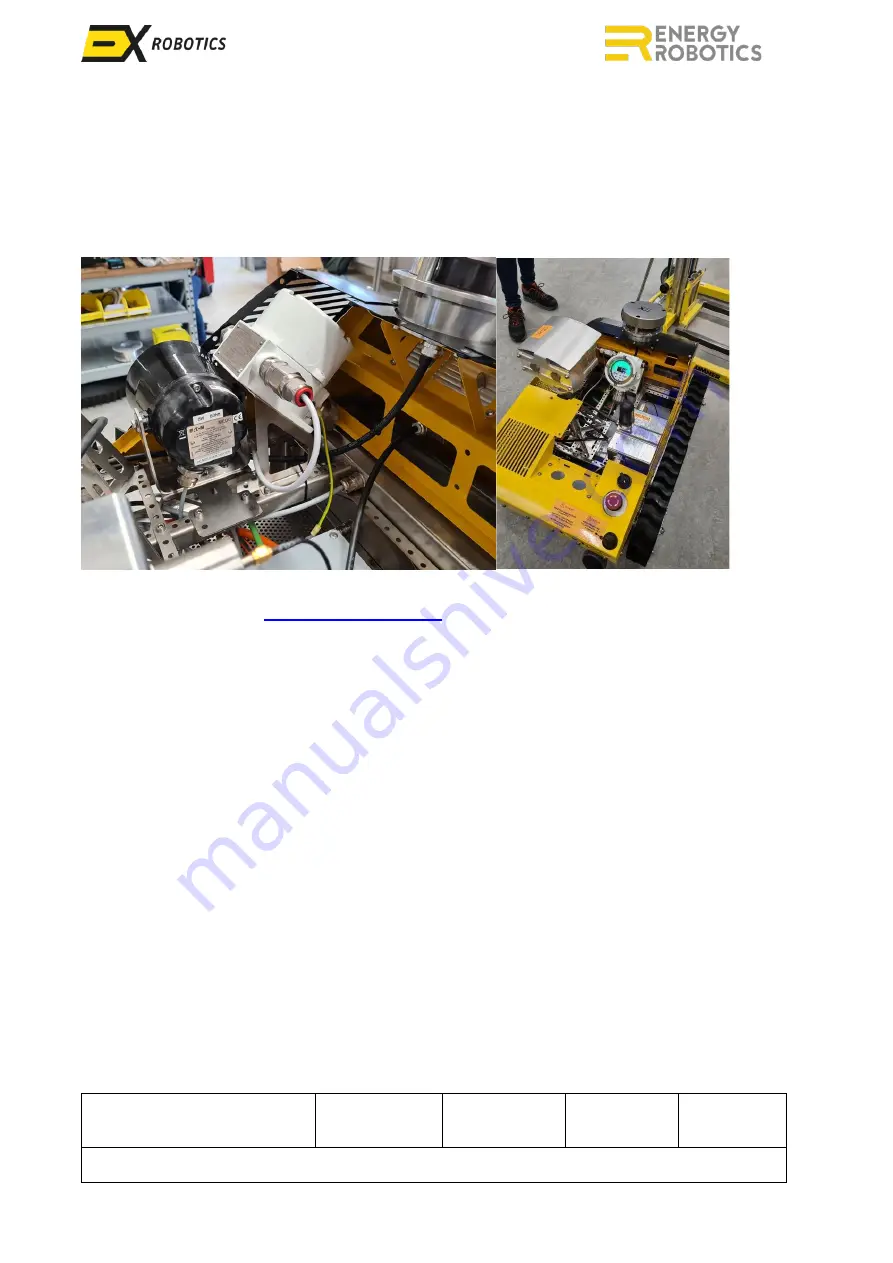
The gas detectors are located inside the robot’s hull.
Often they can be accessed by removing the
hull’s top plate but sometimes it may also be necessary to remove the sideplate RH and/or back
cover.
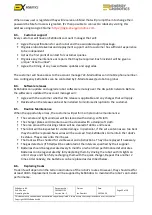
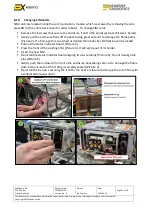
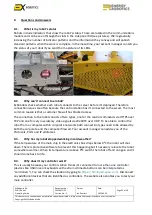
The orientation of the gas sensors will vary according to the other options that are installed. These
pictures show two examples.
Once accessed, the sensors should be calibrated in accordance with the instructions of the gas
detector’s supplier
–
8.9.
Replacing batteries
T
o replace the robot’s batteries
:
▪
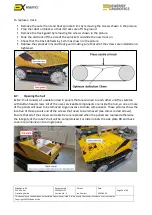
Remove the right track guard as described in Section 8.6. Then cut the cable tie that secures
the microphone cable (Picture 1 below). This is to
release the extra cable that’s required
when removing the robot’s lower front cover.
▪
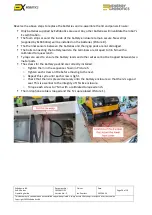
Remove the 4 screws that secure the robot’s lower front cover, carefully pull out
from the
hull spare cable for the microphone and charger, and put the cover to one side (Pictures 2
and 3).
▪
Remove the 2 screws that secure the robot’s
upper front cover and put the cover to one side
(Picture 4). These are dome head screws (unlike the others) and must be used during re-
assembly otherwise the lower front cover won’t fit.
▪
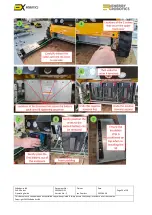
Remove the
8 screws that secure the battery pack’s
lid and put it to one side (Picture 5).
▪
Unscrew the cables from the battery terminals in the sequence shown in Picture 6. Although
the battery voltage is no more than 45 VDC it’s good practice to use insulated tools and to
wrap the freed terminals in masking tape to prevent short circuits.
▪
Ease the batteries out of the pack starting with that on the left (Picture 7). Sometimes a pull
cord may be installed to help.
If it’s not fitted, the battery can be eased forward using a
screwdriver on either side of the battery.
▪
Readjust the wire inside the battery pack so that the middle battery can be removed (Picture
8) and then remove the third battery.


