30
5.1.18
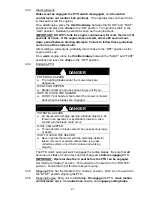
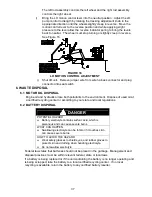
Lubricate brake rod bushings:
Service Interval: 160 hrs.
a)
Stop engine, wait for all moving parts to stop, and remove key.
b)
Unhook seat latch and tilt seat up.
c)
Lubricate bronze bushings on each end of brake rod shaft with a spray type
lubricant or a light oil. Shaft is located under the console.
5.1.19
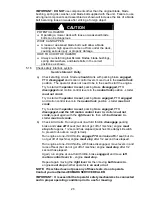
Lubricate motion control bronze bushings:
Service Interval: 160 hrs.
a)
Stop engine, wait for all moving parts to stop, and remove key.
b)
Unhook seat latch and tilt seat up.
c)
Lubricate bronze bushings on flange bearings securing the motion control
arm shafts with a light oil or a spray type lubricant.
5.1.20
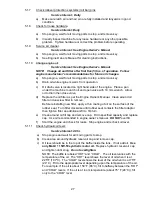
Remove engine shrouds and clean cooling fins:
Service Interval: 80 hrs.
a)
Stop engine, wait for all moving parts to stop, and remove key.
b)
Remove cooling shrouds from engine and clean cooling fins. Also clean
dust, dirt and oil from external surfaces of engine, which can cause
improper cooling.
c)
Make sure cooling shrouds are properly reinstalled. Operating the engine
without cooling shrouds will cause engine damage due to overheating.
5.1.21
Check spark plug:
Service Interval: 160 hrs.
a)
Remove spark plug, check condition and reset gap, or replace with new
plug. See Engine Owners Manual.
5.1.22
Change fuel filter:
Service Interval: As Required
a)
A fuel filter is installed between the fuel tanks and the engine. Replace
when necessary.
For Kohler engines use
Kohler
P/N 2405002.
For Kawasaki engines use
Kawasaki
P/N 49019-7001
5.1.23
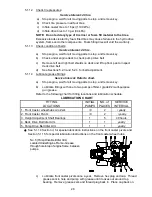
Change hydraulic system filter:
Service Interval: After First 250 hrs.
Then
yearly thereafter
NOTE: Use only Exmark Part No. 1-513211 for Summer use above
32
°
F
(0°C) or Part No. 1-523541 for Winter use below 32
°
F (0°C).
a)
Stop engine, wait for all moving parts to stop, and remove key.
b)
Locate filter under right rear corner of engine deck.
c)
Carefully clean area around filter. It is
important
that
no dirt
or
contamination
enter hydraulic system.
d)
Unscrew filter to remove and allow oil to drain from reservoir.
IMPORTANT
: Before reinstalling new filter, fill it with Mobil 1 15W-50 and
apply a thin coat of oil on the surface of the rubber seal.
Turn the filter clockwise until rubber seal contacts the filter adapter then
tighten the filter an additional 2/3 to 3/4 turn.
e)
Fill reservoir as stated in Section 5.1.10.
Summary of Contents for Laser Z CT
Page 1: ...For Serial Nos 540 000 Higher Part No 103 9180 ...
Page 45: ...40 8 BRIGGS STRATTON ELECTRICAL DIAGRAM ...
Page 46: ...41 9 HYDRAULIC DIAGRAM ...
Page 48: ... 43 NOTES ...
Page 49: ... 44 NOTES ...
Page 50: ... 45 SERVICE RECORD Date Description of Work Done Service Done By ...
Page 51: ... 46 ...


