The Directive 2006/42/EC and the regulation 2008
No. 1957 and the ISO International Standard EN
ISO 11148-13:2018
lay down certain safety requirements for hand-
held non-electric power fastener driving tools, and in your own interest we
recommend you follow these safety requirements without exception.
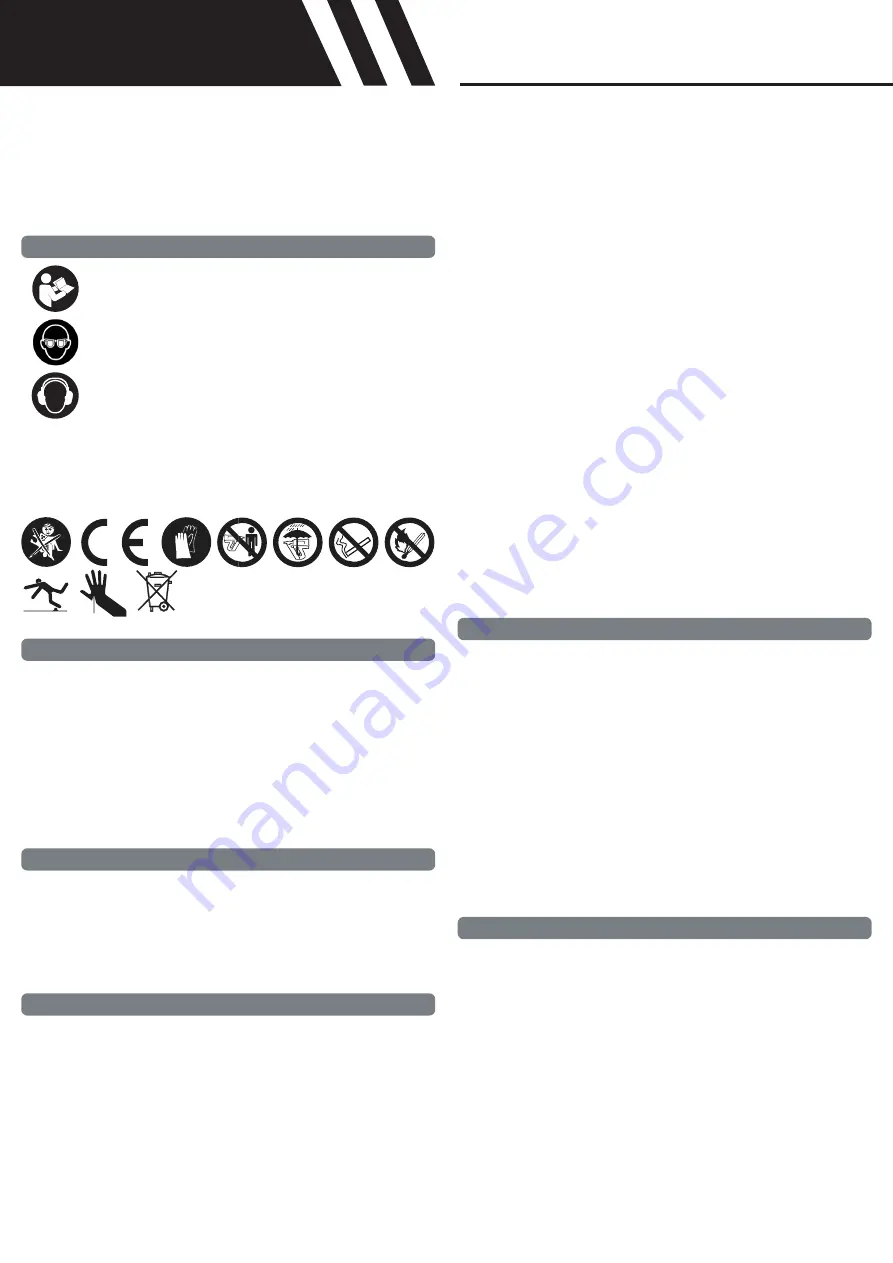
Read and understand tool labels and the manual. Failure to
follow warnings could result in serious injury.
Operators and others in the work area shall wear impact-
resistant eye protection with side shields.
Operators and others in the work area shall wear hearing
protection.
Pneumatic fasteners driving tools consist of: tool and fasteners. In the
interests of operator and system safety, the tool and fasteners referred to in
the documents, must be considered as one single, complete system.
.
Pneumatic fasteners driving tools must be used like described in the
operating manual.
.
Pneumatic fasteners driving tools shall only be used for production
applications. For applications outside of production applications, please
consult an authorized Pneumatic distributor for proper safety conversion
kits.
.
Keep fingers away from trigger when not operating this tool and when
moving from one operating position to another.
.
The fastener driving tool shall be disconnected when unloading fasteners,
making adjustments, clearing jams or changing accessories.
.
During operation be careful that fasteners penetrate material correctly
and cannot be deflected /misfired towards operator and /or any bystanders.
.
During operation, debris from the workpiece and fastening/collation
system may be discharged.
.
Always wear impact-resistant eye protection with side shields during
operation of the tool.
.
The risks to others shall be assessed by the operator.
.
Be careful with tools without workpiece contact as they can be fired
unintentionally and injure operator and/or bystander.
.
Ensure tool is always safely engaged on the workpiece and cannot slip.
.
Hold the tool correctly: be ready to counteract normal or sudden
movements such as recoil.
.
Maintain a balanced body position and secure footing.
.
Appropriate safety glasses shall be used, and appropriate gloves and
protective clothing are recommended.
.
Appropriate hearing protection shall be worn.
.
Use the correct energy supply as directed in the manual.
.
To drive fasteners into hard surfaces like steel & concrete use the
appropriated tools. For users in countries in the EU, please refer to EC
declaration of those tools. For users in the UK, please refer to UKCA
declaration of those tools. For these tools the angle between the tool and
the surface must not be over 15°.
.
Read and understand the safety instructions before connecting,
disconnecting, loading, operating, maintaining, changing accessories on, or
working near the tool. Failure to do so can result in serious bodily injury.
.
Keep all body parts such as hands and legs, etc., away from firing
direction and ensure fasteners cannot penetrate through a workpiece into
parts of the body.
.
When using the tool, be aware that the fastener could deflect and cause
injury.
.
Hold the tool with a firm grasp and be prepared to manage recoil.
.
Only technically skilled operators should use the fastener driving tool.
.
Do not modify the fastener driving tool. Modifications may reduce the
effectiveness of safety measures and increase the risks to the operator and/
or bystander.
.
Review information for tools intended to be used on hard surfaces
such as steel and concrete regarding the additional downforce required to
operate the tool and prevent slipping.
.
Do not discard the safety instructions.
.
Do not use a tool if the tool has been damaged.
.
Be careful when handling fasteners, especially when loading and
unloading, as the fasteners have sharp points which could cause injury.
.
Always check the tool before use for broken, misconnected, or worn
parts.
.
Do not overreach. Only use in a safe working place. Keep proper footing
and balance at all times.
.
Keep bystanders away (when working in an area where there is a
likelihood of through traffic of people). Clearly mark off your operating area.
.
Never point the tool at yourself or others. If the operator has to move
locations, the tool must be carried pointed downwards.
.
Only wear gloves that provide adequate feel and safe control of triggers
and any adjusting devices.
GENERAL SAFETY INSTRUCTION
Pneumatic Fastener Driving Tools
Statement of Use
Projectile Hazards
Operating Hazards
General Safety Rules
Multiple Hazards
6