43
10. Setting up the base station
a) Connection
Before setting up the base station, mount and configure the outdoor sensor (see section 9).
• Connect the low-voltage power-in plug on the power adapter to the
power-in socket (8) on the base station.
• Plug the power adapter into a standard mains socket.
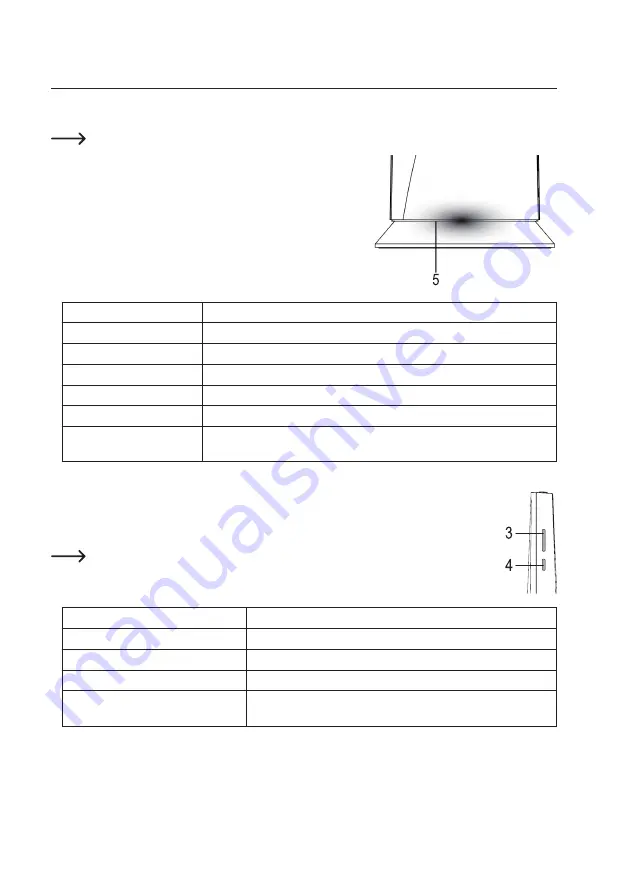
• The LED indicator (5) between the stand and the base station (see
diagram in section 8a) will turn red; when you start the base station
for the first time, the LED indicator will flash green for a few seconds.
The LED indicator shows the status of the base station:
Status LED (5)
Operating condition
LED turns red for 7 seconds
Indicates that the base station is powering on and connected to a power supply.
LED flashes green
AP mode for initial configuration (or after a reset)
Constant blue LED
The base station is connected to a wireless router
Flashing blue LED
The base station is not connected to a wireless router
Flashing red LED
Firmware update in progress
Flashing purple LED
The base station is uploading measurements to the server (after you pressed
the refresh/upload button (2))
•
The base station will automatically search for a signal from the outdoor sensor.
To manually search for a signal, press the Wi-Fi/sensor button (1).
If the base station does not detect the outdoor sensor, check whether the batteries in the sensor
are empty or inserted incorrectly. If necessary, press the reset button (16) on the outdoor sensor.
This weather station does not come with an indoor sensor, therefore the indoor sensor LED
indicator (4) has no function and should be ignored.
The LED indicator (3) shows the status of the outdoor sensor:
LED indicator for outdoor sensor (3) Operating condition
Constant blue LED
Receiving a signal from the outdoor sensor
Flashing blue LED
Searching for a signal from the outdoor sensor
LED off
No signal received in the last 48 hours
Constant orange LED
Outdoor sensor batteries are nearly empty (but radio transmission
signal is still present)


