G
ROOVE
F
RAME
L
ENS
A
DVANTAGES
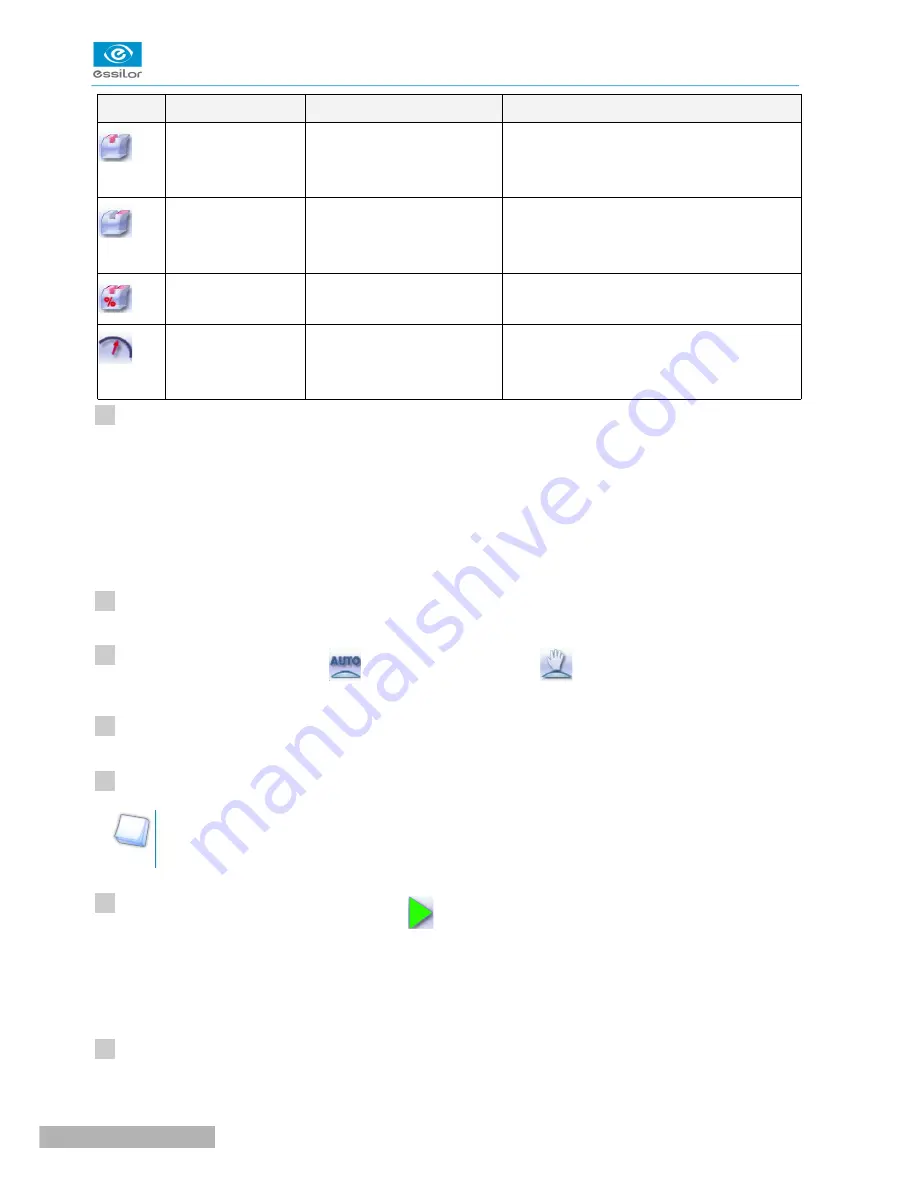
Standard groove
Lens for which the front
surface base is approximately
equal to the frame base.
Makes it possible to do an aesthetically
pleasing job. The lens material does not
protrude beyond the front of the frame.
Standard groove
Lens for which the rear
surface base is not as high as
the front surface base.
Minimises the risks of the nylon thread
coming out.
Standard groove
Thin lens
Makes it possible to balance out the groove
when thin lenses are used.
Flat base
High base
Thin lens for which the front
surface base is approximately
equal to the frame base.
In the event of pattern tracing (base = 0),
makes it possible to retrieve the frame base.
Call up the desired shape located on the tracer or on the job management program.
The shape is displayed on the edger work screen.
After tracing a pattern, demo lens or recut lens, without any drilling settings:
•
the groove finish is selected by default.
•
the automatic mode is selected by default.
Select lens material.
Change the edging mode. Press
to select customized mode
.
Select the type of cycle.
Choose whether or not to polish and/or chamfer your lens.
For more information, consult the section Edging a lens > Perform a polishing
(
F
p.65)
and Edging a
lens > Perform a chamfering
(
F
p.66)
.
Press the “cycle start” button (front face) or
.
The door closes, the lens is clamped and then felt.
The customized groove finish screen is displayed.
Select the type of customized groove you want to do.
>
>
>
>
1
2
3
4
5
6
7
Pro-E 600 > v1 -02.17
52
U
SER
M
ANUAL
> II. E
DGING
A
LENS
Summary of Contents for PRO-E 600
Page 1: ...User Manual ...
Page 5: ...I FIRST STEPS WITH PRO E 600 ...
Page 12: ...II EDGING A LENS ...
Page 66: ...III CONFIGURING THE EDGER ...
Page 77: ...IV MAINTENANCE SERVICING ...
Page 102: ...TECHNICAL DATA ...
Page 106: ...GENERAL INFORMATION ...
Page 110: ...GLOSSARY ...


