❏
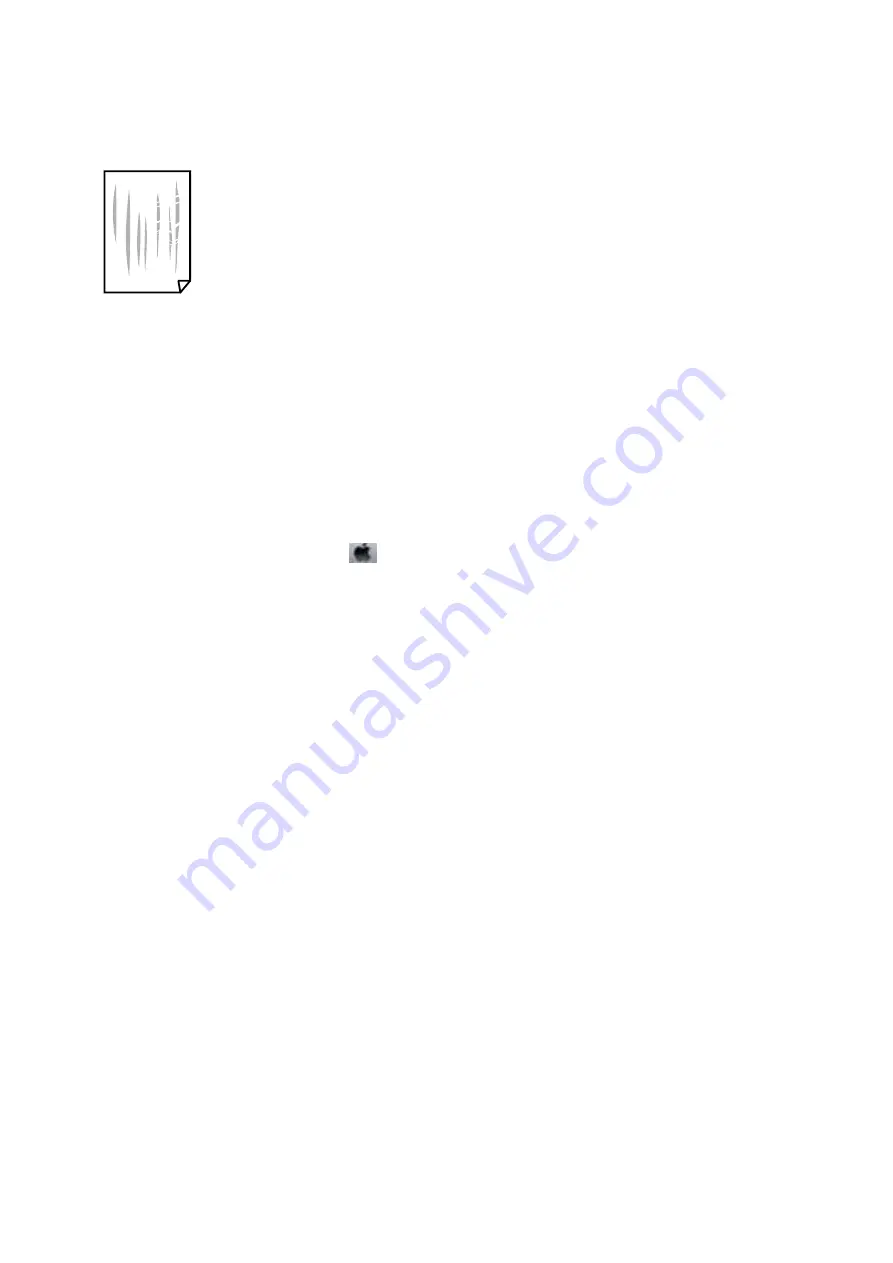
When vertical banding appears or the paper is smeared, clean the paper path.
❏
Place the paper on a flat surface to check if it is curled. If it is, flatten it.
❏
If thick paper is scuffed, enable the reduce scuffing setting. If you enable this setting, print quality may decline
or printing may slow down.
❏
Control panel
Select
Settings
>
Printer Settings
from the home screen, and then enable
Thick Paper
.
❏
Windows
Click
Extended Settings
on the printer driver's
Maintenance
tab, and then select
Thick Paper and
Envelopes
.
❏
Mac OS
Select
System Preferences
from the
menu >
Printers & Scanners
(or
Print & Scan
,
Print & Fax
), and
then select the printer. Click
Options & Supplies
>
Options
(or
Driver
). Select
On
as the
Thick paper and
envelopes
setting.
❏
When performing manual 2-sided printing, make sure that the ink is completely dry before reloading the paper.
Related Information
&
“Loading Paper in the Paper Cassette 1” on page 48
&
“Loading Paper in the Paper Cassette 2” on page 51
&
“Loading Paper in the Rear Paper Feed Slot” on page 56
&
“Cleaning the Paper Path for Ink Smears” on page 154
&
“Guide to Windows Printer Driver” on page 168
&
“Guide to Mac OS Printer Driver” on page 171
Paper is Smeared During Automatic 2-Sided Printing
When using the automatic 2-sided printing feature and printing high density data such as images and graphs, set
the print density to lower and the drying time to longer.
Related Information
&
“Printing on 2-Sides” on page 90
&
“Menu Options for Copying” on page 117
Printed Photos are Sticky
You may be printing on the wrong side of the photo paper. Make sure you are printing on the printable side.
User's Guide
Solving Problems
202


