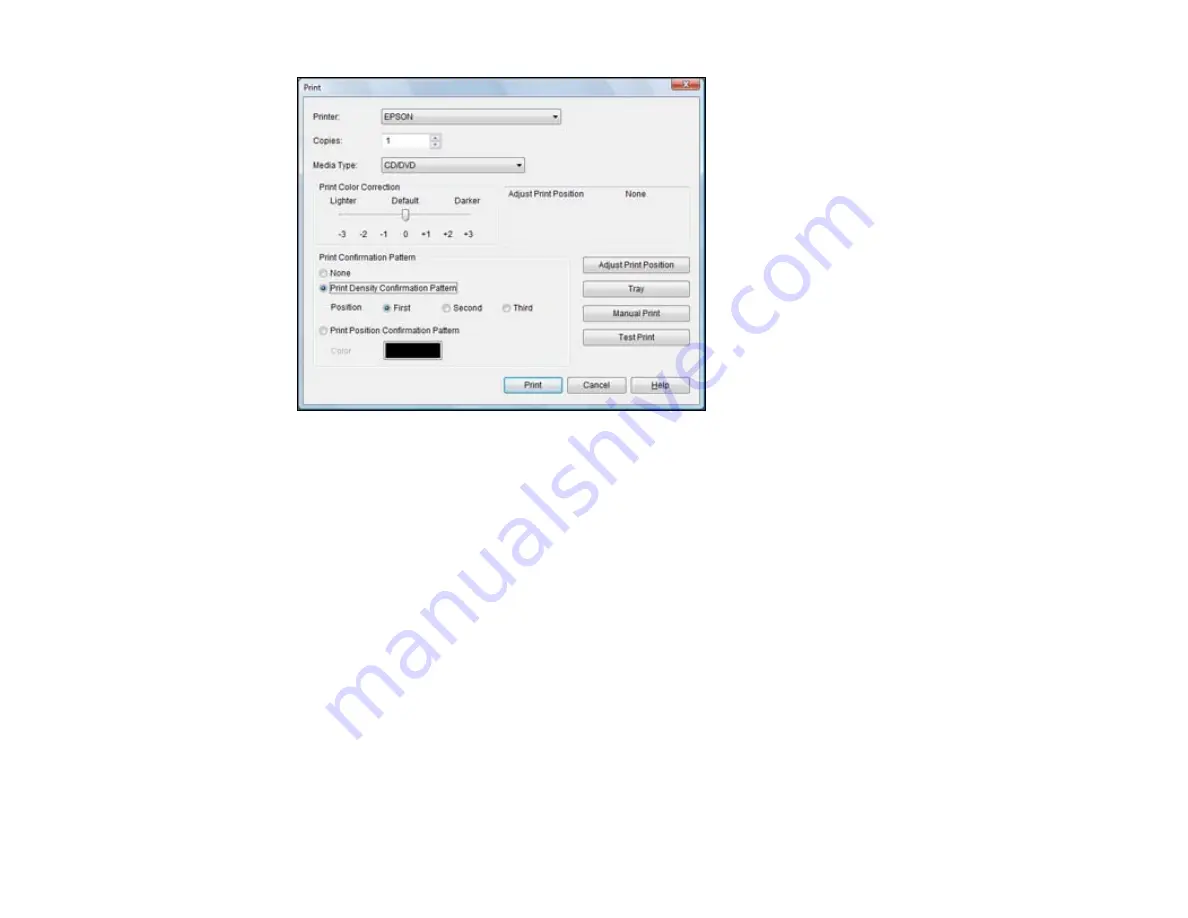
2.
Select
Print Density Confirmation Pattern
.
3.
Click
.
4.
Remove the disc after printing and check to see if you need to make the density darker or lighter.
5.
Load the same disc in the product again.
6.
Click
.
7.
Adjust the
Print Color Correction
slider to a darker or lighter setting as necessary.
8.
Select
Print Density Confirmation Pattern
and select the
Second
radio button.
9.
Click
to print another test pattern
10. Examine the disc after printing to see if further adjustment is needed.
When the ink density looks good, you are ready to print on your burned CD or DVD.
Parent topic:
Printing on a CD/DVD with Windows
Printing on a CD/DVD with Mac OS X
You can print with your product using the EPSON Print CD software, as described in these sections.
247
Summary of Contents for XP-850
Page 1: ...XP 850 User s Guide ...
Page 2: ......
Page 14: ......
Page 15: ...XP 850 User s Guide Welcome to the XP 850 User s Guide 15 ...
Page 20: ...1 Rear paper feed slot 2 Paper support Parent topic Product Parts Locations 20 ...
Page 126: ...126 ...
Page 171: ...5 Select Fax Settings for Printer Select your product if prompted You see this window 171 ...
Page 181: ...5 Select Fax Settings for Printer Select your product if prompted You see this window 181 ...
Page 182: ...6 Select Speed Dial Group Dial List You see this window 182 ...
Page 273: ...273 ...
Page 303: ...5 Press the tabs and remove the document mat 6 Carefully remove any jammed paper 303 ...


