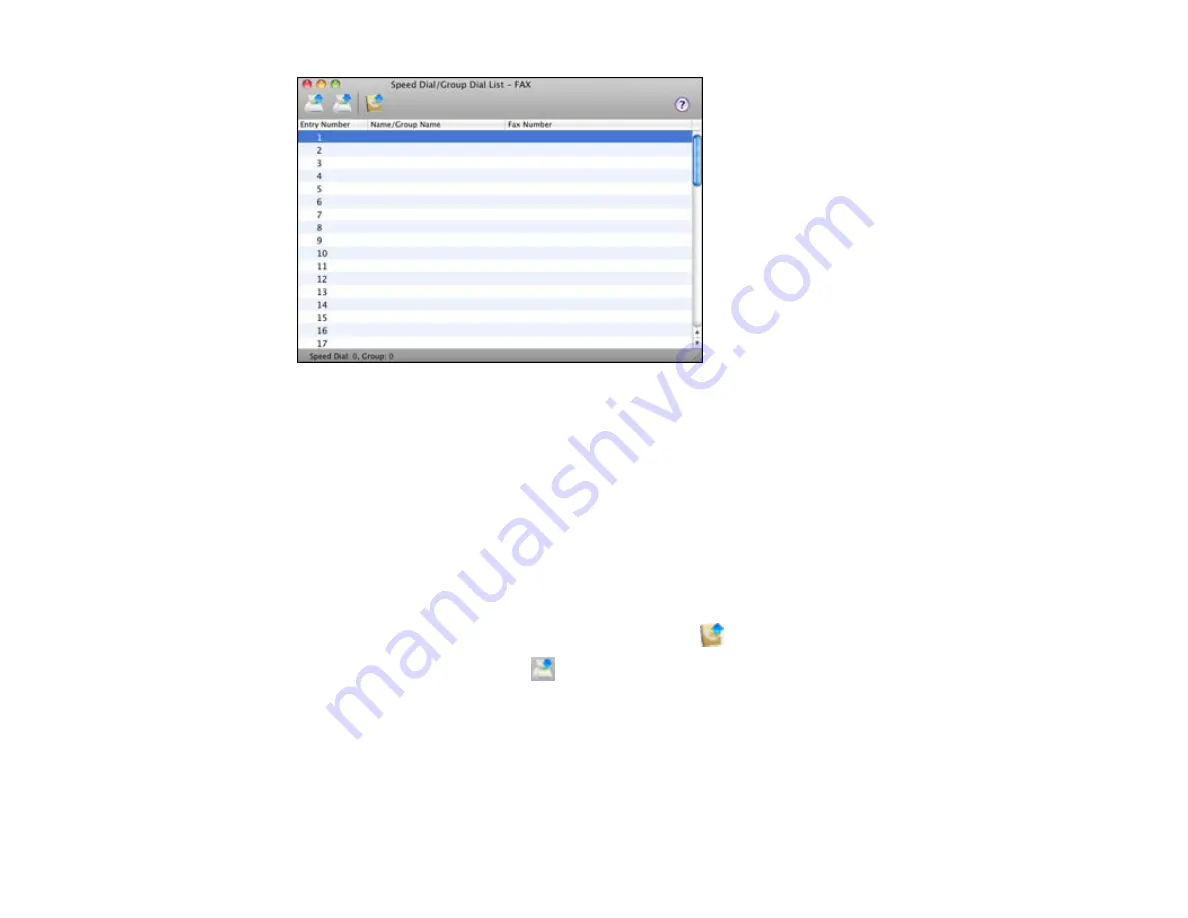
5.
To add an entry, double-click an empty entry.
Note:
To edit an entry, select it and change the information. To delete an entry, select it and press
the
Delete
key on your keyboard.
6.
Do one of the following:
• To create a speed dial entry, select
Speed Dial
, enter a name and fax number, and click
OK
.
• To create a group dial entry, select
Group Dial
, enter a name, select your desired fax numbers,
and click
OK
.
7.
Repeat the previous steps as necessary to add all your speed dial or group dial entries.
8.
To import entries from your MacAddress book, click the
icon.
9.
When you are finished, click the
icon to save the entries to your product's memory.
Parent topic:
Setting Up Speed Dial and Group Dial Lists
Related topics
Setting Up Speed/Group Dial Lists Using the Product Control Panel
185
Summary of Contents for XP-850
Page 1: ...XP 850 User s Guide ...
Page 2: ......
Page 14: ......
Page 15: ...XP 850 User s Guide Welcome to the XP 850 User s Guide 15 ...
Page 20: ...1 Rear paper feed slot 2 Paper support Parent topic Product Parts Locations 20 ...
Page 126: ...126 ...
Page 171: ...5 Select Fax Settings for Printer Select your product if prompted You see this window 171 ...
Page 181: ...5 Select Fax Settings for Printer Select your product if prompted You see this window 181 ...
Page 182: ...6 Select Speed Dial Group Dial List You see this window 182 ...
Page 273: ...273 ...
Page 303: ...5 Press the tabs and remove the document mat 6 Carefully remove any jammed paper 303 ...


