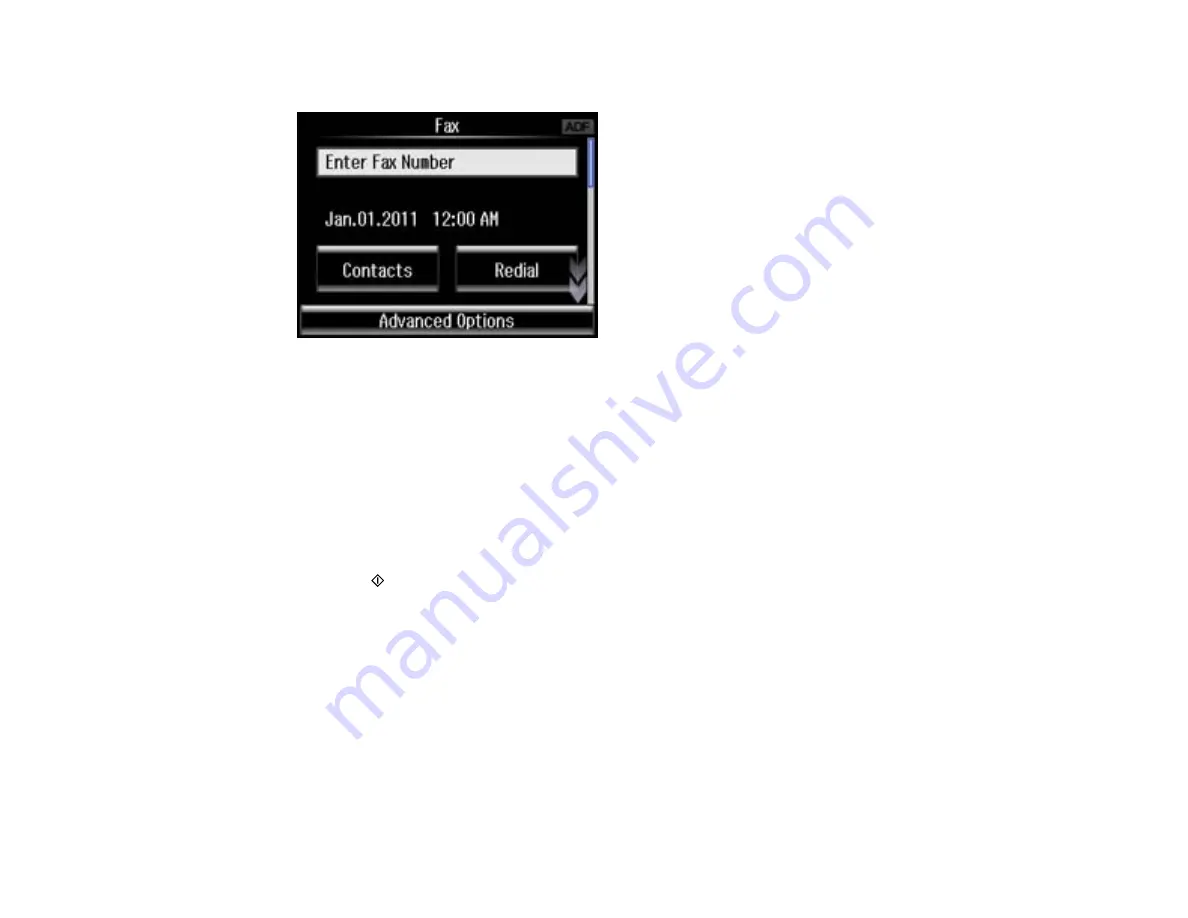
3.
Select
Fax
.
4.
Do one of the following:
• Select the
Enter Fax Number
area on the LCD display, then use the numeric keypad to enter the
fax number. You can enter up to 64 characters.
• Press
Redial
to redial the last dialed fax number.
5.
If you need to change any fax settings, scroll down and select your settings.
Note:
If your recipient's fax machine does not print in color, your fax is automatically sent in black-
and-white.
6.
Press the
start button. If prompted, select where you placed your document (ADF or scanner
glass).
Note:
To cancel faxing, select
Cancel
.
Your product scans your original and prompts you to place additional pages, if necessary.
After scanning your originals, your product dials the number and sends the fax.
Note:
If the number is busy or there is a communication problem, your product displays a redialing
message and will redial the number in a few minutes.
Parent topic:
Sending Faxes from the Product Control Panel
187
Summary of Contents for XP-850
Page 1: ...XP 850 User s Guide ...
Page 2: ......
Page 14: ......
Page 15: ...XP 850 User s Guide Welcome to the XP 850 User s Guide 15 ...
Page 20: ...1 Rear paper feed slot 2 Paper support Parent topic Product Parts Locations 20 ...
Page 126: ...126 ...
Page 171: ...5 Select Fax Settings for Printer Select your product if prompted You see this window 171 ...
Page 181: ...5 Select Fax Settings for Printer Select your product if prompted You see this window 181 ...
Page 182: ...6 Select Speed Dial Group Dial List You see this window 182 ...
Page 273: ...273 ...
Page 303: ...5 Press the tabs and remove the document mat 6 Carefully remove any jammed paper 303 ...


