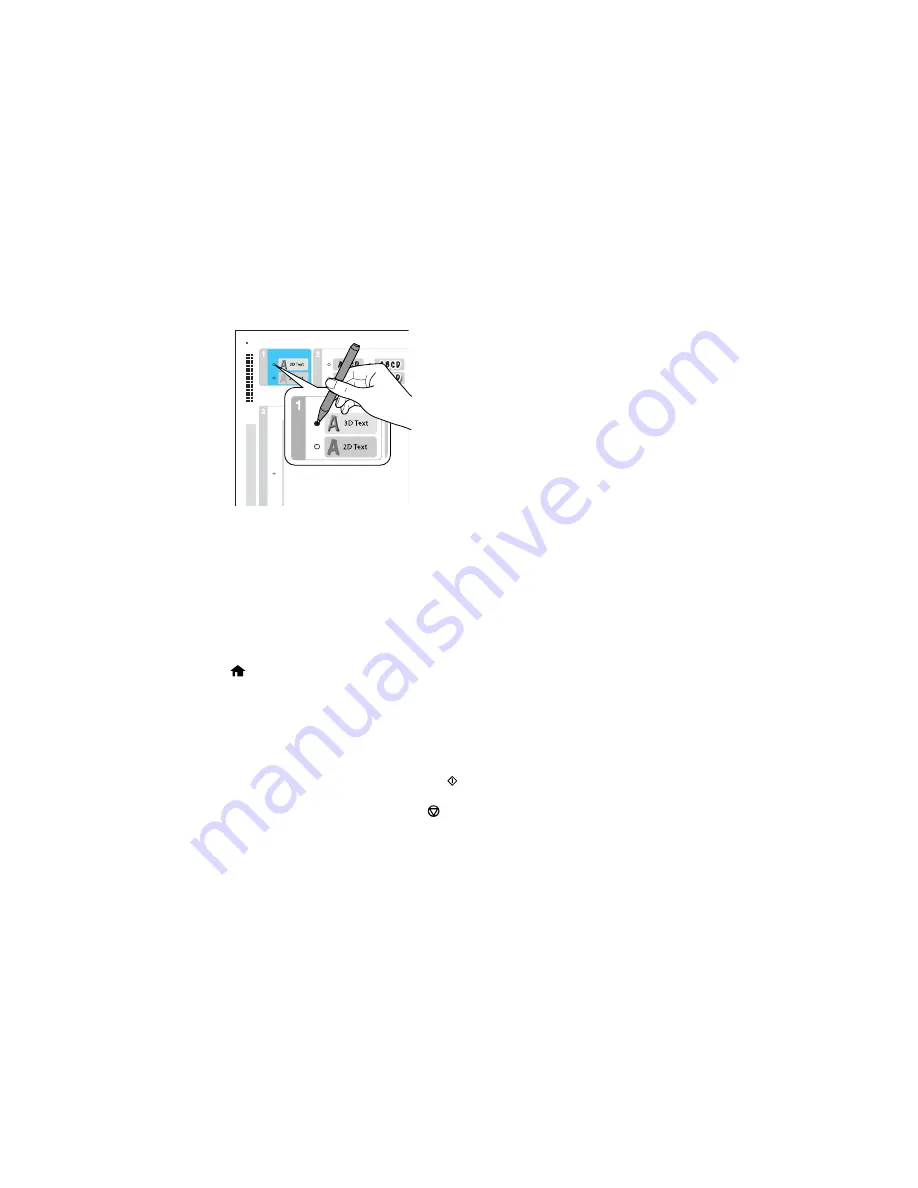
1.
Use a dark pen or pencil to fill in the circles and select the Text Style and Text Effects.
2.
Add your greeting card message within the box. You can write it in by hand, print a message and
paste it into the box, or draw a picture.
Note:
When adding text, place it in the direction that your photo faces.
3.
Load photo paper either in Cassette 2 (lower) for this size: Letter (8.5 × 11 inches [216 × 279 mm]),
or in Cassette 1 (upper) for this size: 4 × 6 inches (102 × 152 mm).
4.
Select
Print Greeting Cards from Template
and press
OK
. (If you don't see the option, press the
home button, and select
More Functions
>
Print Photo Greeting Card
>
Print Greeting Cards
from Template
.)
5.
Follow the instructions on the LCD screen to place the template facedown on the scanner glass, with
the blue triangle facing into the front right corner.
6.
Close the document cover and press the
OK
button.
7.
To print more than one copy, press
+
or
–
to select the number (up to 99).
8.
When you are ready to print, press the
start button.
Note:
To cancel printing, press the
cancel button.
When you finish printing, cut your greeting cards apart, if necessary.
Parent topic:
Printing Photo Greeting Cards
184
Summary of Contents for XP-620 Series
Page 1: ...XP 620 User s Guide ...
Page 2: ......
Page 60: ...Parent topic Loading Paper 60 ...
Page 118: ...You see this window 118 ...
Page 135: ...You see this window 135 ...
Page 172: ...Selecting Scan File Settings Related topics Starting a Scan Selecting Epson Scan Settings 172 ...
Page 196: ...Related topics Loading Paper Viewing and Printing Photos 196 ...


