5.
Select
Add Group
.
6.
Select the number you want to use for the group you are adding.
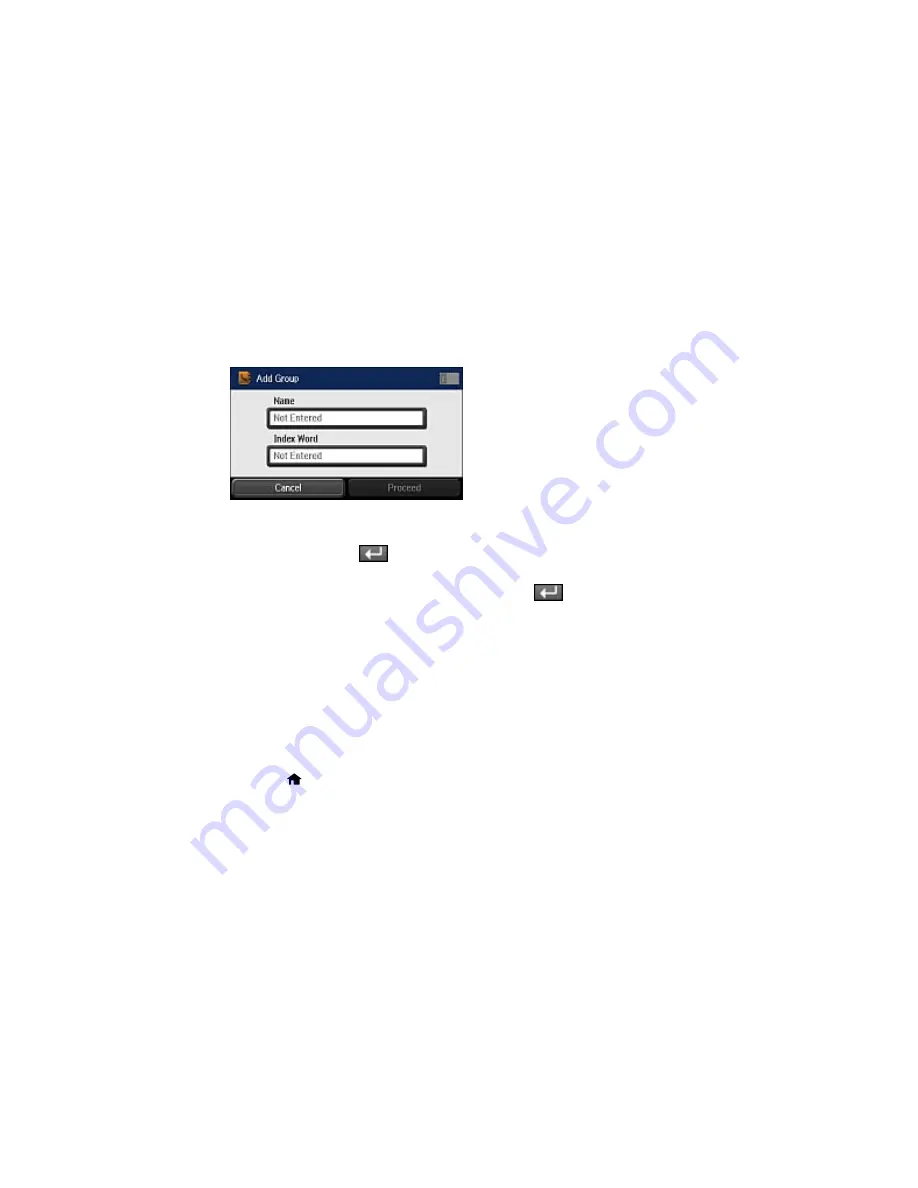
You see a screen like this:
7.
Select
Not Entered
under
Name
, use the displayed keyboard to enter the group name (up to 30
characters), and press
.
8.
Select
Not Entered
under
Index Word
, use the displayed keyboard to enter a word to use when
searching for a group (up to 30 characters), and press
. This field is optional.
9.
Select
Proceed
.
You see your contacts list.
10. Select the number next to each contact you want to include in your group.
A check mark appears next to each selected contact.
11. Select
Save
.
Parent topic:
Setting Up Contacts Using the Product Control Panel
Editing or Deleting a Group
You can edit an existing group to add or delete entries. You can also delete the entire group.
1.
Press the
home button, if necessary.
2.
Select
Fax
.
You see a screen like this:
185
Summary of Contents for WorkForce WF-3620
Page 1: ...WF 7610 WF 7620 User s Guide ...
Page 2: ......
Page 51: ...4 Slide the edge guide to your paper size 51 ...
Page 137: ...137 ...
Page 156: ...1 Telephone wall jack 2 DSL filter 3 DSL modem ISDN connection one phone number 156 ...
Page 157: ...1 ISDN wall jack 2 Terminal adapter or ISDN router ISDN connection two phone numbers 157 ...
Page 188: ...3 Select Fax Settings for Printer Select your product if prompted You see this window 188 ...
Page 189: ...4 Select Speed Dial Group Dial List You see this window 189 ...
Page 240: ...Related concepts Purchase Epson Ink Cartridges and Maintenance Box 240 ...
Page 256: ...Print Head Alignment 256 ...
Page 278: ...6 Open the duplexer 7 Carefully remove any jammed paper stuck inside 278 ...
Page 333: ...3 14 CPD 39381 Parent topic Copyright Notice 333 ...


