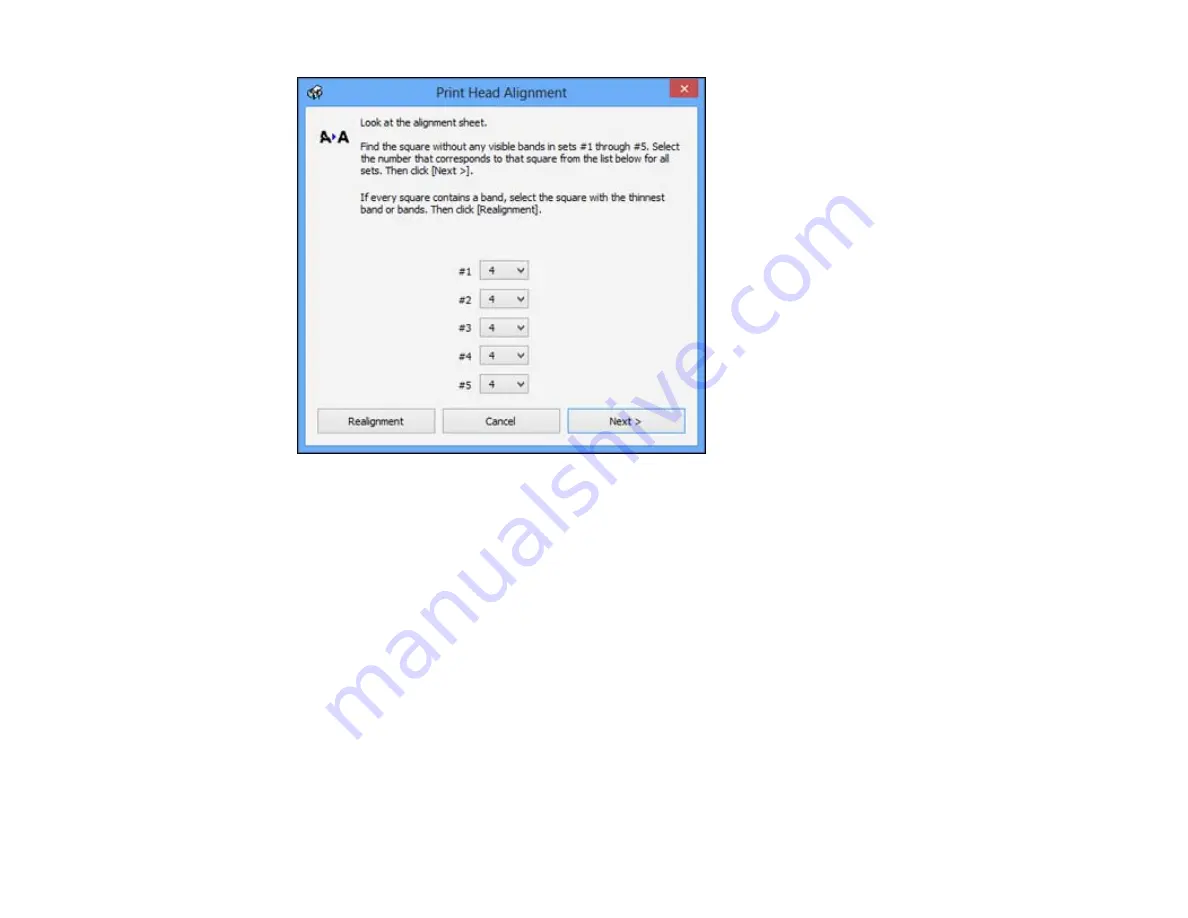
5.
Check the printed pattern and follow the instructions on the screen to choose the number
representing the best printed pattern for each set.
• After choosing each pattern number, click
Next
.
• If no patterns are aligned in one or more of the sets, choose the closest one in each set and click
Realignment
. Then print another alignment sheet and check it.
Note:
Click
Skip
(where available) if you want to skip a particular alignment sheet.
6.
When you are done, click
Finish
.
Parent topic:
Cleaning the Paper Path
If you see ink on the back of a printout, you can clean the paper path to remove any excess ink.
1.
Load a few sheets of plain paper in the product.
253
Summary of Contents for WorkForce WF-3520
Page 1: ...WF 3520 WF 3530 User s Guide ...
Page 2: ......
Page 13: ...WF 3520 WF 3530 User s Guide Welcome to the WF 3520 WF 3530 User s Guide 13 ...
Page 33: ...4 Slide the edge guide to your paper size 33 ...
Page 37: ...2 Pull out the paper cassette 3 Slide the edge guides outward 37 ...
Page 41: ...1 Close the paper stopper and output tray if necessary 2 Pull out the paper cassette 41 ...
Page 65: ...Parent topic Copying 65 ...
Page 103: ...Parent topic Starting a Scan Related topics Selecting Epson Scan Settings 103 ...
Page 122: ...122 ...
Page 149: ...1 Telephone wall jack 2 DSL filter 3 DSL modem ISDN connection one phone number 149 ...
Page 150: ...1 ISDN wall jack 2 Terminal adapter or ISDN router ISDN connection two phone numbers 150 ...
Page 151: ...1 ISDN wall jack 2 Terminal adapter or ISDN router 151 ...
Page 168: ...3 Select Fax Settings for Printer Select your product if prompted You see this window 168 ...
Page 180: ...4 Select Speed Dial Group Dial List You see this window 180 ...
Page 276: ...3 Carefully remove any jammed paper 4 Remove any jammed paper from the duplexer 276 ...
Page 277: ...5 Open the duplexer 277 ...
Page 278: ...6 Carefully remove any jammed paper stuck inside 7 Reattach the duplexer 278 ...
Page 281: ...6 Carefully remove any jammed pages in the direction shown 281 ...


