Backlight Correction
Removes shadows from photos that have too much background light.
Dust Removal
Removes dust marks from your originals automatically.
Text Enhancement
Sharpens the appearance of letters in text documents.
Auto Area Segmentation
Makes grayscale images clearer and text recognition more accurate by separating the text from the
graphics.
Brightness
Adjusts the overall lightness and darkness of the scanned image.
Contrast
Adjusts the difference between the light and dark areas of the overall scanned image.
Threshold
Adjusts the level at which black areas in text and line art are delineated, improving text recognition in
OCR (Optical Character Recognition) programs.
Parent topic:
Selecting a Scan Size - Home Mode
You can reduce or enlarge the size of your image as you scan. You can also select a specific scan size,
such as a common photo size like 4 × 6 inches (102 × 152 mm). This places a scan area of that size on
the preview image so you can use it to help crop the image in the correct proportions.
1.
Click the
Preview
button to preview your image.
2.
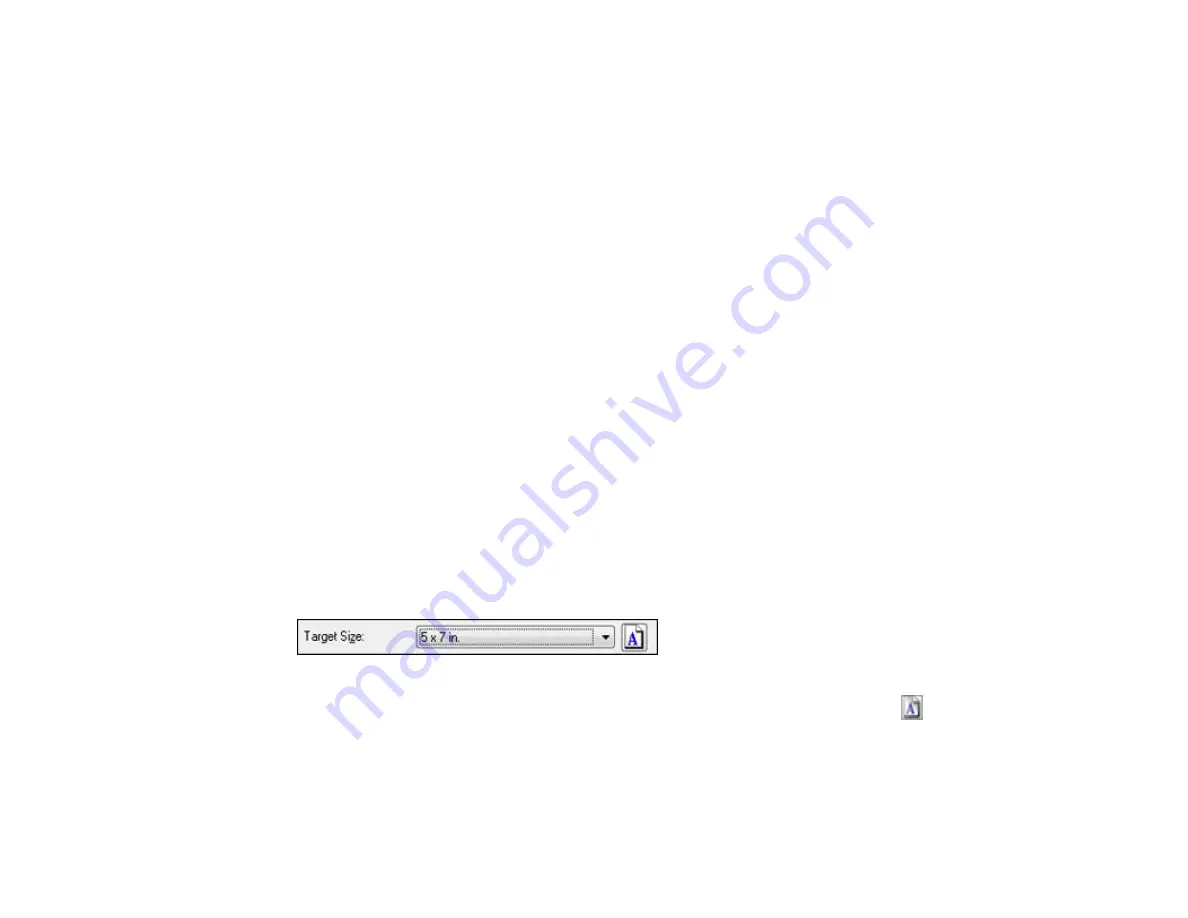
In the Epson Scan window, select the size you want your scanned image to be from the
Target Size
list.
Note:
If you need to rotate the orientation of the target size for your image, click the
Orientation
icon.
A marquee (dotted line) appears on your preview image proportioned for the size you selected.
119
Summary of Contents for WorkForce WF-3520
Page 1: ...WF 3520 WF 3530 User s Guide ...
Page 2: ......
Page 13: ...WF 3520 WF 3530 User s Guide Welcome to the WF 3520 WF 3530 User s Guide 13 ...
Page 33: ...4 Slide the edge guide to your paper size 33 ...
Page 37: ...2 Pull out the paper cassette 3 Slide the edge guides outward 37 ...
Page 41: ...1 Close the paper stopper and output tray if necessary 2 Pull out the paper cassette 41 ...
Page 65: ...Parent topic Copying 65 ...
Page 103: ...Parent topic Starting a Scan Related topics Selecting Epson Scan Settings 103 ...
Page 122: ...122 ...
Page 149: ...1 Telephone wall jack 2 DSL filter 3 DSL modem ISDN connection one phone number 149 ...
Page 150: ...1 ISDN wall jack 2 Terminal adapter or ISDN router ISDN connection two phone numbers 150 ...
Page 151: ...1 ISDN wall jack 2 Terminal adapter or ISDN router 151 ...
Page 168: ...3 Select Fax Settings for Printer Select your product if prompted You see this window 168 ...
Page 180: ...4 Select Speed Dial Group Dial List You see this window 180 ...
Page 276: ...3 Carefully remove any jammed paper 4 Remove any jammed paper from the duplexer 276 ...
Page 277: ...5 Open the duplexer 277 ...
Page 278: ...6 Carefully remove any jammed paper stuck inside 7 Reattach the duplexer 278 ...
Page 281: ...6 Carefully remove any jammed pages in the direction shown 281 ...


