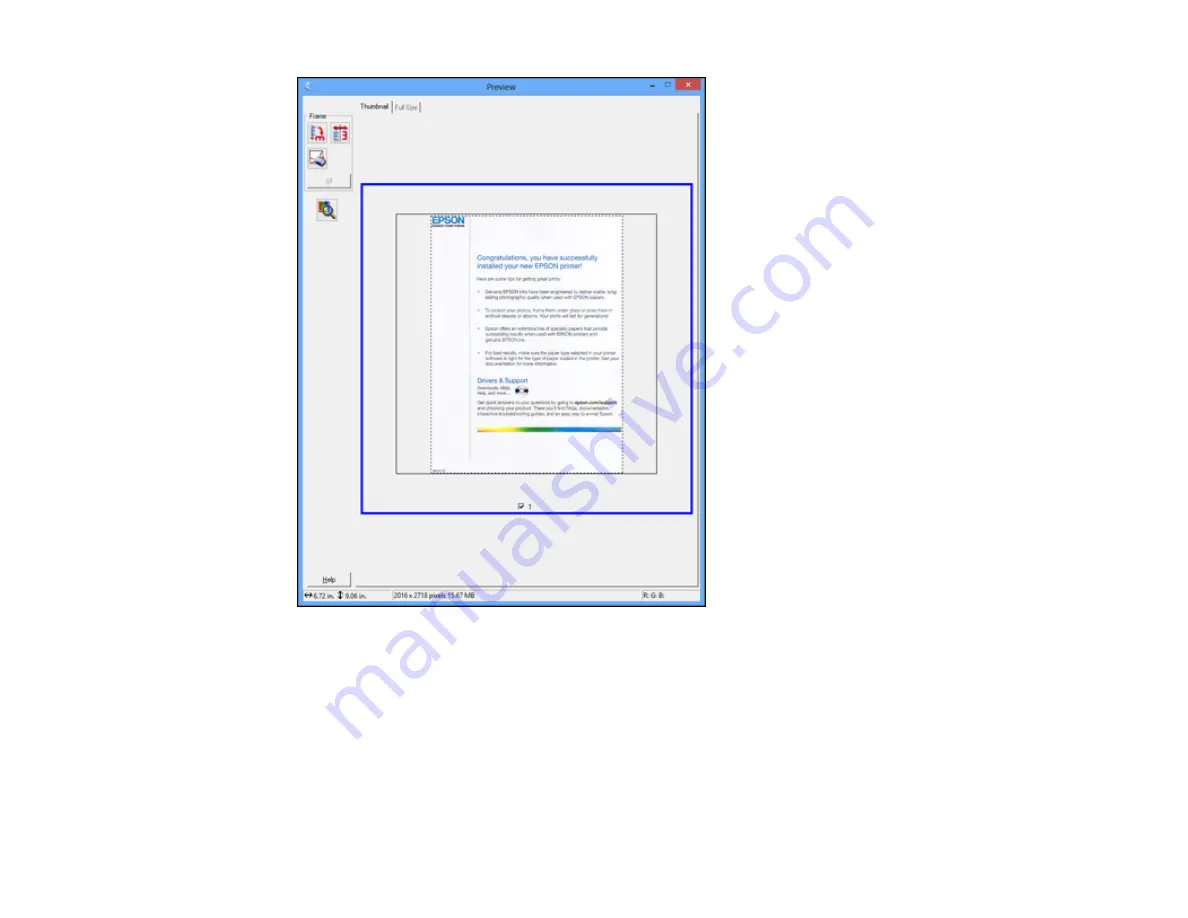
3.
Do the following, as necessary, to work with the selected scan area:
• To move the marquee, click inside the scan area and drag the marquee where you want it.
• To resize the scan area, place your cursor over the edge or corner of the marquee, then click and
drag the edge where you want it.
Note:
Manually adjusting the marquee will not change the target size of the scanned file. The
marquee only indicates the area of the image that will be scanned.
116
Summary of Contents for WorkForce WF-2540
Page 1: ...WF 2540 User s Guide ...
Page 2: ......
Page 12: ......
Page 13: ...WF 2540 User s Guide Welcome to the WF 2540 User s Guide 13 ...
Page 45: ...Parent topic Loading Paper Related references Paper Type Settings Copying 45 ...
Page 50: ...Related topics Copying Scanning 50 ...
Page 108: ...108 ...
Page 134: ...1 Telephone wall jack 2 DSL filter 3 DSL modem ISDN connection one phone number 134 ...
Page 135: ...1 ISDN wall jack 2 Terminal adapter or ISDN router ISDN connection two phone numbers 135 ...
Page 136: ...1 ISDN wall jack 2 Terminal adapter or ISDN router 136 ...
Page 163: ...4 Select Speed Dial Group Dial List You see this window 163 ...
Page 202: ...Parent topic Replacing Ink Cartridges 202 ...
Page 236: ...4 Remove any jammed paper or torn pieces 236 ...
Page 239: ...1 ADF cover 2 Paper feeder 5 Remove any jammed paper or torn pieces 239 ...


