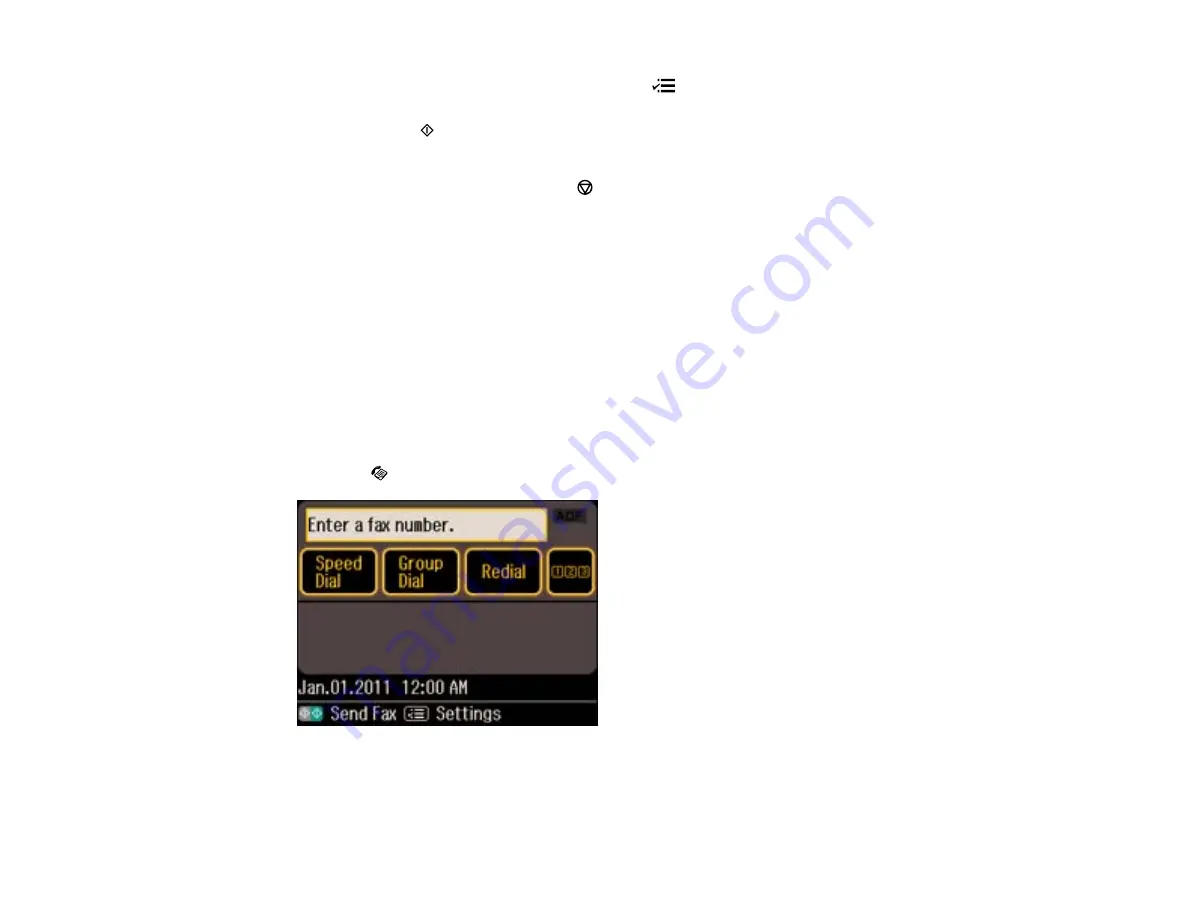
4.
If you need to change any fax settings, press the
Menu
button, select
Send Settings
, and select
your settings. When you finish selecting settings, press the the
OK
button.
5.
Press one of the
Start
buttons.
Note:
If your recipient's fax machine does not print in color, your fax is automatically sent in black-
and-white. To cancel faxing, press the
Stop/Reset
button.
Your product scans your original and prompts you to place additional pages, if necessary.
After scanning your originals, your product dials the number and sends the fax.
Note:
If the number is busy or there is a communication problem, your product displays a redialing
message and will redial the number in a few minutes.
Parent topic:
Sending Faxes from the Product Control Panel
Selecting Fax Numbers from Speed or Group Dial Lists
You can send a fax from your product control panel by selecting a speed dial or group dial entry from the
list.
1.
Place your original on the product for faxing.
2.
Press the
Fax
button.
3.
Select
Speed Dial
or
Group Dial
.
4.
Select the speed dial or group dial entry you want to fax.
181
Summary of Contents for WorkForce Pro WP-4540
Page 1: ...WorkForce Pro WP 4540 User s Guide ...
Page 2: ......
Page 12: ......
Page 13: ...WorkForce Pro WP 4540 User s Guide Welcome to the WorkForce Pro WP 4540 User s Guide 13 ...
Page 27: ...4 Load a stack of paper printable side down in the cassette as shown 27 ...
Page 48: ...Parent topic Placing Originals on the Product 48 ...
Page 49: ...Related topics Copying Scanning Faxing 49 ...
Page 114: ...3 Adjust the scan area as necessary 114 ...
Page 121: ...121 ...
Page 129: ...3 Adjust the scan area as necessary 129 ...
Page 175: ...5 Select Fax Settings for Printer You see this window 175 ...
Page 176: ...6 Select your product 7 Select Speed Dial Group Dial List You see this window 176 ...
Page 215: ...215 ...
Page 220: ...220 ...
Page 245: ...3 Remove any jammed pages 245 ...
Page 247: ...6 Lower the document cover 7 Raise the ADF input tray 247 ...


