


Selecting a Scan Size - Professional Mode
You can reduce or enlarge the size of your image as you scan. You can also select a specific scan size,
such as a common photo size like 4 × 6 inches (102 × 152 mm). This places a scan area of that size on
the preview image so you can use it to help crop the image in the correct proportions.
1.
Click the
Preview
button to preview your image.
2.
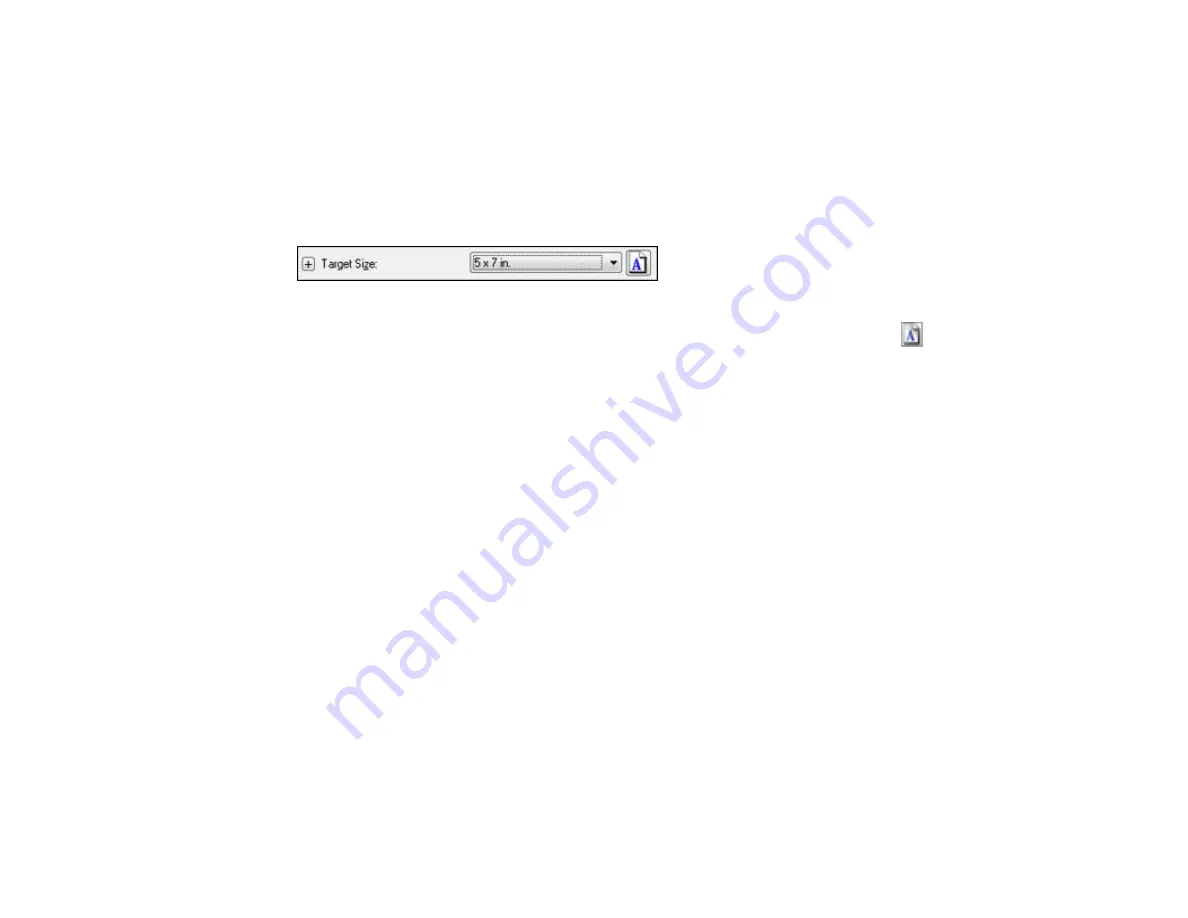
In the Epson Scan window, select the size you want your scanned image to be from the
Target Size
list.
Note:
If you need to rotate the orientation of the target size for your image, click the
orientation
icon.
A marquee (dotted line) appears on your preview image proportioned for the size you selected.
128
Summary of Contents for WorkForce Pro WP-4540
Page 1: ...WorkForce Pro WP 4540 User s Guide ...
Page 2: ......
Page 12: ......
Page 13: ...WorkForce Pro WP 4540 User s Guide Welcome to the WorkForce Pro WP 4540 User s Guide 13 ...
Page 27: ...4 Load a stack of paper printable side down in the cassette as shown 27 ...
Page 48: ...Parent topic Placing Originals on the Product 48 ...
Page 49: ...Related topics Copying Scanning Faxing 49 ...
Page 114: ...3 Adjust the scan area as necessary 114 ...
Page 121: ...121 ...
Page 129: ...3 Adjust the scan area as necessary 129 ...
Page 175: ...5 Select Fax Settings for Printer You see this window 175 ...
Page 176: ...6 Select your product 7 Select Speed Dial Group Dial List You see this window 176 ...
Page 215: ...215 ...
Page 220: ...220 ...
Page 245: ...3 Remove any jammed pages 245 ...
Page 247: ...6 Lower the document cover 7 Raise the ADF input tray 247 ...


