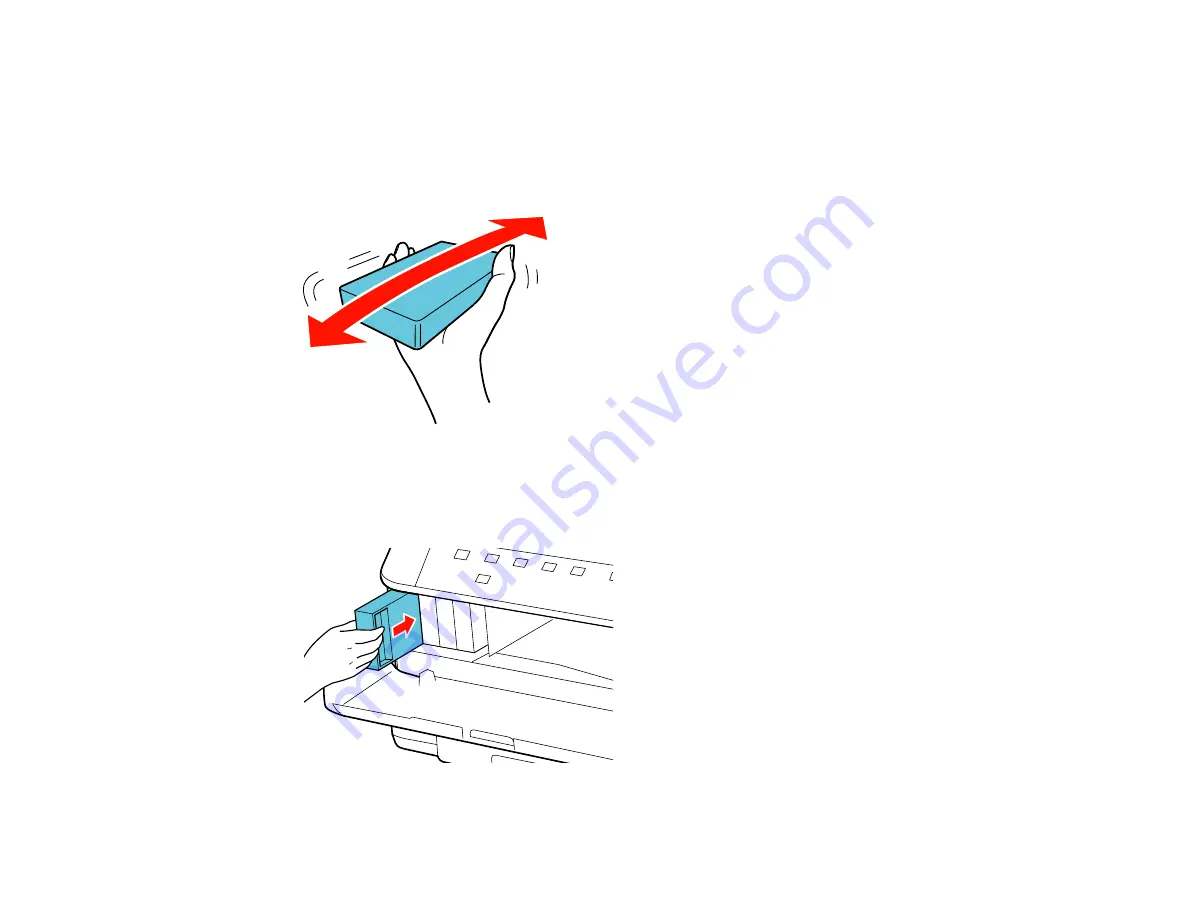
5.
Remove the cartridge from the package.
Caution:
Do not touch the green chip on the cartridge. Install the new cartridge immediately after
removing the old one; if you do not, the print head may dry out and be unable to print.
6.
Gently shake the ink cartridge horizontally for about five seconds as shown.
Caution:
Do not remove any labels or seals, or ink will leak.
7.
Insert the new cartridge into the holder and push it in until it clicks into place.
118
Summary of Contents for WorkForce Pro WP-4090
Page 1: ...WorkForce Pro WP 4090 User s Guide ...
Page 2: ......
Page 9: ...WorkForce Pro WP 4090 User s Guide Welcome to the WorkForce Pro WP 4090 User s Guide 9 ...
Page 19: ...4 Click Add a network wireless or Bluetooth printer You see a window like this 19 ...
Page 24: ...8 Click Next You see this window 24 ...
Page 30: ...4 Load a stack of paper printable side down in the cassette as shown 30 ...
Page 54: ...54 ...
Page 88: ...88 ...
Page 109: ...Parent topic Printing From a Computer 109 ...
Page 123: ...Related concepts Purchase Epson Ink Cartridges and Maintenance Box 123 ...
Page 145: ...3 Remove any paper inside including torn pieces 4 Close the front cover 145 ...


