


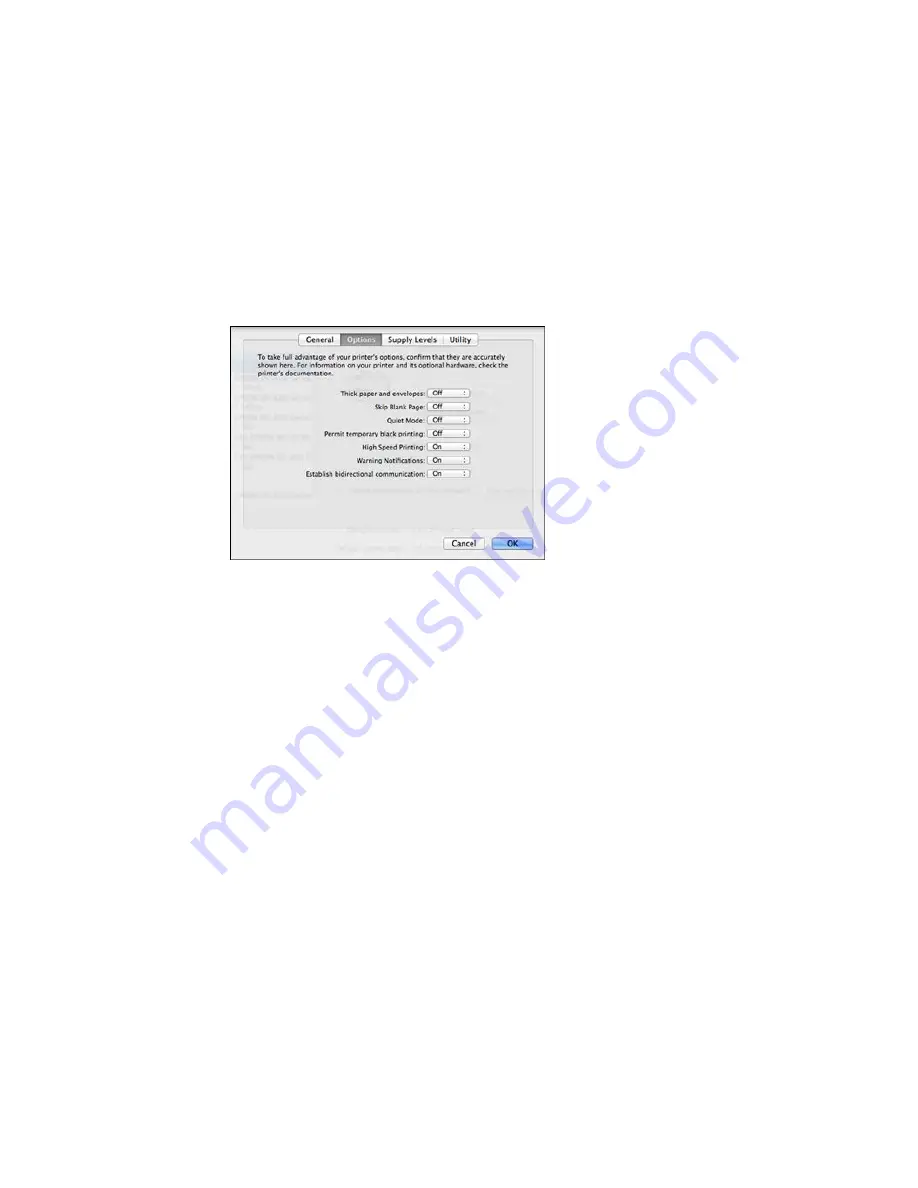
You see a screen like this:
6.
Select
On
as the
Permit temporary black printing
setting.
7.
Click
OK
.
8.
Close the utility window.
9.
Load plain paper or an envelope in your product.
10. Access the print settings in your print application.
11. Select
Print Settings
from the pop-up menu.
12. Select
Plain Paper/Bright White Paper
or
Envelope
as the paper type setting.
13. Select the
Grayscale
option.
14. Click
to print your document.
Parent topic:
Printing with Black Ink and Expended Color Ink Packs
Conserving Low Black Ink with Windows
When black ink runs low and there is more color ink, you may see a message telling you that you can
print with a mixture of color inks to create composite black.
325
Summary of Contents for WF-R8590
Page 1: ...WF R8590 User s Guide ...
Page 2: ......
Page 93: ...Note Secure the optional cassette to the cabinet as shown here 93 ...
Page 219: ...You see this window 219 ...
Page 242: ...4 Click OK Parent topic Scanning 242 ...
Page 245: ...DSL connection 1 Telephone wall jack 2 DSL filter 3 DSL modem 245 ...
Page 246: ...ISDN connection 1 ISDN wall jack 2 Terminal adapter or ISDN router 246 ...
Page 268: ...You see this window 3 Select Fax Settings for Printer Select your product if prompted 268 ...
Page 279: ...You see this window 3 Select Fax Settings for Printer Select your product if prompted 279 ...
Page 280: ...You see this window 4 Select Speed Dial Group Dial List 280 ...
Page 305: ...Parent topic Printing Fax Reports 305 ...
Page 380: ...4 Carefully remove any jammed pages 380 ...
Page 381: ...5 Close the ADF cover then raise the document cover 381 ...
Page 382: ...6 Carefully remove any jammed pages 7 Lower the document cover 382 ...


