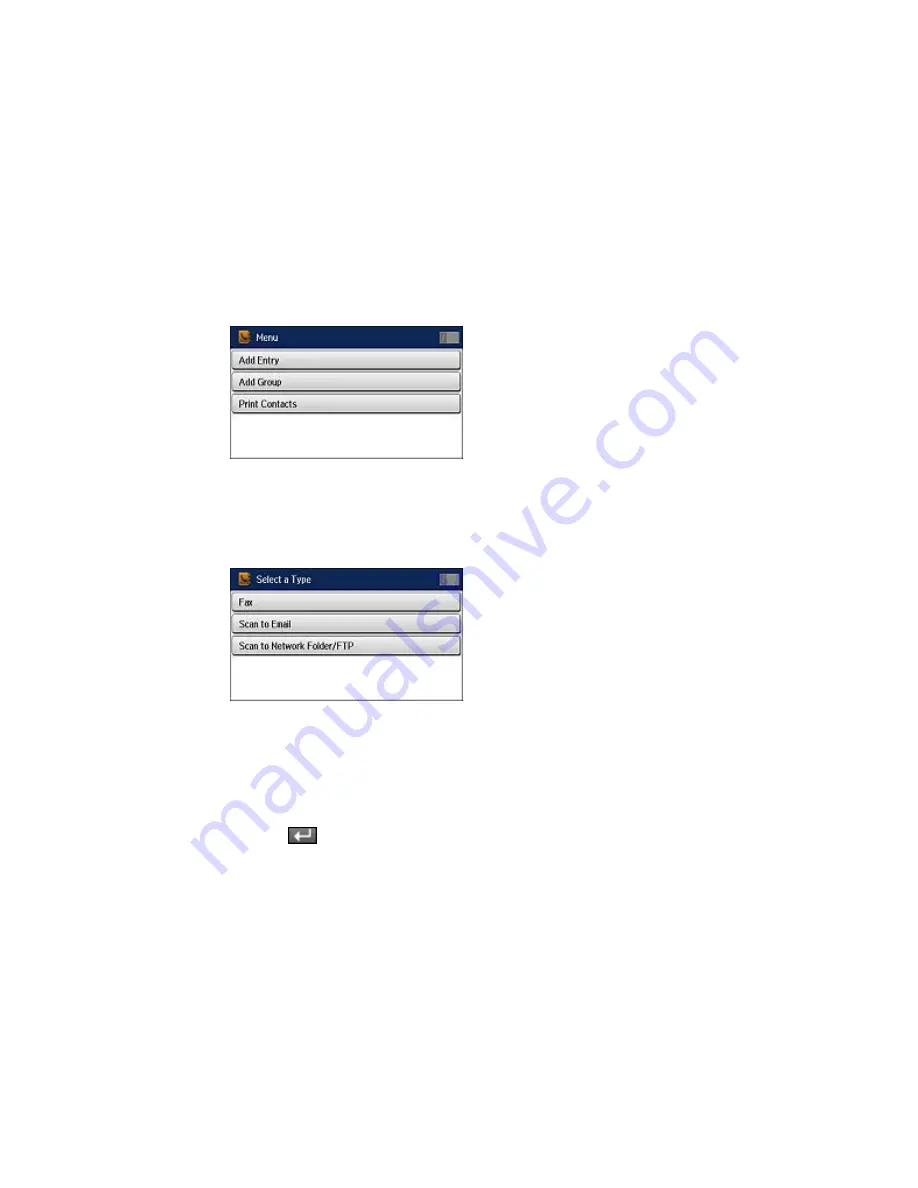
You see a screen like this:
Note:
You can print your list of contacts and groups if necessary.
4.
Select
Add Entry
.
You see a screen like this:
5.
Do one of the following:
• To create a contact for scanning to email, select
Scan to Email
.
• To create a location for scanning to a network folder or FTP, select
Scan to Network Folder/FTP
.
6.
Select the number you want to use for the contact you are adding.
7.
Select the
Name
field, use the displayed keyboard to enter the contact name (up to 30 characters),
and press
.
201
Summary of Contents for WF-R8590
Page 1: ...WF R8590 User s Guide ...
Page 2: ......
Page 93: ...Note Secure the optional cassette to the cabinet as shown here 93 ...
Page 219: ...You see this window 219 ...
Page 242: ...4 Click OK Parent topic Scanning 242 ...
Page 245: ...DSL connection 1 Telephone wall jack 2 DSL filter 3 DSL modem 245 ...
Page 246: ...ISDN connection 1 ISDN wall jack 2 Terminal adapter or ISDN router 246 ...
Page 268: ...You see this window 3 Select Fax Settings for Printer Select your product if prompted 268 ...
Page 279: ...You see this window 3 Select Fax Settings for Printer Select your product if prompted 279 ...
Page 280: ...You see this window 4 Select Speed Dial Group Dial List 280 ...
Page 305: ...Parent topic Printing Fax Reports 305 ...
Page 380: ...4 Carefully remove any jammed pages 380 ...
Page 381: ...5 Close the ADF cover then raise the document cover 381 ...
Page 382: ...6 Carefully remove any jammed pages 7 Lower the document cover 382 ...


