194
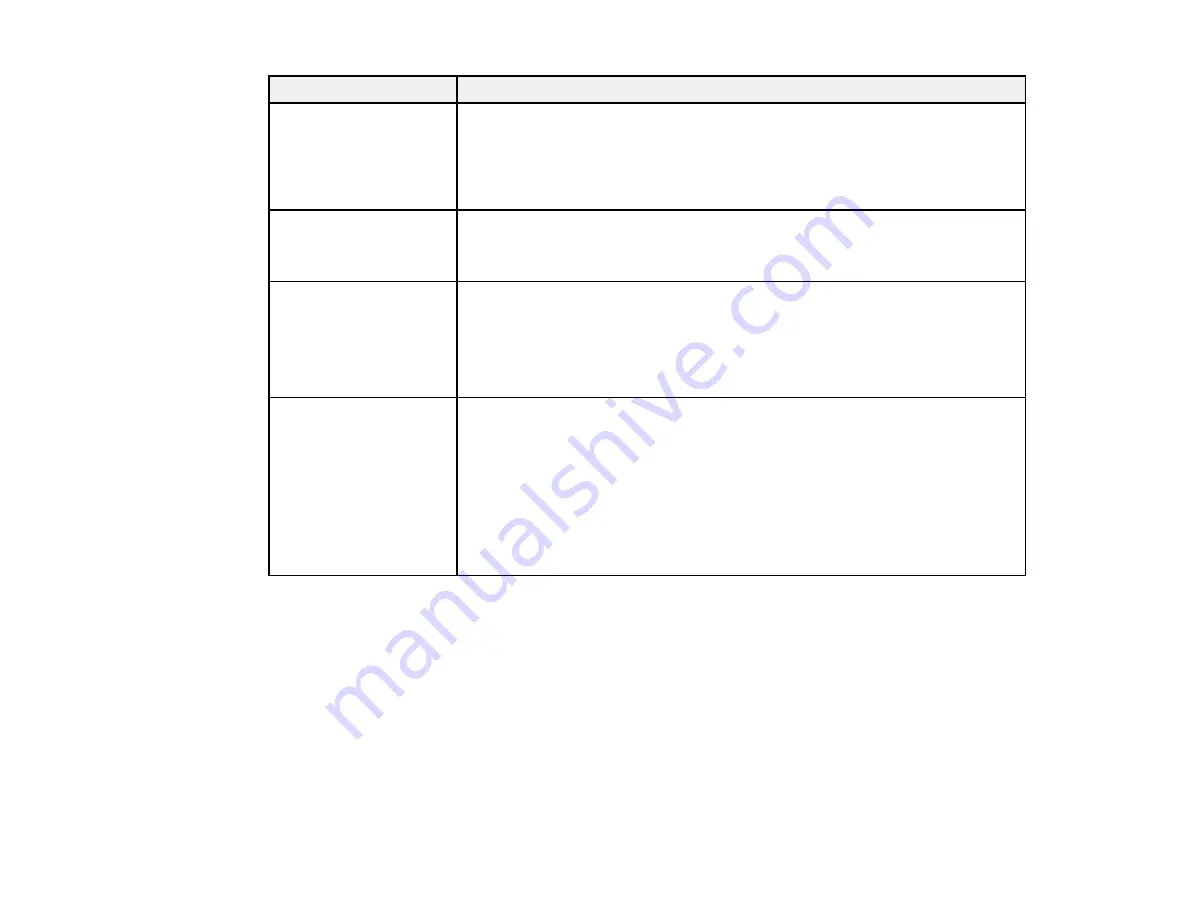
LCD screen message
Condition/solution
Paper Feed Sensor
Error
Refer to the manual to
find out how to solve the
problem.
The paper feed sensor is dirty. Clean the sensor.
Perform Powerful
Cleaning on all nozzles.
You have not cleaned the print head nozzles in six months and
Timer
Cleaning
is set to
Off
.
Run a
Powerful Cleaning
cycle in the Administrator menu.
Maintenance Request
Replace Part
Soon/Replace Part Now
(maintenance request
code)
A part used in the printer is nearing the end of its service life. Contact Epson
for support and provide them with the displayed maintenance request code.
The error persists until you replace the requested part.
Call For Service
(service code)
Power off and then on. If
this doesn't work, note
the code and call for
service.
A call for service occurs when:
• The power cable is not connected securely
• An error occurs that cannot be cleared
When a call for service has occurred, the printer automatically stops printing.
Turn off the printer, disconnect the power cable from both the outlet and the
printer, and reconnect them. Turn the printer on and off several times. If the
same call for service is displayed on the LCD screen, contact Epson for
support and provide them with the displayed service code.
Parent topic:
Related concepts
Print Head Nozzle Check
Print Head Cleaning
Related references
Print Quality Options - Windows
Color Management Options - Windows
Output Resolution Settings - Mac
Advanced Color Settings - Mac
Paper Menu Settings
Summary of Contents for SureColor P10000
Page 1: ...Epson SureColor P10000 P20000 User s Guide ...
Page 2: ......
Page 8: ......
Page 48: ...48 Related references Printable Area Specifications ...
Page 61: ...61 7 Attach the roll core holder to the paper stop and push it in until it clicks into place ...
Page 62: ...62 8 Unlock the paper stop and slide it to the left ...
Page 76: ...76 5 Align the tensioner with the right edge of the paper as shown ...
Page 80: ...80 Parent topic Using the Optional Auto Take up Reel ...
Page 94: ...94 You can also place the same print data multiple times as shown here ...
Page 173: ...173 7 Remove the thumb screws ...
Page 174: ...174 8 Slide the upper cover to the left and remove it ...
Page 175: ...175 9 Close the ink cartridge cover ...
Page 176: ...176 10 Use a cleaning stick to clean the front and back edges on the bottom of the print head ...
Page 178: ...178 12 Open the ink cartridge cover and attach the upper cover ...
Page 179: ...179 13 Secure the upper cover with the thumb screws and close the ink cartridge cover ...
Page 181: ...181 15 Use a cleaning stick to clean the outside of the front print head wipers ...


