90
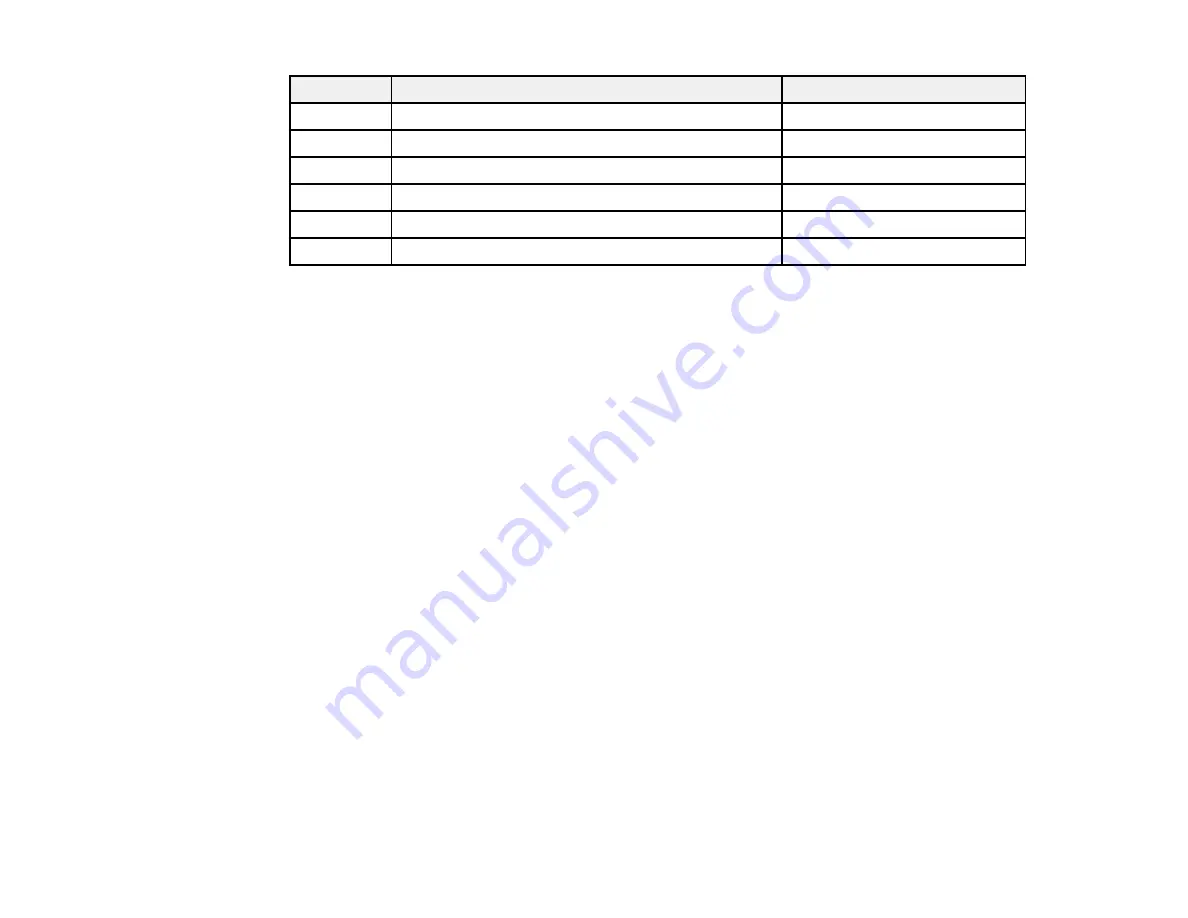
Number
Part
Quantity
1
Gloves
16
2
Grease tool
1
3
Cleaning stick
8
4
Pad A
16
5
Pad B
16
6
Secondary carriage rod grease
2
Parent topic:
Related references
Consumables and Replacement Parts
Maintenance Precautions
Follow these precautions as you maintain your product:
• Remove loaded media from the product before performing any maintenance tasks.
• Touch a metal object to discharge any static electricity before performing any maintenance tasks.
• Never touch the belts, cables, circuit boards, or other parts not covered in the maintenance task steps
or you could adversely affect the print quality or damage your product.
• Use only the cleaning sticks included in the product maintenance kit to clean your product to avoid
damaging the print head.
• Do not reuse cleaning sticks.
• Do not touch the ends of the cleaning sticks to prevent oil from your hands from damaging the print
head.
• Do not use alcohol or water to clean the nozzle surface, caps, or wiper or you may damage your
product.
• Store ink packs, secondary carriage rod grease, and waste ink out of the reach of children.
• Wear protective eyewear, gloves, and a mask when performing maintenance tasks.
• Wash your hands after performing maintenance.
Summary of Contents for SureColor F9370
Page 1: ...Epson SureColor F9370 User s Guide ...
Page 2: ......
Page 30: ...30 11 Firmly push the right roll core holder into the roll core ...
Page 55: ...55 3 Align the right roll core holder with the right edge of the media ...
Page 94: ...94 1 Open the ink inlet cover for the High Density Black ink shown here ...
Page 95: ...95 2 Grasp the loop at the top of the ink inlet cap and slowly remove the ink inlet cap ...
Page 104: ...104 8 Open the ink inlet cover ...
Page 107: ...107 Rest the stirring stick on the tab at the edge of the tank as shown ...
Page 108: ...108 10 Cut or tear off the ink pack spout seal ...
Page 127: ...127 1 Raise the stopper on the waste ink bottle ...
Page 128: ...128 2 Lift up the waste ink bottle and remove it from the holder as shown ...
Page 133: ...133 8 Lift up the tab on the flushing pad and remove the pad ...
Page 137: ...137 5 Align the white line on a new media edge guide with the edge of the platen ...
Page 146: ...146 Maintenance Supplies Maintenance Menu Settings ...
Page 170: ...170 14 Rotate the left roll core handle until part A is fully inserted as shown ...
Page 179: ...179 28 Remove the roll core 29 Remove the adjustment tool from the roll core ...


