❏
Assign to Frequent Use: Register an address
for frequent use. When an address is
specified, it will appear on the top screen.
Note:
If you do not have a password set on your
computer, you do not have to enter a user name
or password.
E
Touch
OK
to finish registering a shared folder
to your contacts.
Procedure for Scanning
These settings must be done in advance to save a
scanned image to a folder or send a scanned image via
email.
U
“Preparing to Scan” on page 105
Scanning and Saving an Image
to a Shared Folder or FTP Server
Note:
First, check that the printer's
Date/Time
and
Time
Difference
are set correctly. From the control panel,
select, in order,
Settings
-
General Settings
-
Basic
Settings
-
Date/Time Settings
.
A
Load the original.
U
“Placing Documents in the Scanner” on
U
“How to Load Documents” on page 103
B
Touch
Scan
on the Home screen.
C
Touch
Network Folder/FTP
.
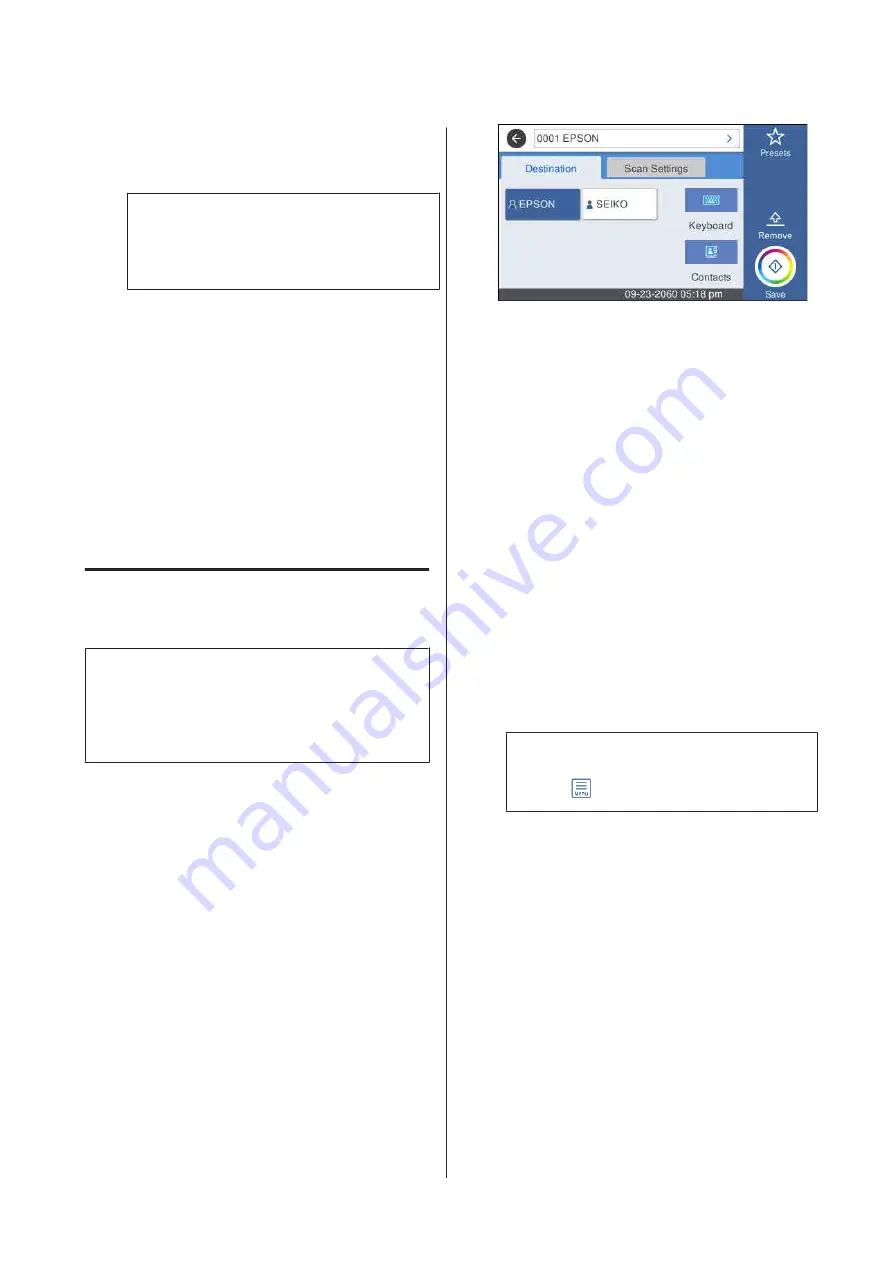
A screen from which you specify a location
appears.
D
Specify the Location using one of the 3
following methods.
❏
Select a recipient that is registered for
frequent use: Touch the icon that is displayed.
❏
Keyboard: Touch
Keyboard
. Select
Communication Mode
and enter the
location in
Location (Required)
. Set any
other locations as necessary.
Enter the Location in the following formats.
If the communication mode is SMB (when
using a shared folder on a computer): \\host
name (server name)\ folder path
If the communication mode is FTP (when
using an FTP server): ftp://host name (server
name)/folder path
❏
Select from the contacts: Touch
Contacts
,
select a recipient, and then touch
Close
.
You can search the folders from your
contacts. Enter search keywords into the
search box at the top of the screen.
Note:
You can print a history of the saved folders by
touching
.
E
Touch
Scan Settings
, and then do the settings
for scanning.
Select settings, such as the Color Mode and the
File Format.
U
“Scanning Menu (SC-T3100M Series
If you are using the optional carrier sheet, you
must do the following settings.
❏
Specify a user defined size as the
Scan Size
.
❏
Set
Top Offset
to 19 mm.
SC-T3100M Series/SC-T5100 Series/SC-T3100 Series/SC-T5100N Series/SC-T3100N Series/SC-T2100 Series User's Guide
Scanning (SC-T3100M Series Only)
106


