Using the Projector on a Network
Follow the instructions in these sections to set up your projector for use on a network.
Wired Network Projection
Wireless Network Projection
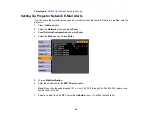
Setting Up Projector Network E-Mail Alerts
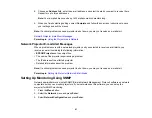
Setting Up Monitoring Using SNMP
Controlling a Networked Projector Using a Web Browser
Crestron RoomView Support
Wired Network Projection
You can send images to your projector through a wired network. To do this, you connect the projector to
your network, and then set up your projector and computer for network projection.
After connecting and setting up the projector as described here, install the network software from the
Epson Projector Software
CD-ROM on your computer. Use the following software and documentation to
set up, control, and monitor network projection:
•
EasyMP Network Projection
software sets up your computer for network projection. See the
EasyMP Network Projection Operation Guide
installed from your projector CD for instructions.
•
EasyMP Monitor
software (Windows only) lets you monitor and control your projector through the
network. You can download the latest software and documentation from the Epson web site. Go to
www.epson.com/support
(U.S.) or
www.epson.ca/support
(Canada) and select your projector.
Note:
If your projector is connected via a LAN cable to a network that includes a wireless access point,
you can connect to the projector wirelessly using the EasyMP Network Projection software.
Connecting to a Wired Network
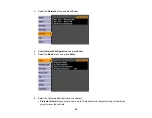
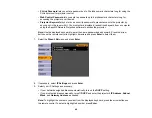
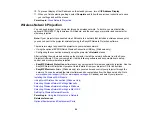
Selecting Wired Network Settings
Parent topic:
Using the Projector on a Network
Related references
Projector Network Settings - Network Menu
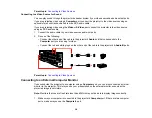
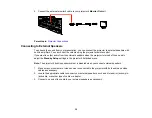
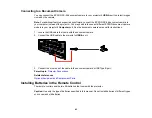
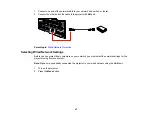
Connecting to a Wired Network
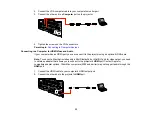
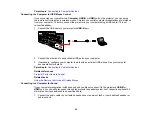
To connect the projector to a wired local area network (LAN), use a 100Base-TX or 10Base-T network
cable. To ensure proper data transmission, use a Category 5 shielded cable or better.
46
Summary of Contents for PowerLite 470
Page 1: ...PowerLite 470 475W 480 485W User s Guide ...
Page 2: ......
Page 20: ...Projector Parts Remote Control 1 Power button 20 ...
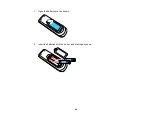
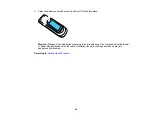
Page 44: ...1 Open the battery cover as shown 2 Insert the batteries with the and ends facing as shown 44 ...
Page 127: ...2 Slide the air filter cover switch and open the air filter cover 127 ...
Page 129: ...4 Place the new air filter in the projector as shown 129 ...
Page 130: ...5 Close the air filter cover Parent topic Air Filter and Vent Maintenance 130 ...
Page 153: ...Parent topic Solving Problems 153 ...


